

6.4.1 How to manage Tickets?
1. Tickets can be found under Track in the main menu.
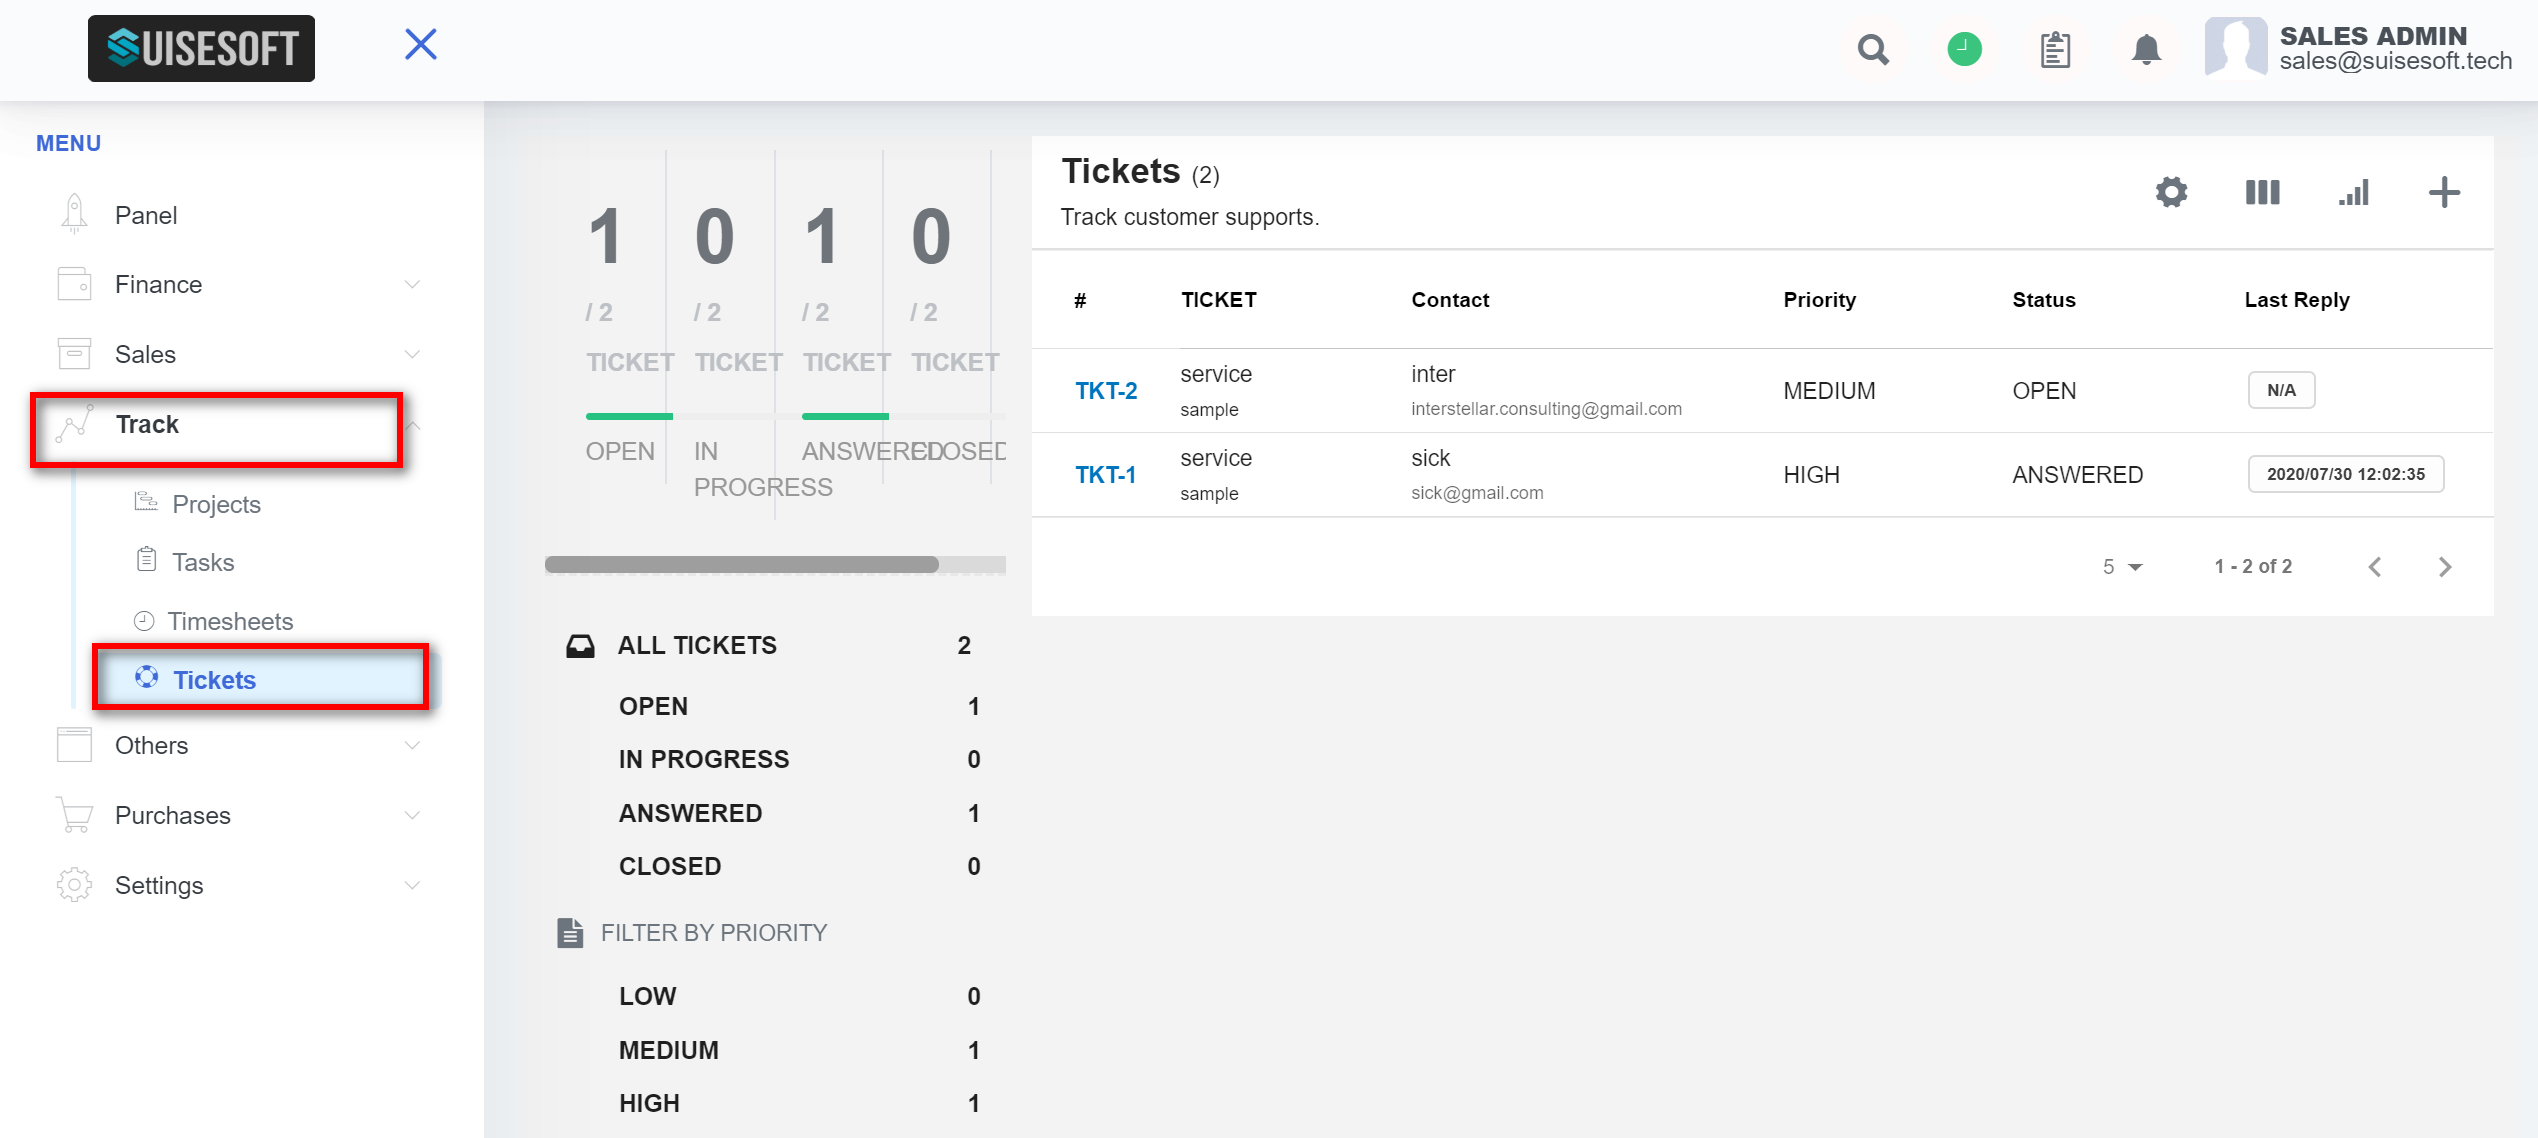
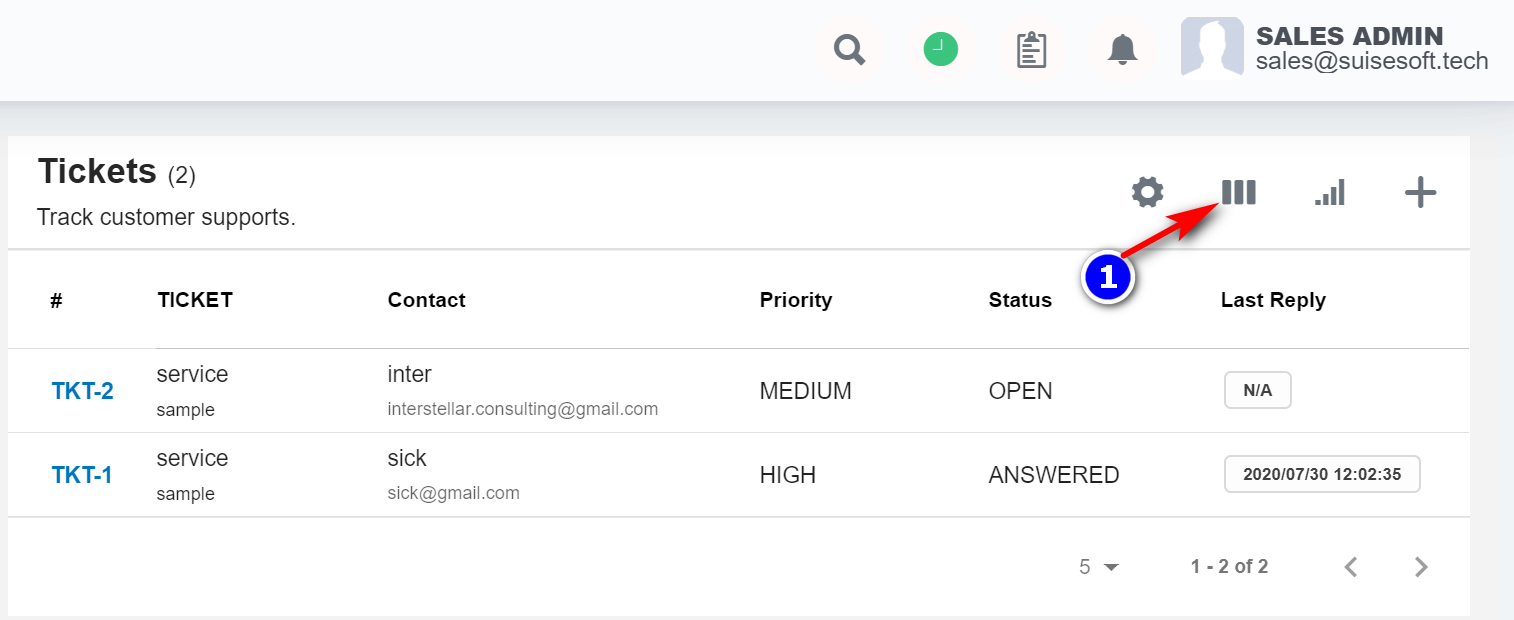
2. Tickets can be viewed in 2 different views. Click on the “Kanban”(1) button to view the tickets in the kanban view.
3. Drag and drop the tickets to change the status of the tickets.
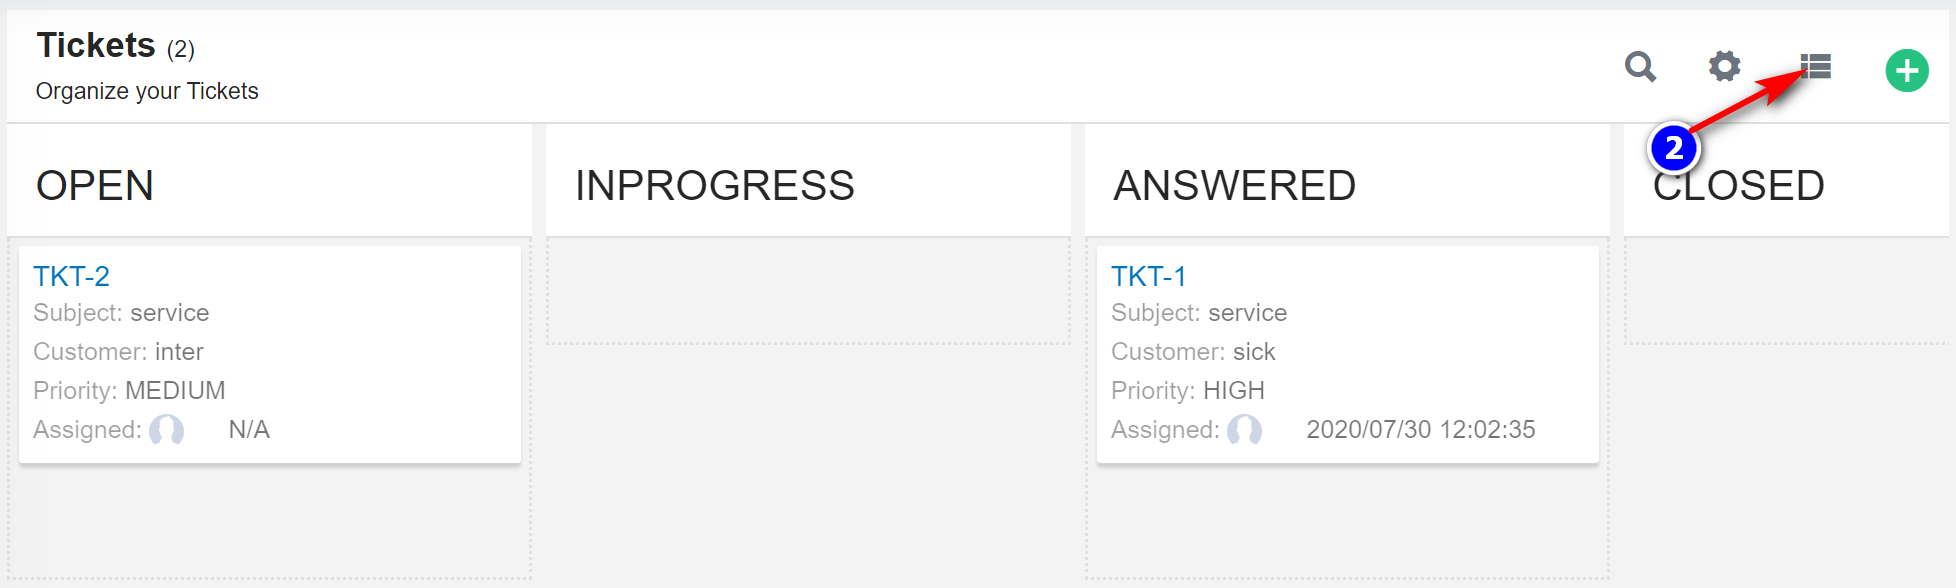
4. Click on the "List view"(2) button to view in the list view.
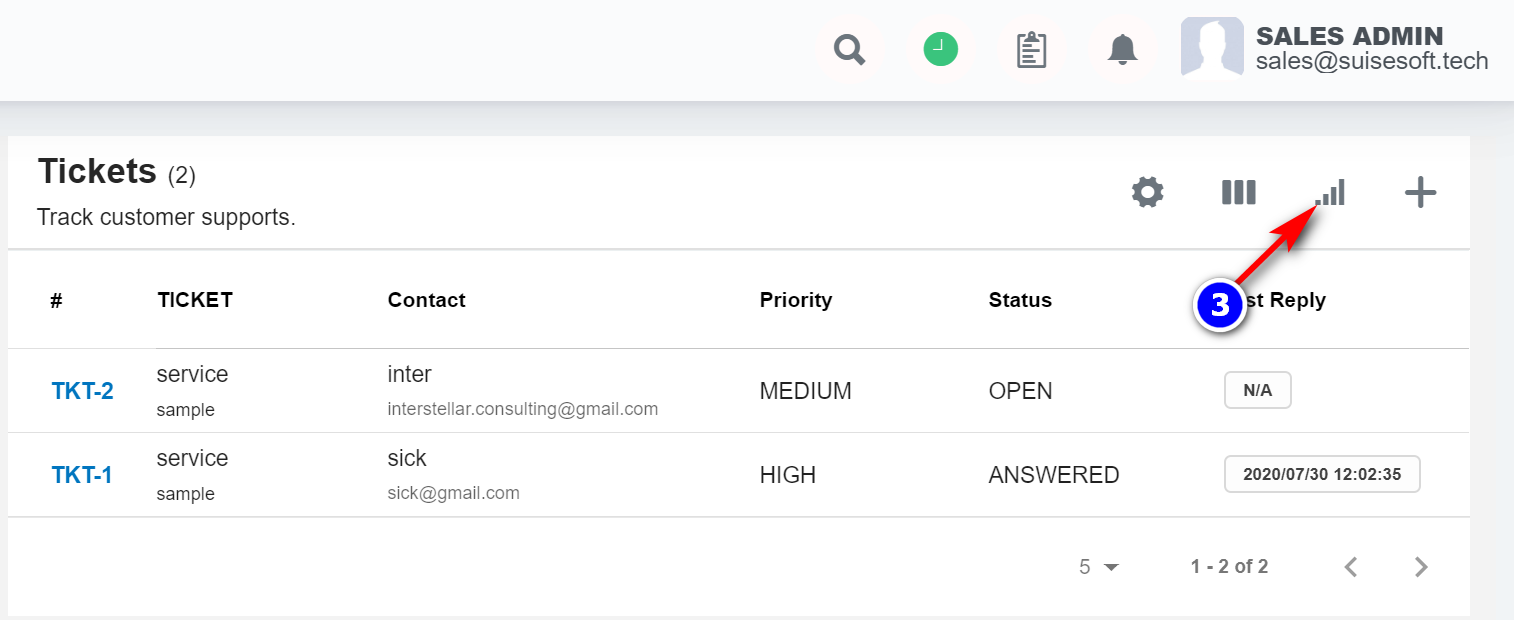
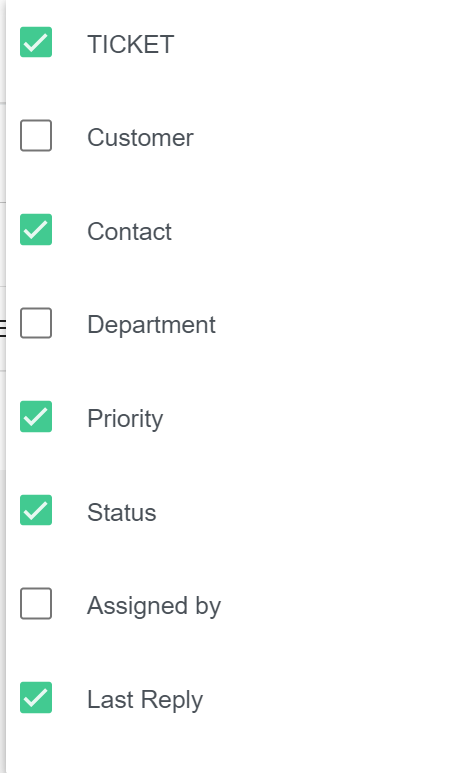
5. By default, all the columns for the table are displayed. To manage the columns to be displayed, click on the "Filter Column"(3) icon.
6. The list of columns will be displayed. Check the columns you want to be displayed. This option will be saved.
6.4.2 Create ticket
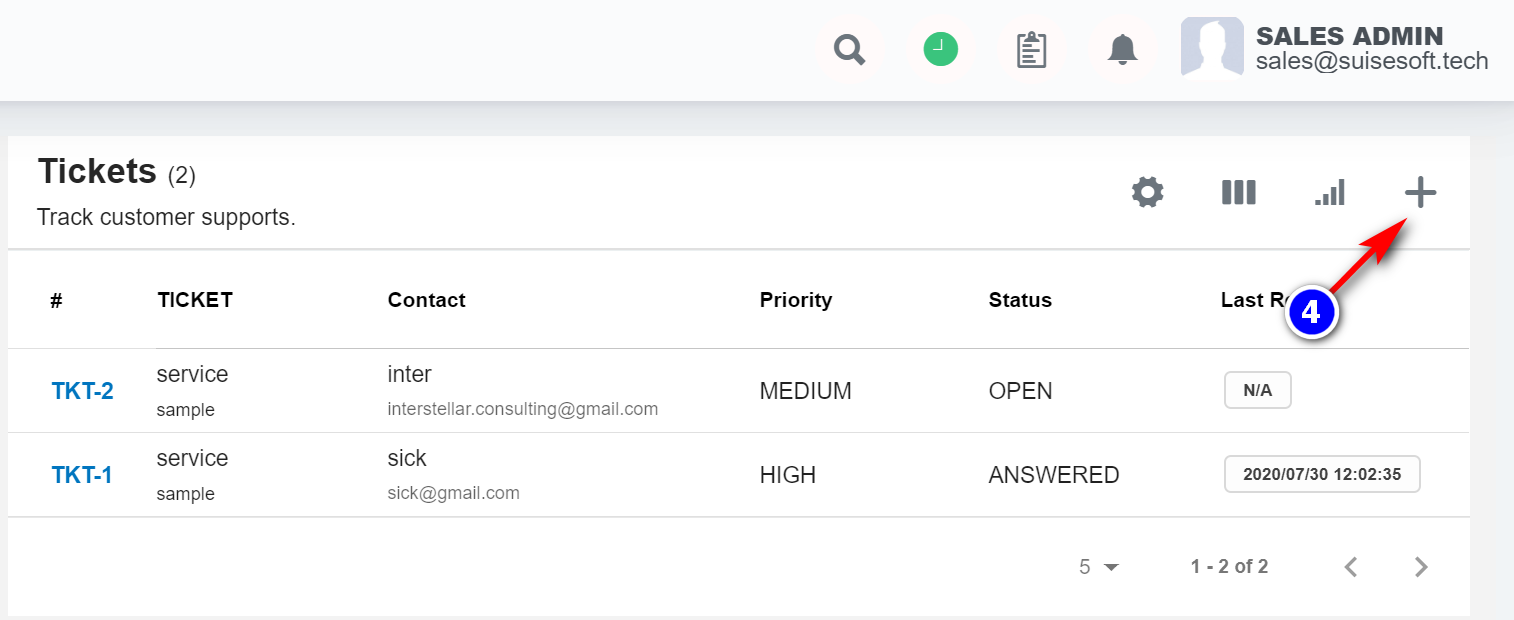
1. To create a new ticket click on "New Ticket"(4) icon.
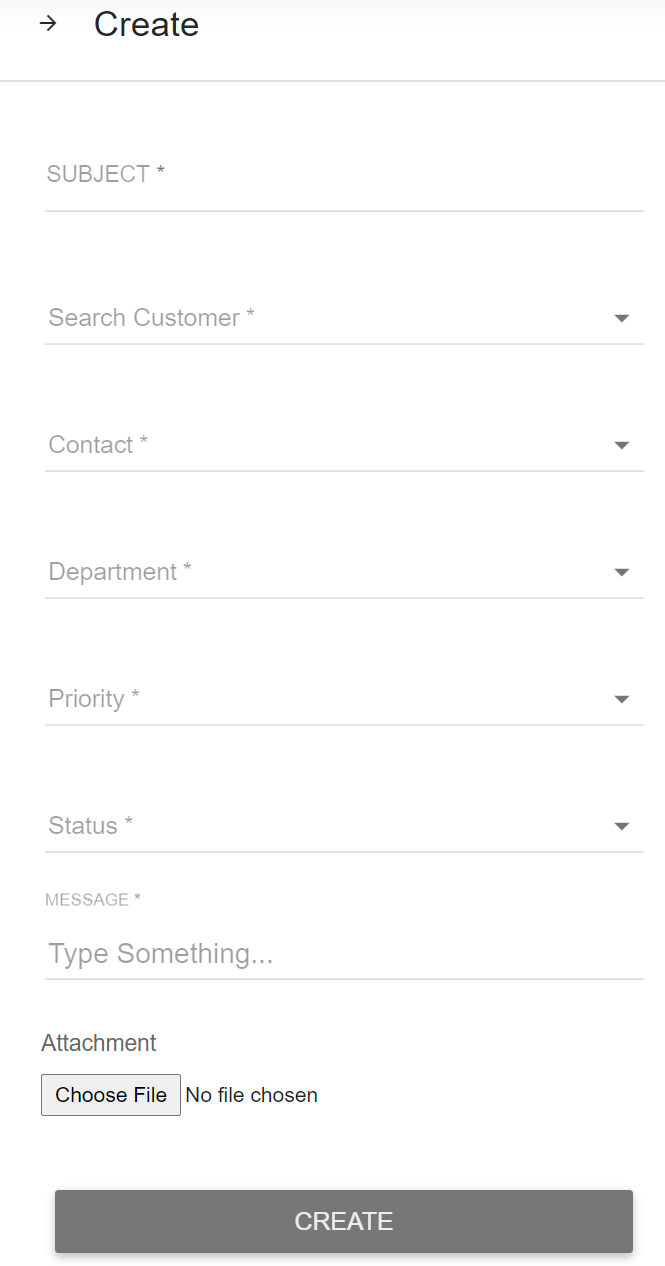
2. Fill in all details, attached files if needed and click on "Create" button.
6.4.3 Ticket page details
1. Click on the ticket you want to be displayed.
2. To add staff click on the "Add Staff"(5) icon. To delete the ticket click on the "Delete"(6) icon.
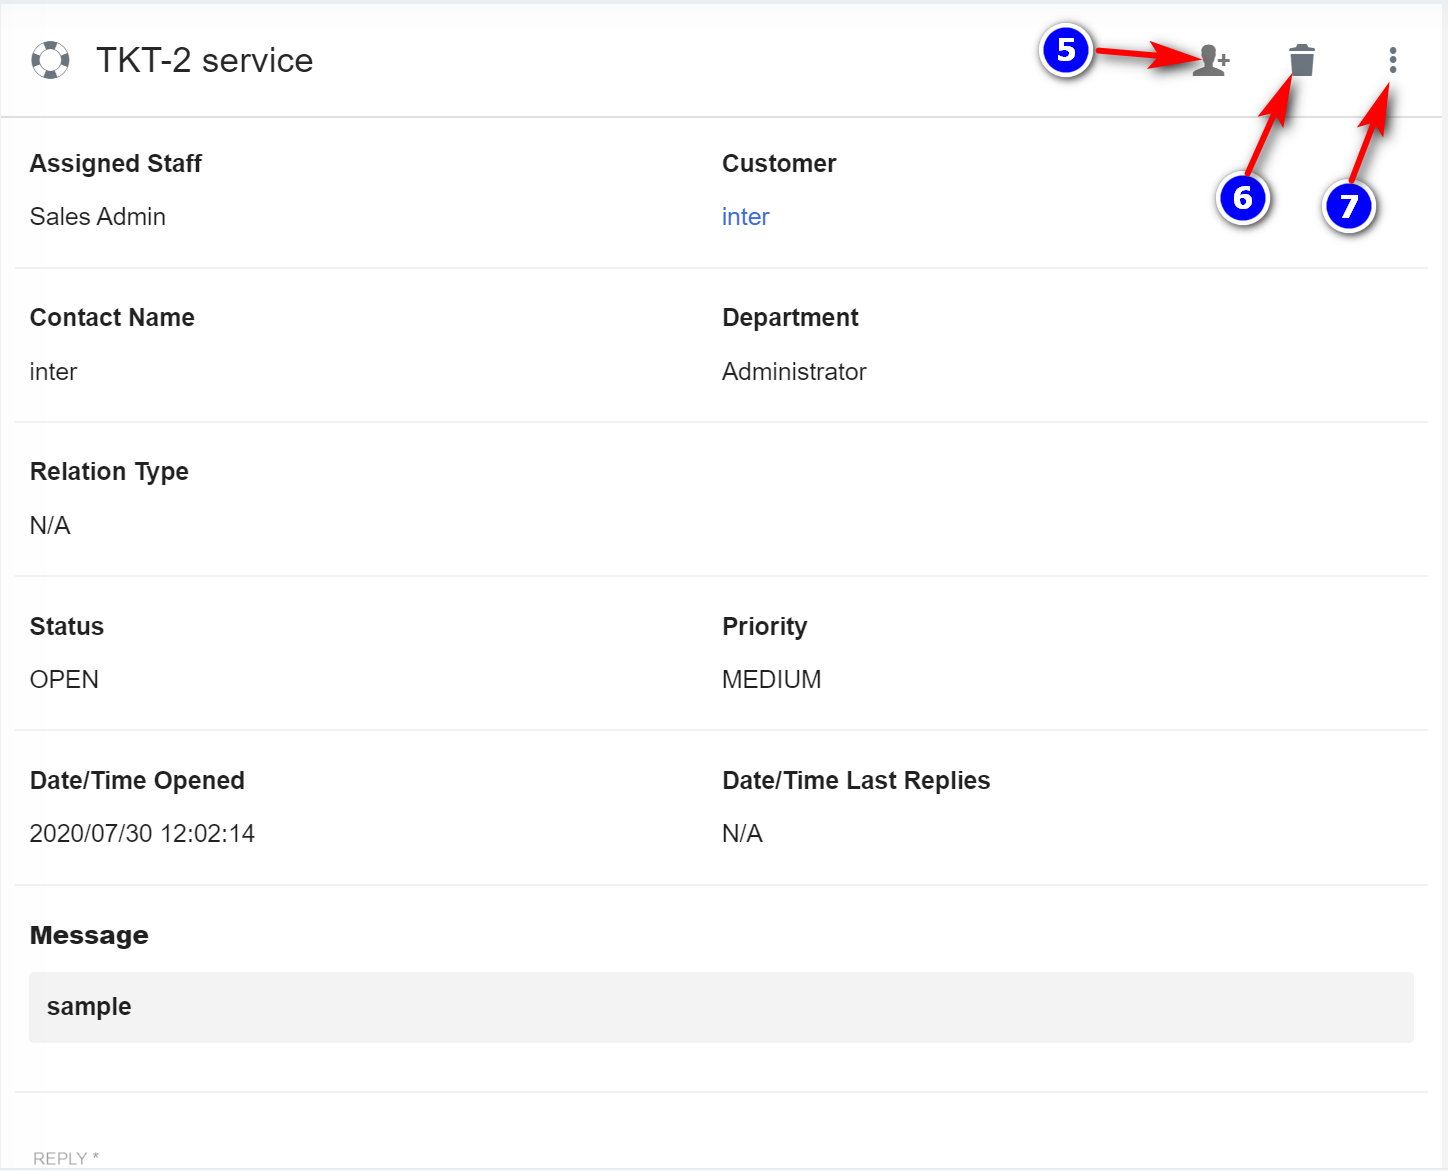
3. You can change the status of the ticket by clicking on the "Options"(7) icon.

4. You can attach the files by clicking on the "Choose File" button.
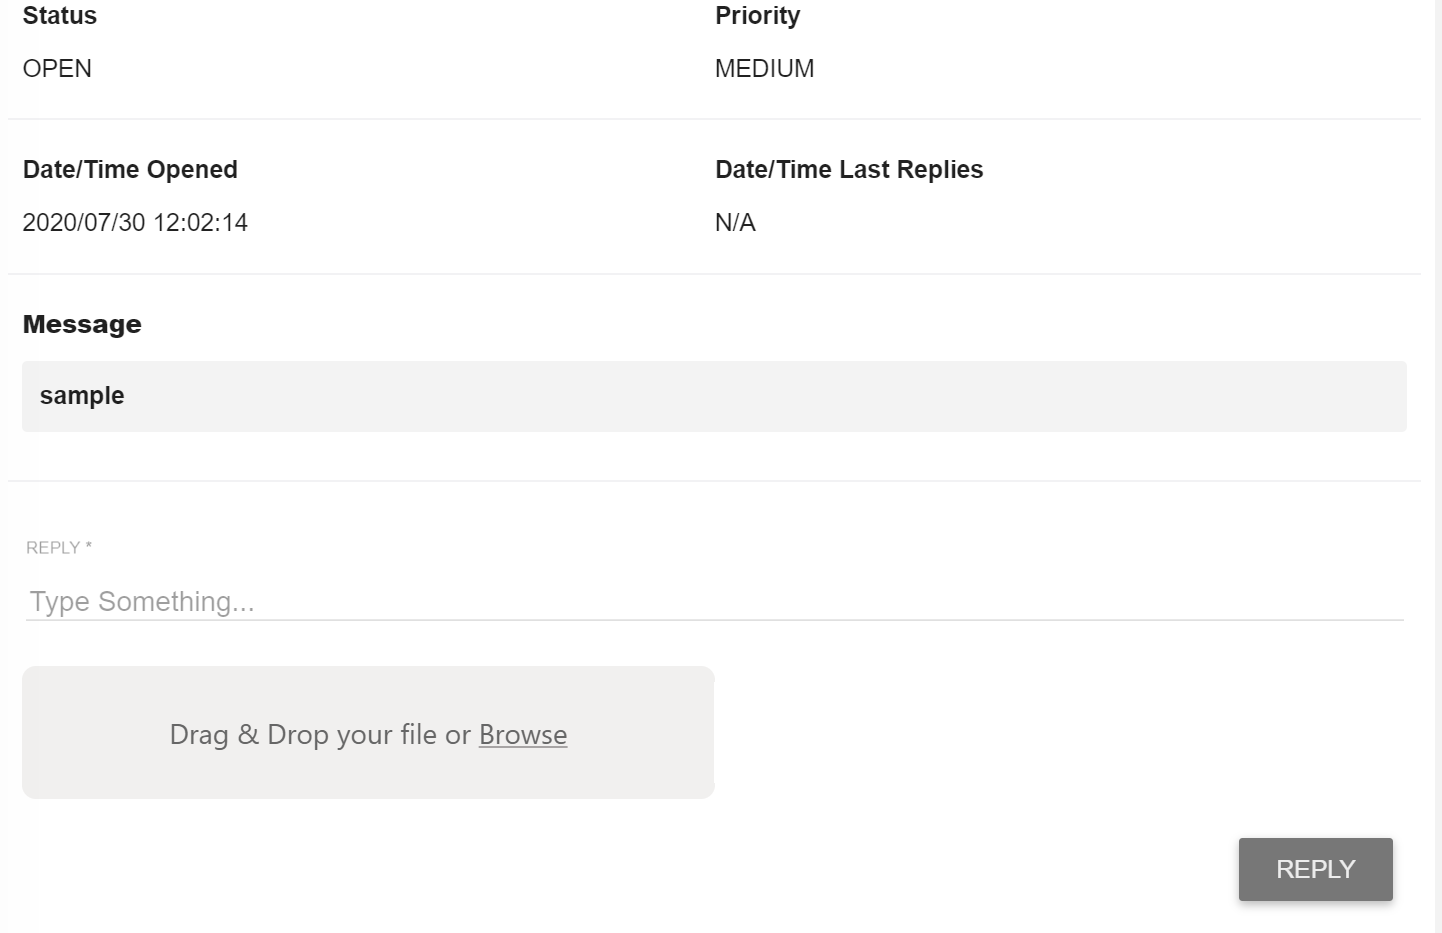
5. To reply to the ticket click on the "Reply" button.
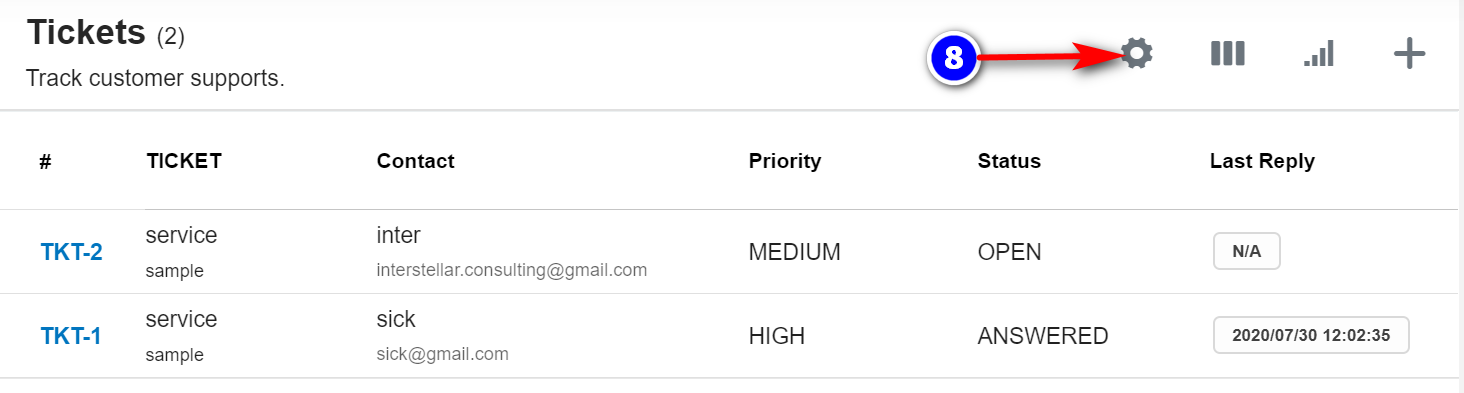
6.4.4 How to manage ticket status?
1. Click on the "Settings"(8) icon.
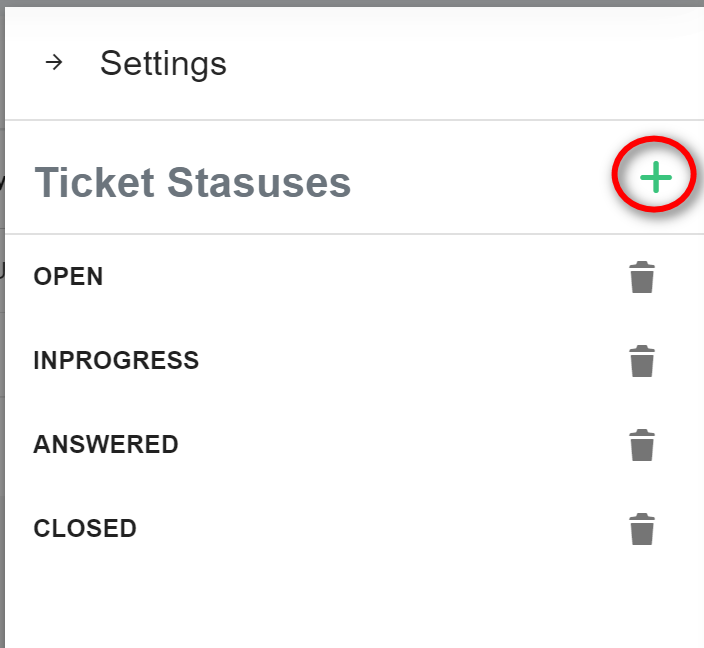
2. To create new status click on the "Add" button.
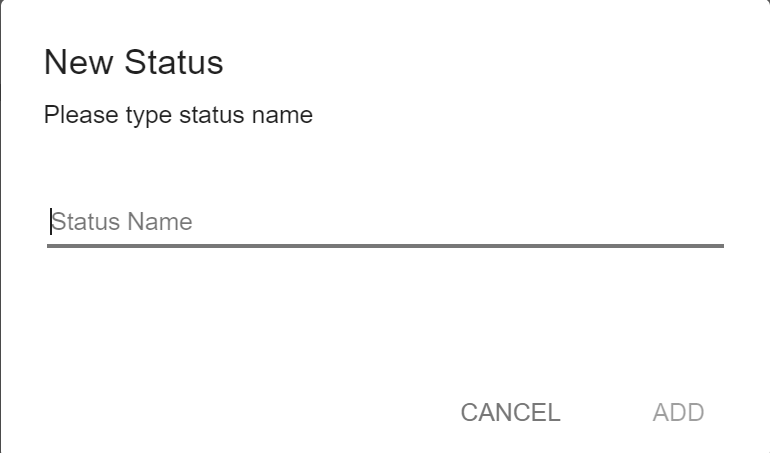
3. Enter the Status name and click on Add.
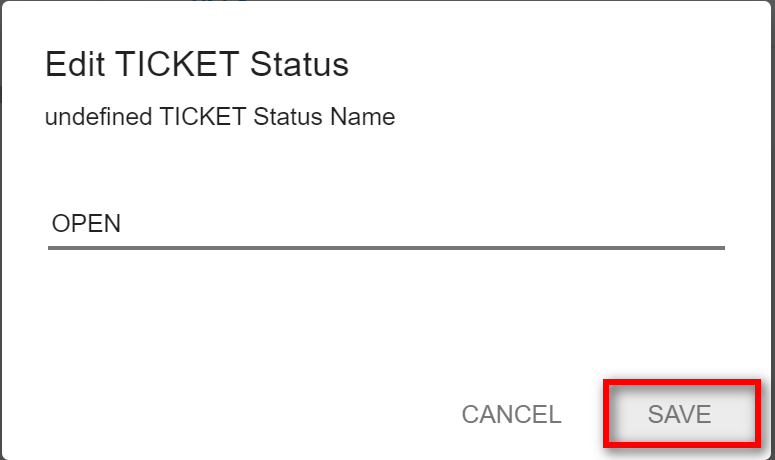
4. To edit the ticket status, click on the the status you want to edit.

5. Enter the new name and click on Save.
6. To delete the status from the list of statuses, click on the “Delete” icon adjacent to the status you want to delete.