4.5.1 How to manage Products:
1. Products can be found under "Sales" in the main menu.
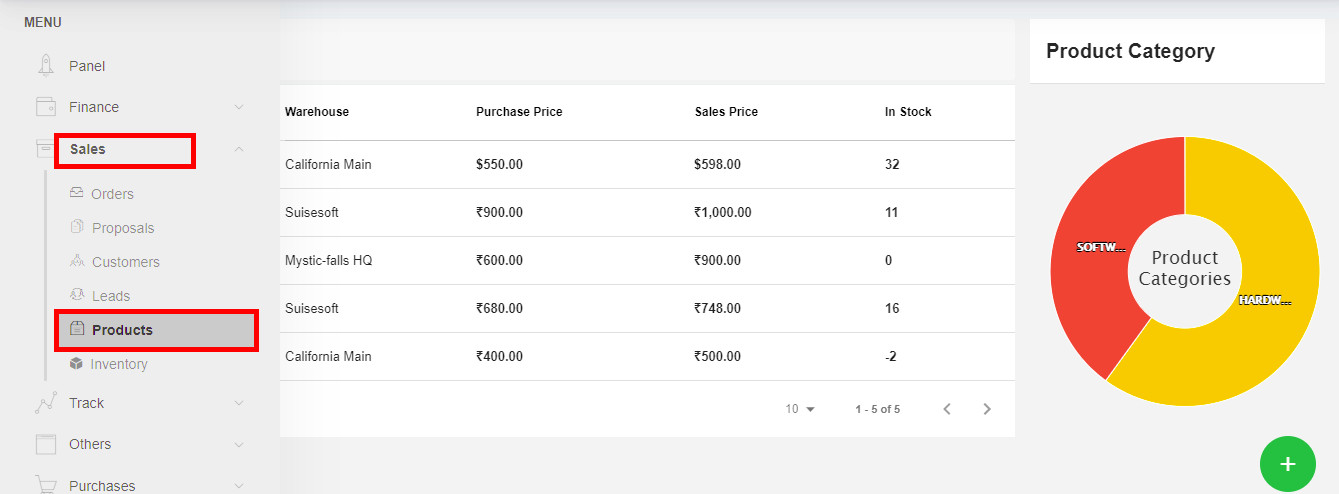
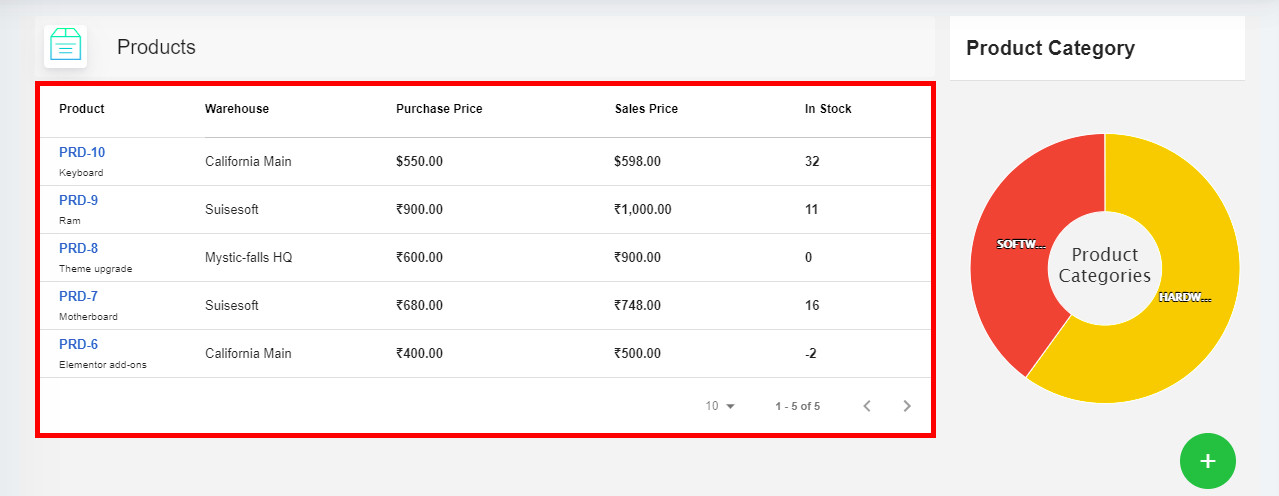
2. All the products added to your application will be listed below.
4.5.2 Create Product Category:
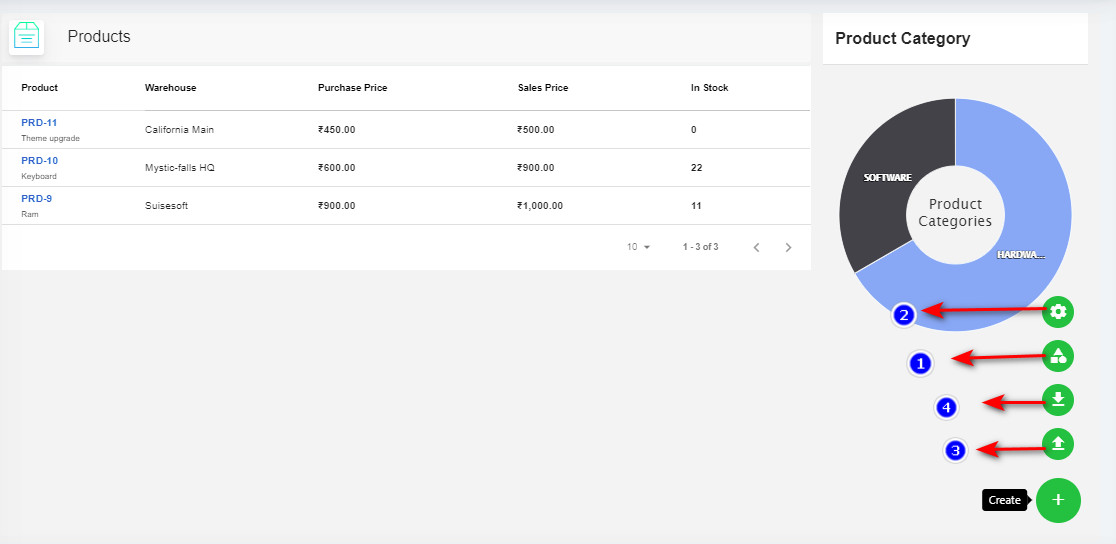
1. Product Category (1): click on the "Create Category"(1) icon. To categories your product
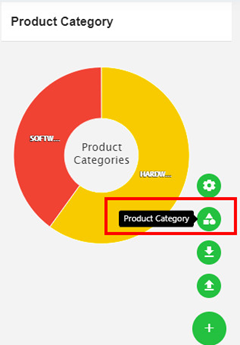
- Once you click the icon a popup appears where you can add a new category or your product.
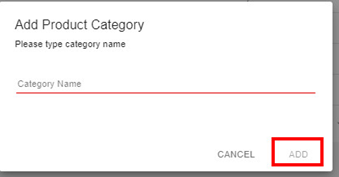
- Enter the name of your category and click on add. Product category will be added.
- After adding a category, the list of added categories will be listed as shown below when you click on the “Product Category icon” again.
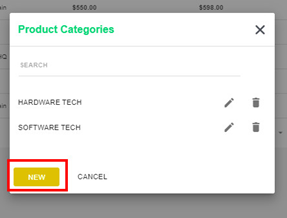
- You can search the category by using the search space in the popup.
- Click on the “New button” to add a new product category.
- To “Edit” the category click on the “Pencil icon” next to the category name. Similarly, to delete any category click on the “Delete” Icon the category will be deleted.
2. Unit of Measure (2): Click on the "Unit of Measure" icon add the units for your products.

Once you click on the Unit of Measure icon a popup appears to add the units. As shown below.
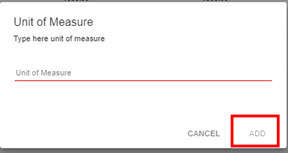
- Enter the Unit of measure and click on add. Units will be added.
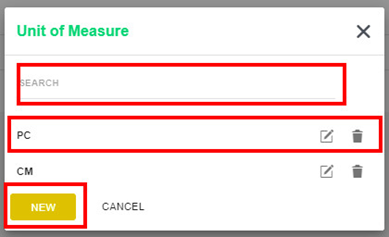
- You can search the units by using the search space in the popup.
- Click on the “New button” to add a new unit.
- To "Edit" or “Delete" the unit of measure. Click on their respective icons.
4.5.3 Create Product
- Create Product (5): click on the "Create (+)" icon to add a new product.
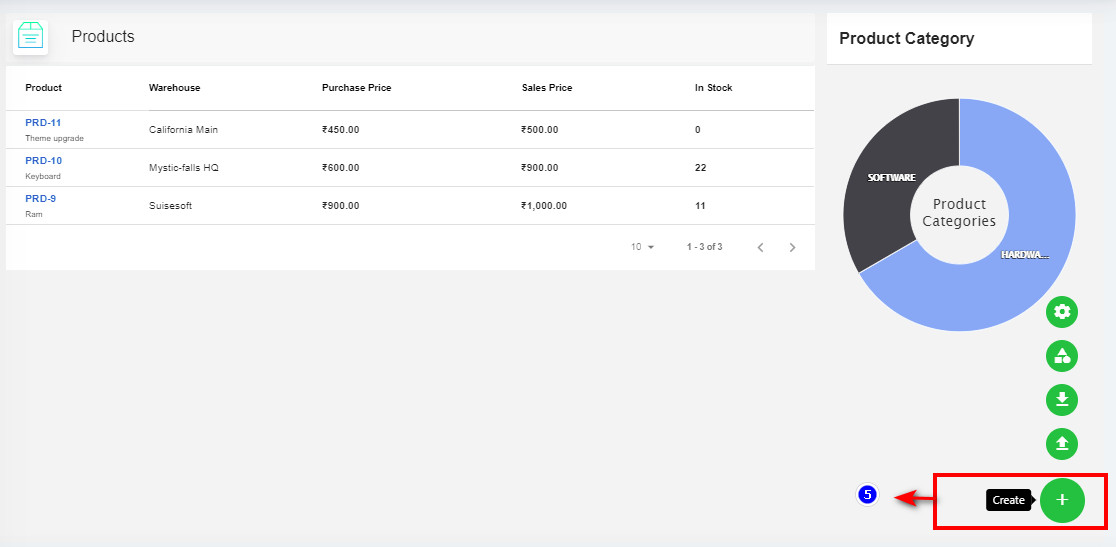
- Once you click on create an icon, the product creation page appears, it is divided into three tabs.
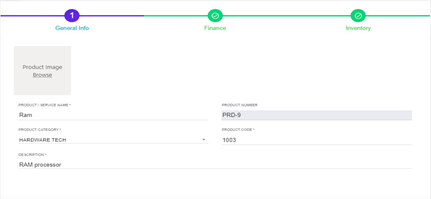
- General: You can fill in the basic information about the product such as:
- Name of the product.
- Description of the product.
- Product category.
- Product code.
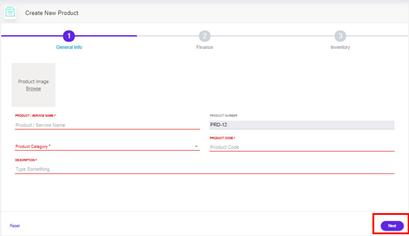
- After filling in the details click on “Next Button”.
- Finance: You can fill in the amount related information for the product such as:
- Purchase Price.
- Sales Price.
- Select the “Currency Type” from the drop-down.
- Select the “Discount Type” from the drop-down.
- Select the “Tax Type” from the drop down.
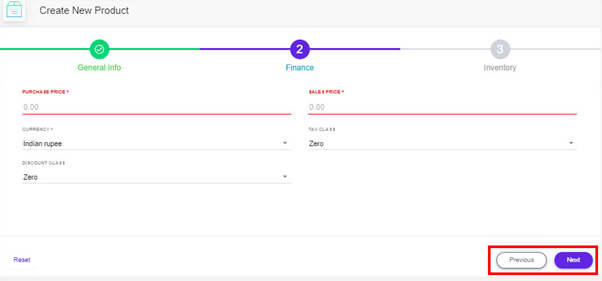
- After filling in the details click on “Next Button”. To go back to the previous tab click “Previous Button”.
- Inventory: You can select in the appropriate data for your product such as:
- Select “Unit of Measures” from the drop-down.
- Select “Warehouse” from the drop-down.
- Select “Product category” from the drop-down.
- And assign the number of “Stocks” of your products.
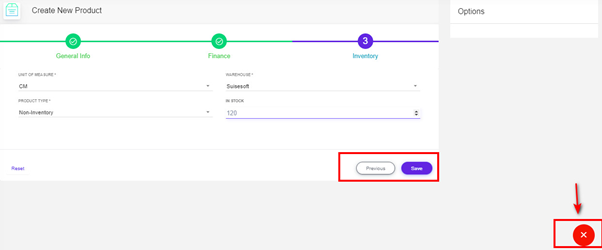
- After filling in the details click on the “Save Button”
- To go back to the previous tab, click on “Previous Button”
- Click on the “Cancel icon” on your right bottom corner to cancel the creation of the product.
- . During the creation of the product, you can also create a new "Unit of Measure", a new "Product Category" and a new "Warehouse".
4.5.4 Edit Product:
1.To update/Edit an existing product, click on the desired product from the list that you want to update/Edit. It will redirect to the update product page as shown.
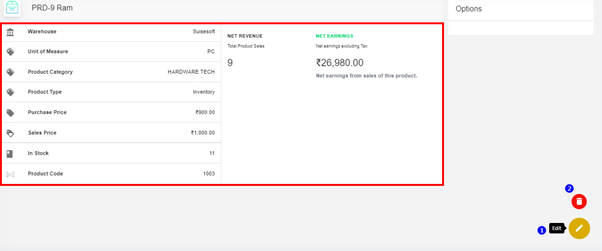
2. The product details page displays all the details pertaining to the product.
- To update the product, click on the “Pencil icon” from your right-bottom corner.
- The product with existing data appears, you can change the image for your product or edit any product field as per your desire. And click on the “Save button” after editing all three tabs.
- Your changes will be updated.
- Click on the “Delete icon” to delete a particular product.
4.5.5Import products:
Import Products (3): Products can be imported into the CRM from a .csv file.
- From the main products page, click on the "Import Product" icon.
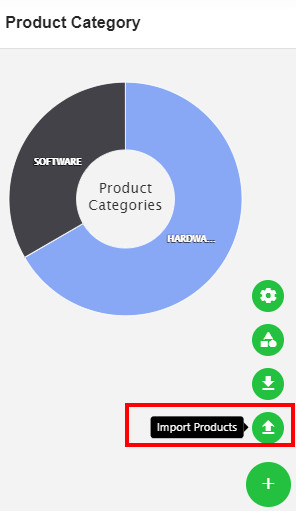
2. Click on the "Import Products" option. a popup appears as shown below.
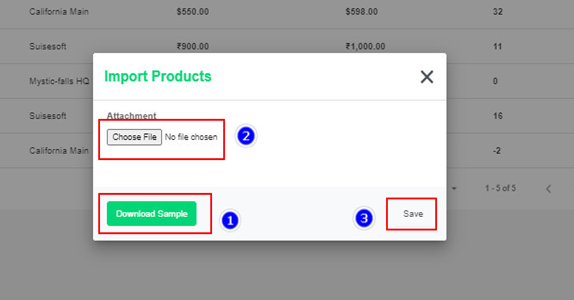
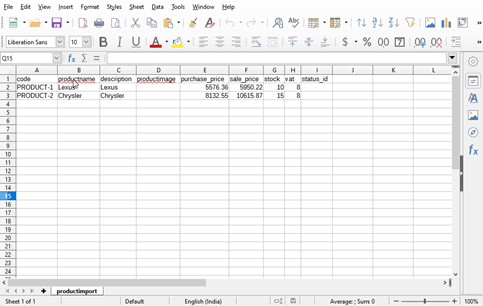
- Download Sample (1): click on the Download Sample button, to download a sample .csv file.
- Create the .csv file by referring to the sample given. And save the file locally.
- Choose file (2): Click on the "choose file" input box, navigate to the location of the file. Click on "Save" to begin the importing.
- Imported products are now displayed.
NOTE: If there are any errors in the .csv file created, those entries will be skipped, and their line numbers will be displayed in the error.
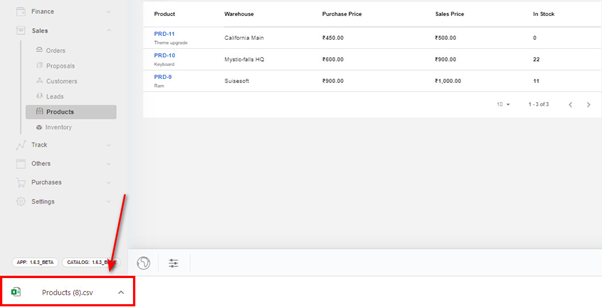
4.5.6Export Products:
. Export Products (4): Products can be exported from the CRM application in the form of a .csv file locally.
- From the main products’ page, click on the "Export product (4)” icon
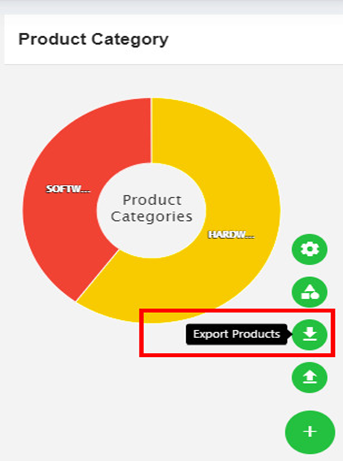
- All the products stored on the application in .csv file format will be downloaded onto the local machine automatically.