
4.3.1 How to manage customer?
1. The customer's overview can be found in the main menu under "Sales" in the main menu.
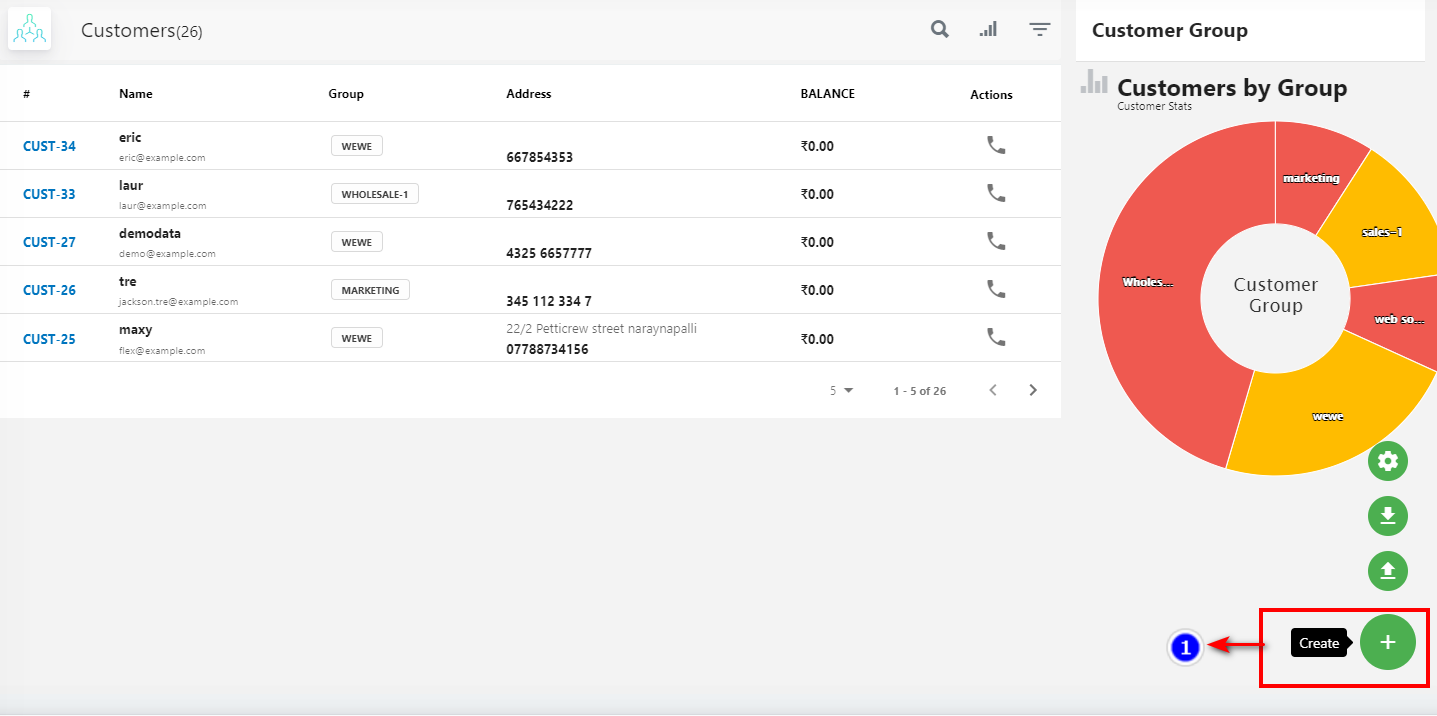
All existing customers and their transaction details are listed here. You can access other options using the below options for the customers’ page.
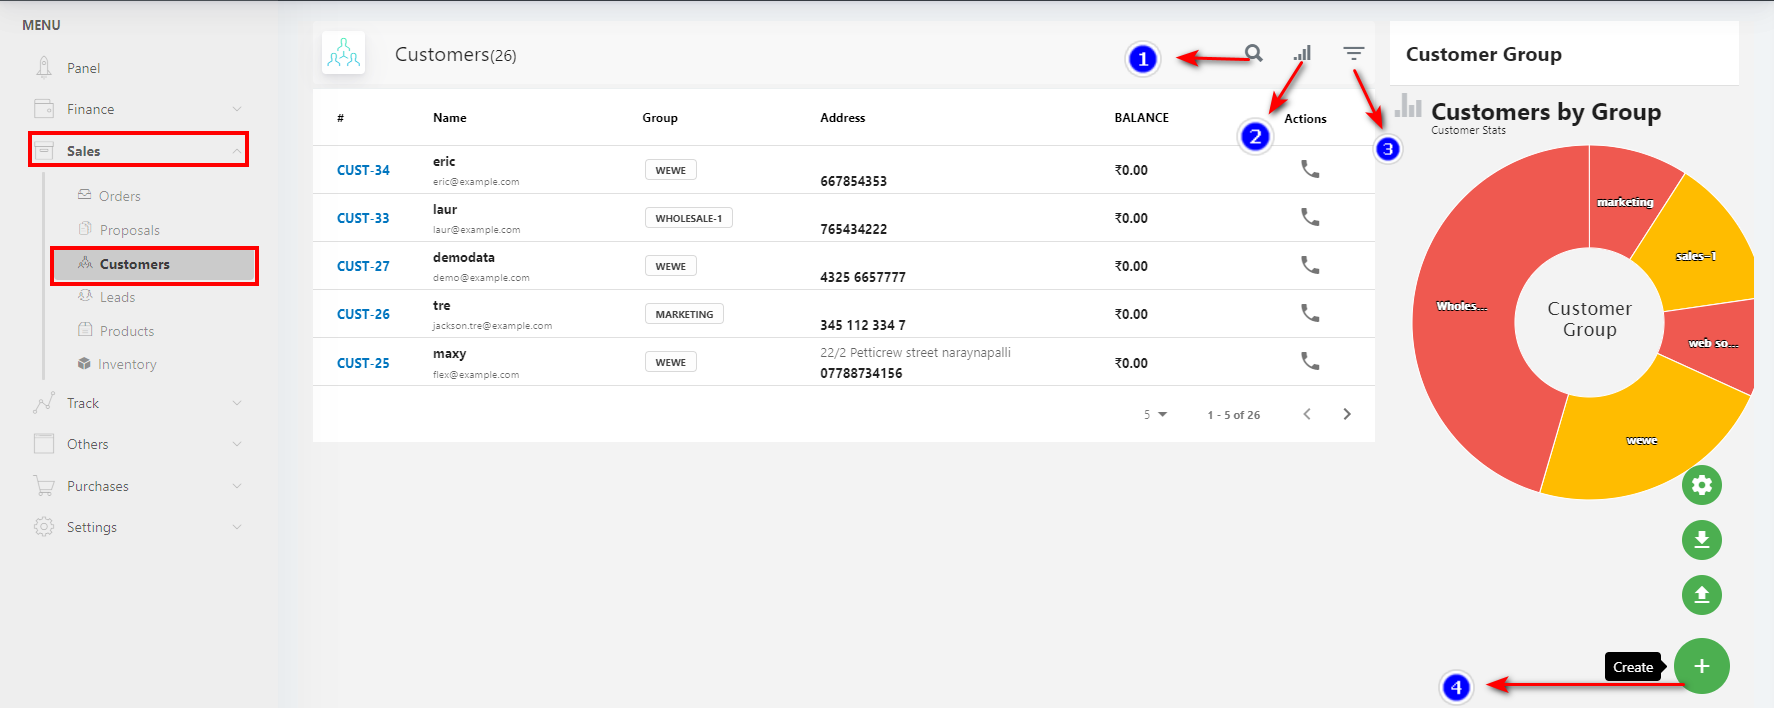
- Search (1): To search the customer click on the "Search" icon.
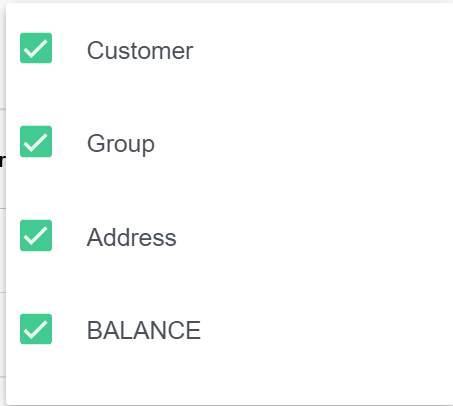
- Filter Column(2): By default, all the columns for the customer table are displayed. To manage what column needs to be displayed, click on the "Filter Column" icon, after you click on the icon a box will appear as shown in the below image, you can "Check" or "Uncheck" the fields you want to display on your customer page.
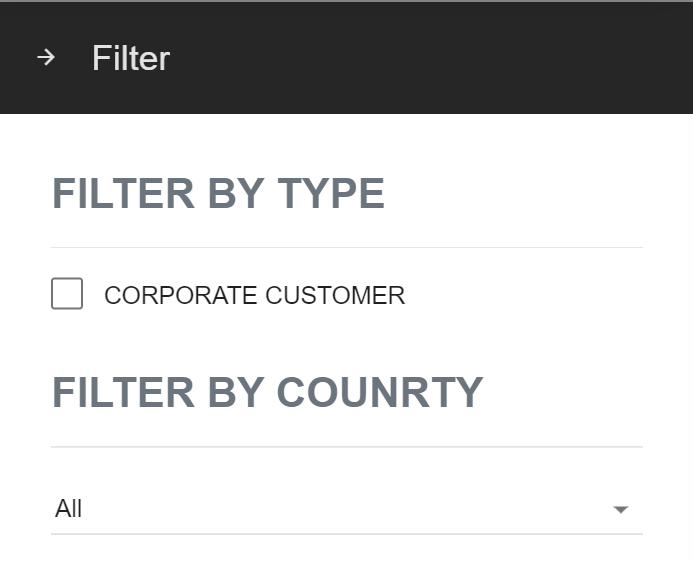
- Filter(3): Filter the Customers by "Type" and by " Country" click on the "Filter" icon.
4.3.2 Create Customer Group
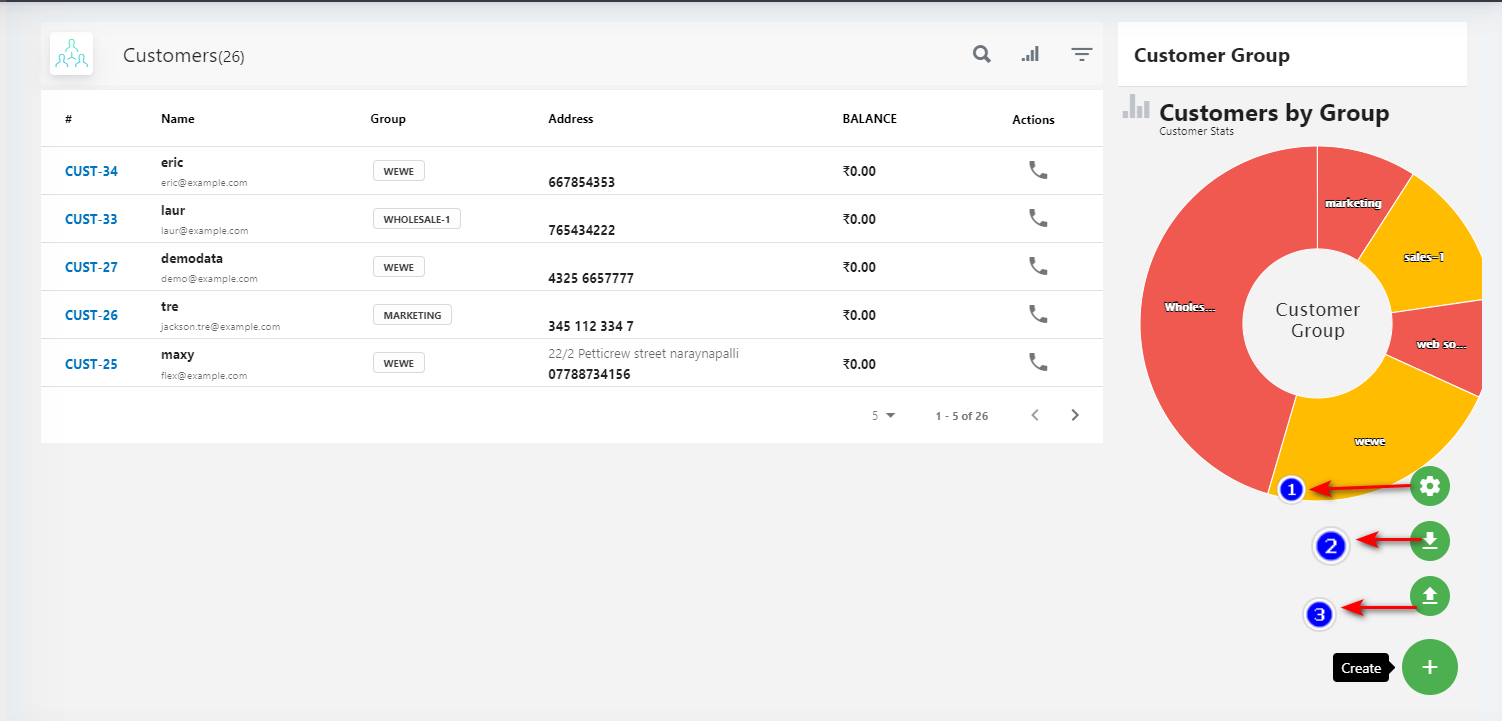
1. Customer Group (1): Click on the "Settings" icon from the bottom right corner to add a customer group.
Once you click on the "Settings" icon you will get a Popup to give the Name for your customer group.

After adding the customer group click on the "Add" button. Customer Group will be added.
- After adding a customer, the list of the added groups will be listed as shown below when you click on the “ Customer Group icon” again.
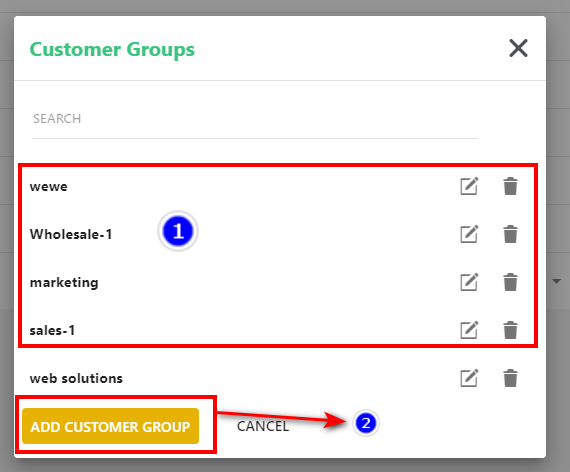
2. To add more customer groups click on the "ADD CUSTOMER GROUP" button.
- You can search the category by using the search space in the popup.
- To “Edit” the group click on the “Pencil icon” next to the customer group name. Similarly, to delete any group click on the “Delete” Icon the customer group. will be deleted.
4.3.3 Create Customers
1. To add a new customer, click on the green "Plus" icon From the button right corner.
3. IMPORTANT: In order to add a customer, you need to create a customer group first to be able to assign the customer to a group. Please read 4.3.2 first.
Once you click on create an icon, the customer creation page appears, it is divided into four tabs.
General: You can fill in the basic information about the customer such as:
- Upload the profile.
- Name of the customer.
- Customer Email.
- Customer Group.
- Customer Phone.
- Customer Fax Number
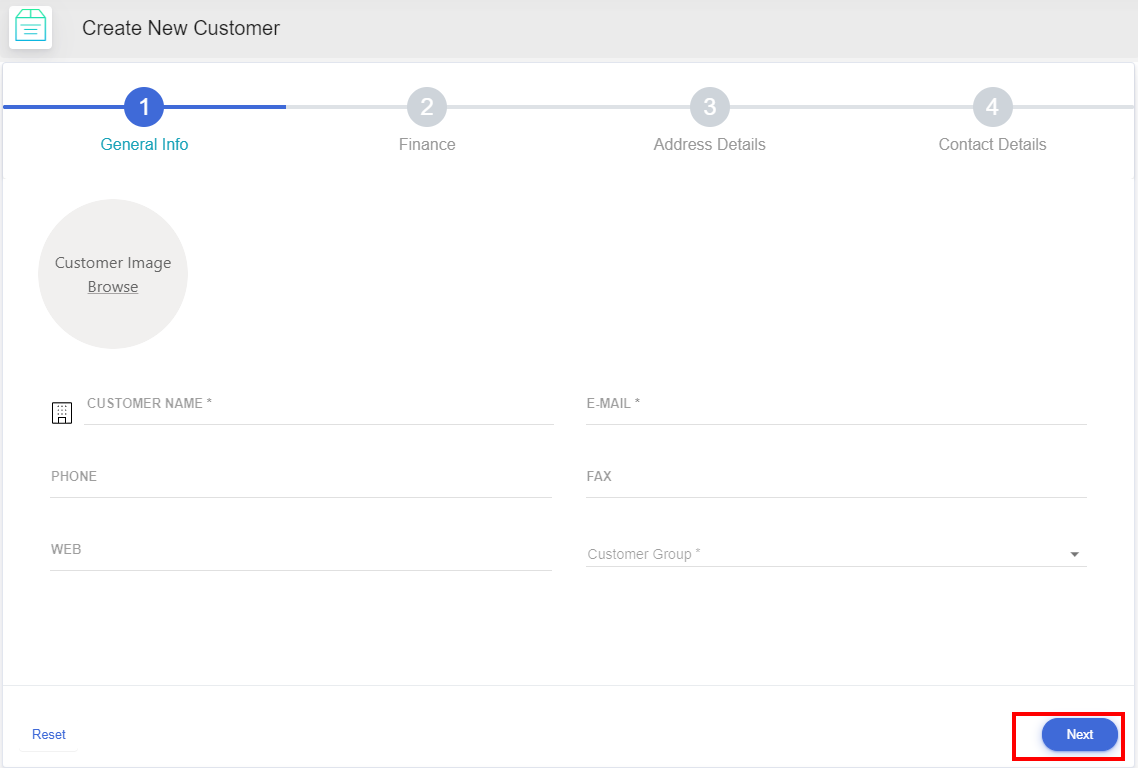
- After filling in the details click on “Next Button”.
- Finance: You can fill in the amount related information for the customer such as
- Select the “Currency Type” from the drop-down.
- Select the “Discount Type” from the drop-down.
- Select the “Tax Type” from the drop-down. etc as needed.
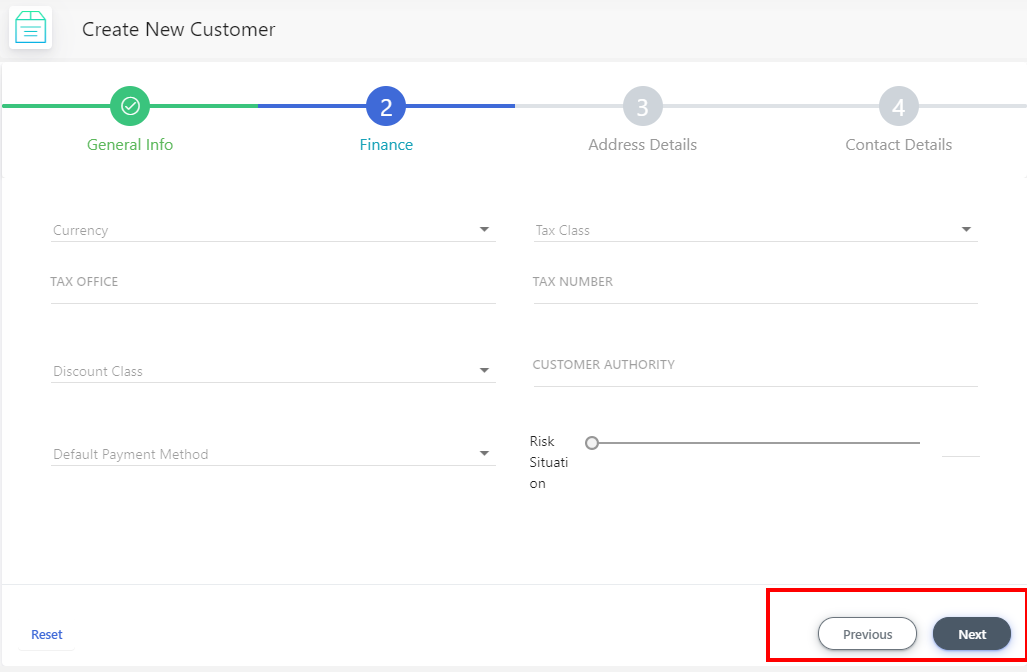
- After filling in the details click on “Next Button”. To go back to the previous tab click “Previous Button”.
Address Details: You can fill in the customer Address details such as
- Select the "Country" of the customer from the drop-down.
- Select the "State" of the customer from the drop-down.
- Copy the "Billing" address by clicking on the Copy icon.
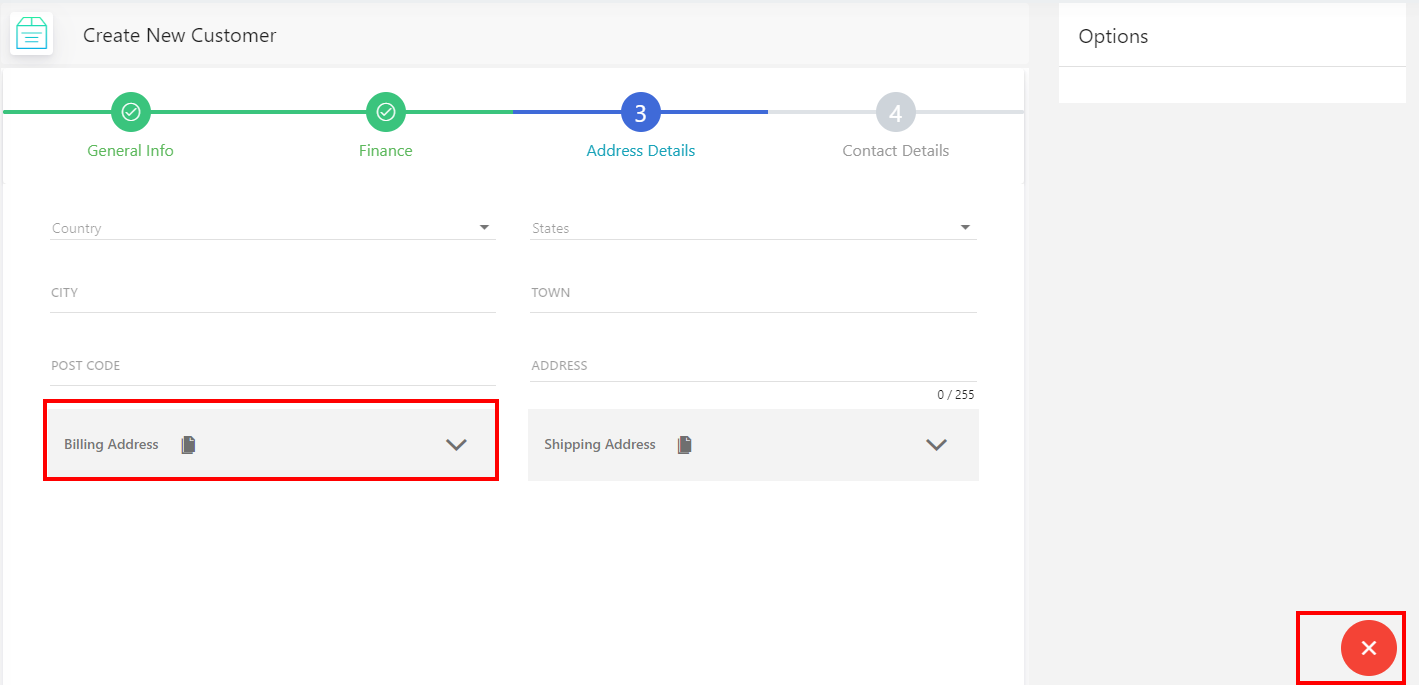
- After filling in the details click on the “Save Button”
- To go back to the previous tab, click on “Previous Button”
- Click on the “Cancel icon” on your right bottom corner to cancel the creation of the Customer.
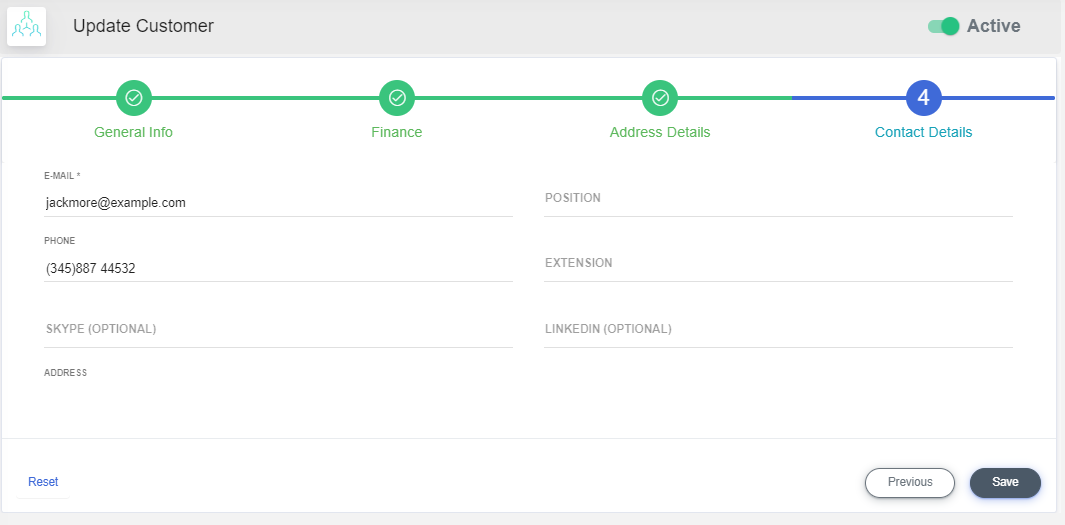
Contact Details: You can fill in the customer Contact details such as
Customer Contact is used to store details of the Customer’s employees. While creating a customer with contact, an account is created for the customer, using which they can log in using the Client/Customer area.
- Enter the Position of the "Contact".
- Enter the "Skype account".
- if this account you want to create as your default contact address with the customer Check the "Primary" box and set a password.
Remember Default contact can't be deleted.
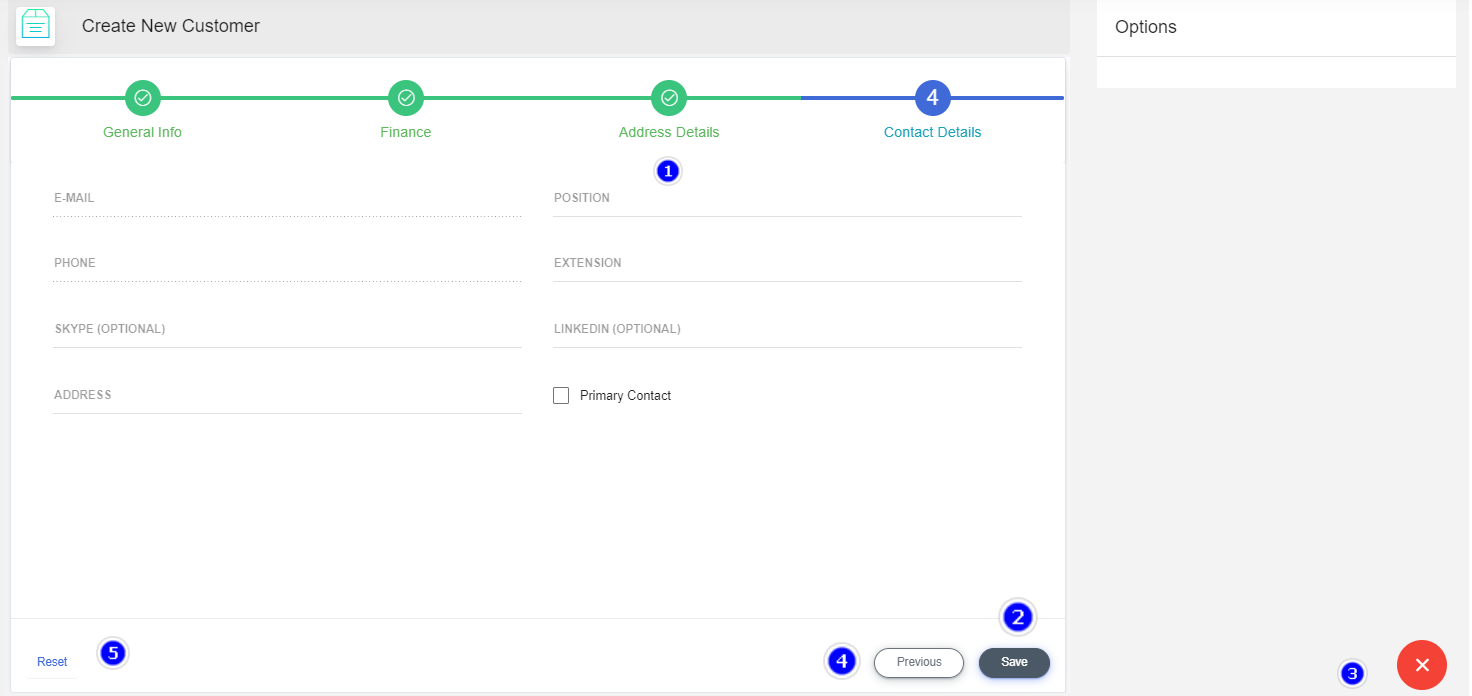
Click on the "Save" button the customer and the contact will be created.
Click on the "Previous" button to go back.
Click on the "Cancel" button will exit you from the creation of the customer.
4.3.3 Create Customer Contact:
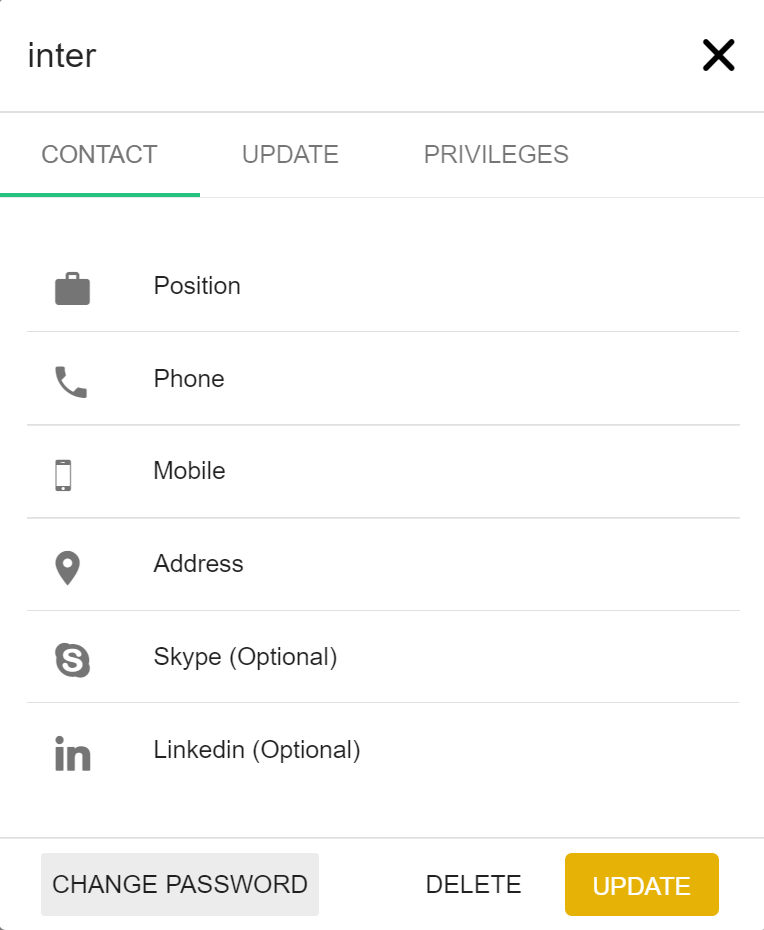
Click on the particular customer to add a new contact,
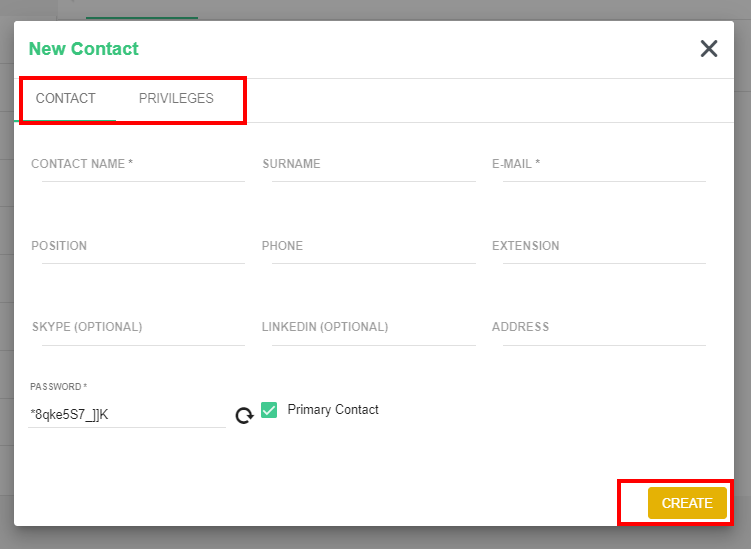
Select the Contact icon button from the right bottom corner. A Popup appears where you can fill in the Contact details for new Contact also give him the privileges and click on Create button. The new Contact will be created.
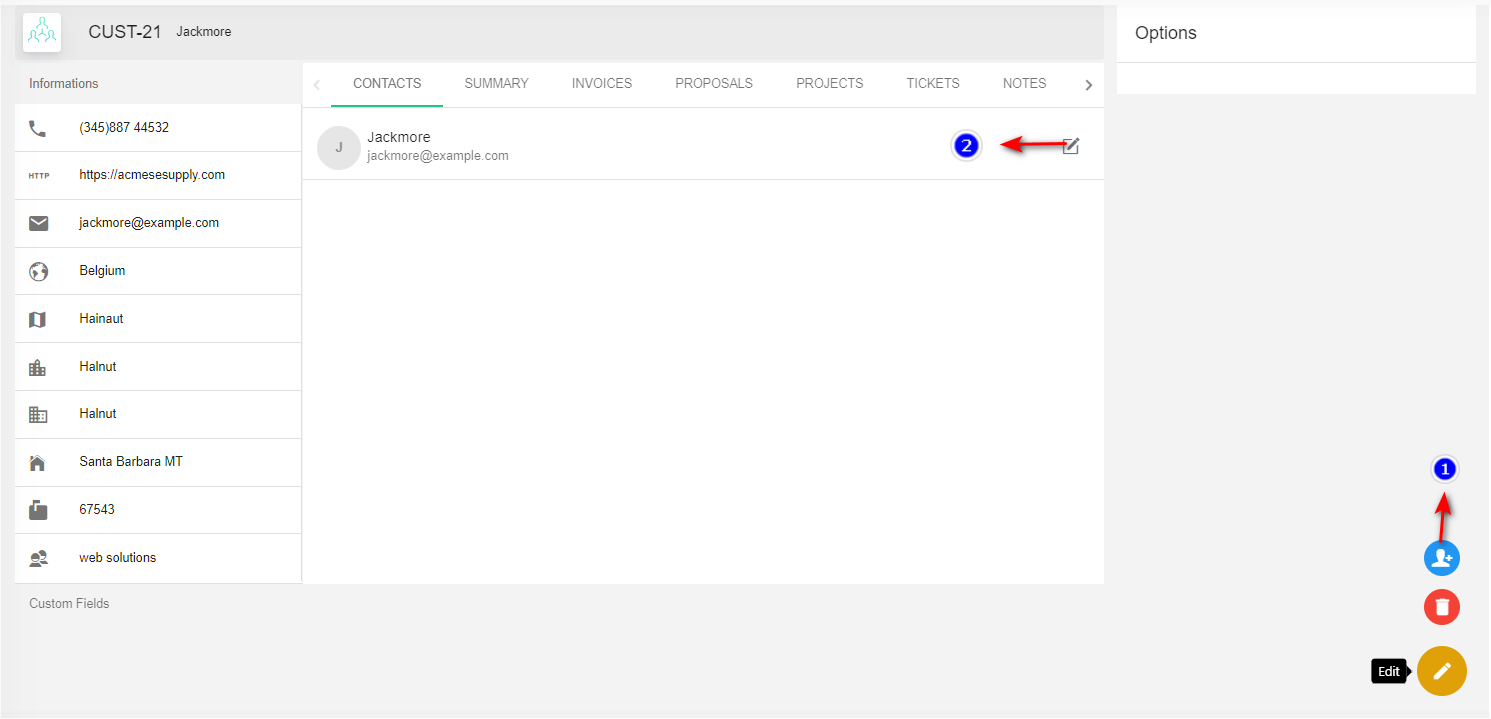
 To update Contact click on the pencil icon
4.3.2 Edit Customer:
1. Click on the customer you want to Edit from the right bottom corner.

2. Click on the "Pencil icon" icon.
3. Active button: Enable or disable the "Active" button to activated or deactivated the customer
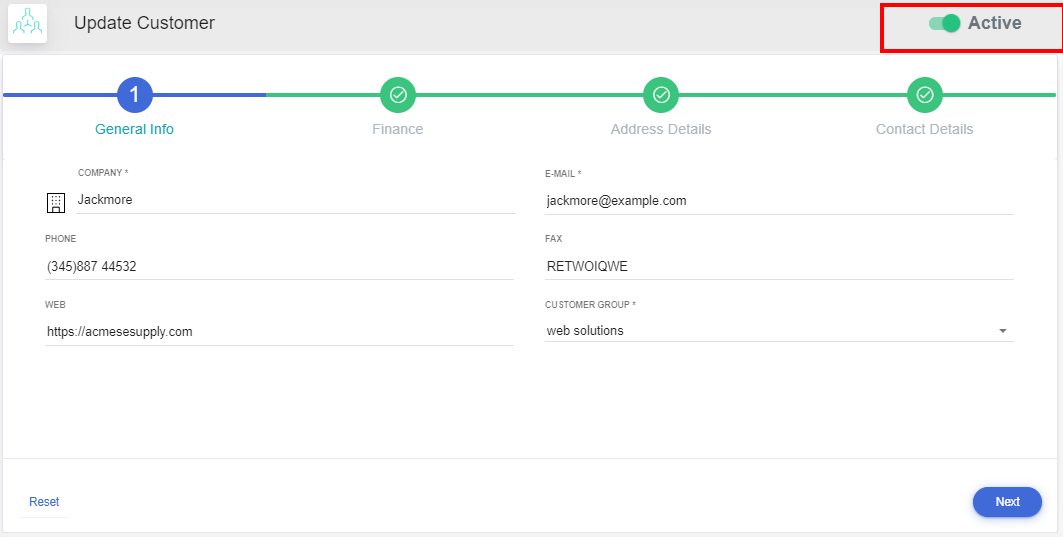
The Update is followed up with the same 4 steps
General: You can update the basic information about the customer such as:
- Update the customer Name and profile if needed.
- Update Customer Email.
- Update Customer Group.
- Update Customer Phone.
- Update Customer Fax Number.
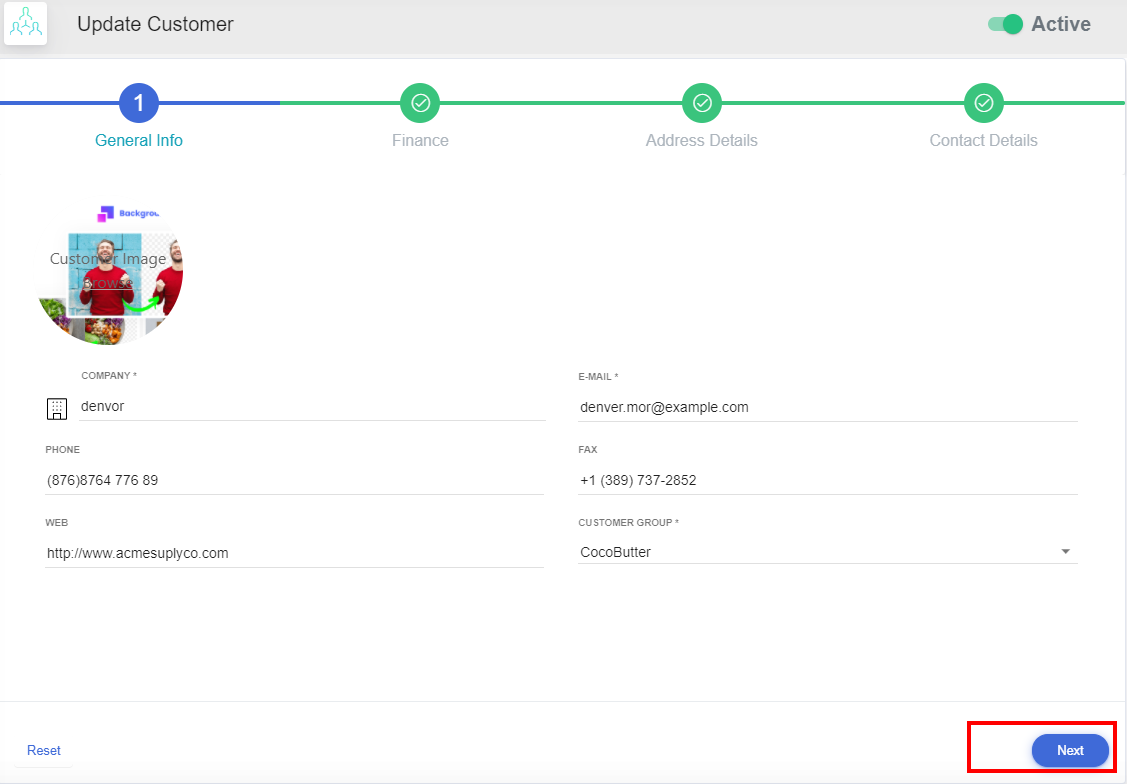
- After filling in the details click on “Next Button”.
Update the “Currency Type” from the drop-down.
Update Select the “Discount Type” from the drop-down.
Update “Tax Type” from the drop-down. etc as needed.
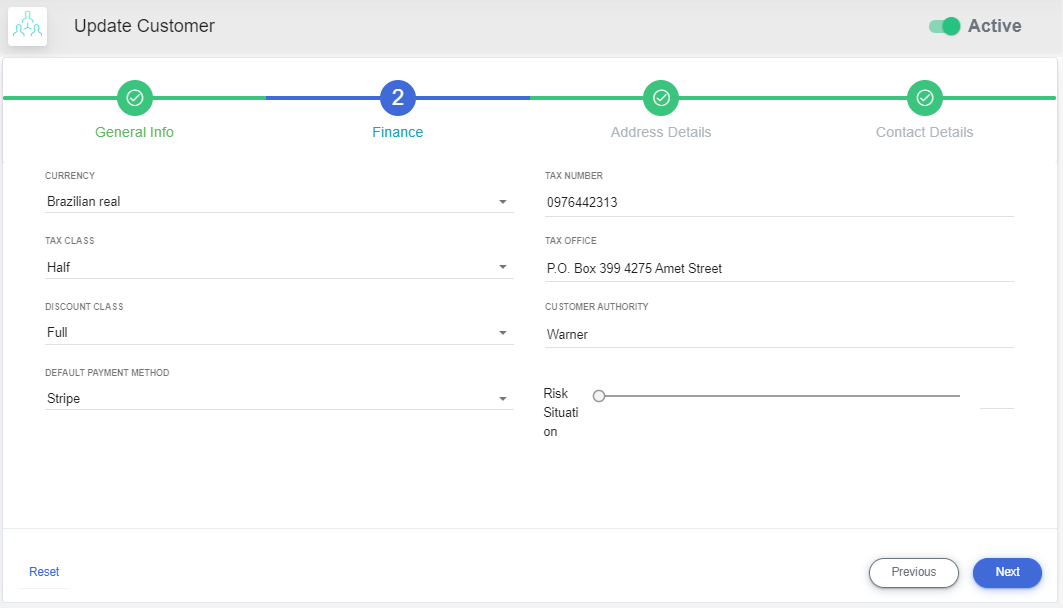
- After filling in the details click on “Next Button”. To go back to the previous tab click “Previous Button”.
Address Details: You can update the fields in customer Address details such as
- Update the "Country" of the customer from the drop-down.
- Update the "State" of the customer from the drop-down.
- Update the "Billing" address by clicking on the Copy icon.
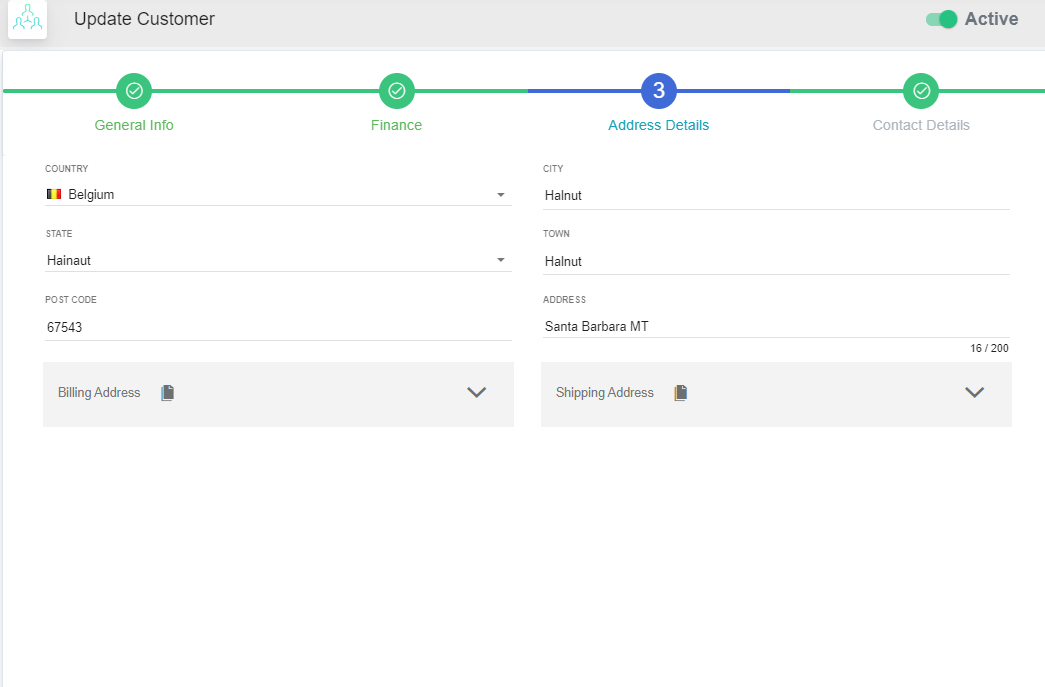
- After filling in the details click on the “Save Button”
- To go back to the previous tab, click on “Previous Button”
- Click on the “Cancel icon” on your right bottom corner to cancel the creation of the Customer.
Contact Details: You can update the fields in the customer Contact details such as
- Updater the Position of the "Contact".
- Update the "Skype account".
Remember Default contact can't be deleted.
Click on the "Save" button the customer and the contact will be created.
Click on the "Previous" button to go back.
Click on the "Cancel" button will exit you from the creation of the customer.
5. For customer deletion click on the "Remove"(6) icon.
4.3.3 Edit Customer Contact:
1. Click on the contact to be edited.
2. All the details of the contact are displayed in the pop-up window.
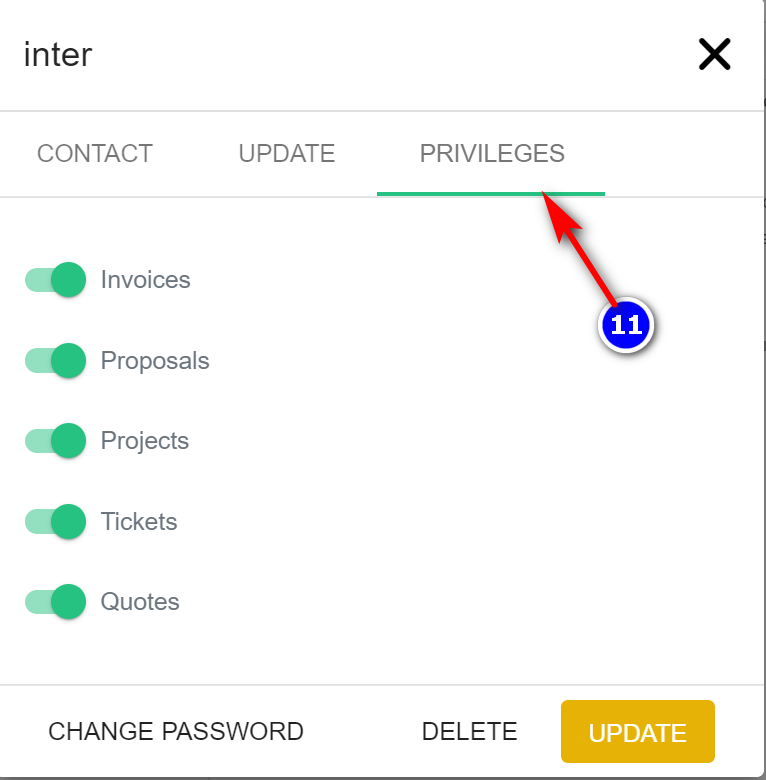
3. Click on the "Update" Tab (7) to change the details. Enter the details and click on the “Update”(9) button.
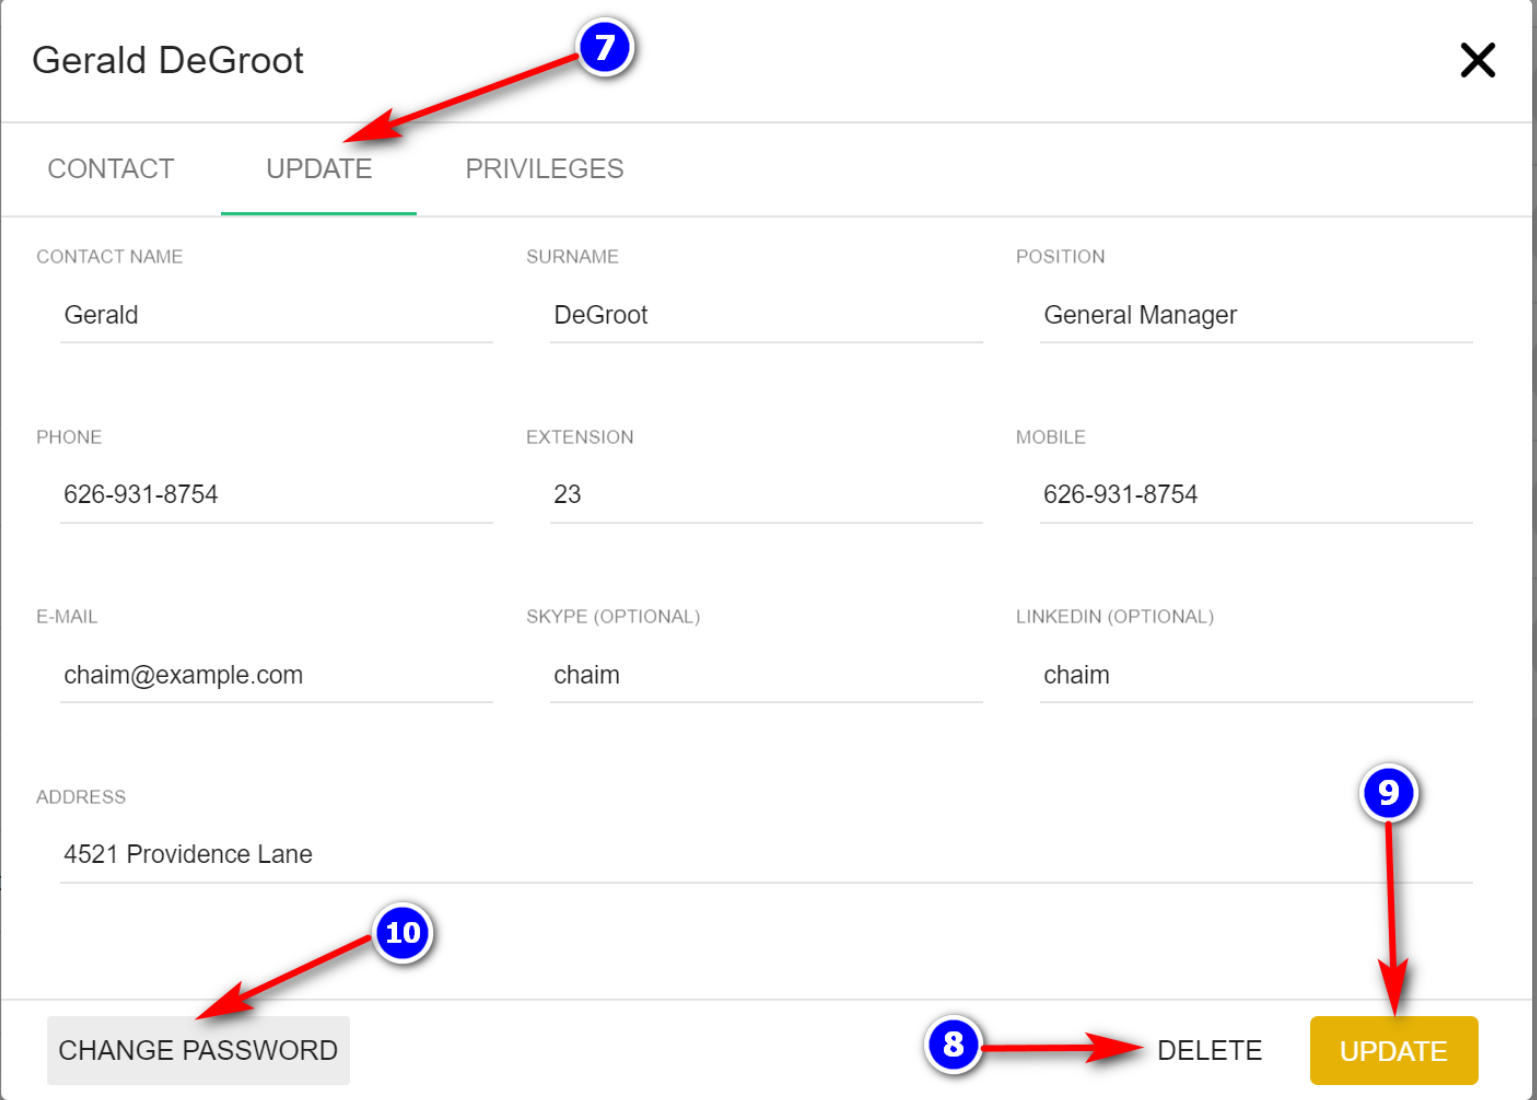
4. Click on the "Delete"(8) button to delete the contact.
5. Click on the "Change Password"(10) button to change the password for the contact account.
6. Navigate to the "Privileges"(11) Tab to modify the privileges gives to the contact.
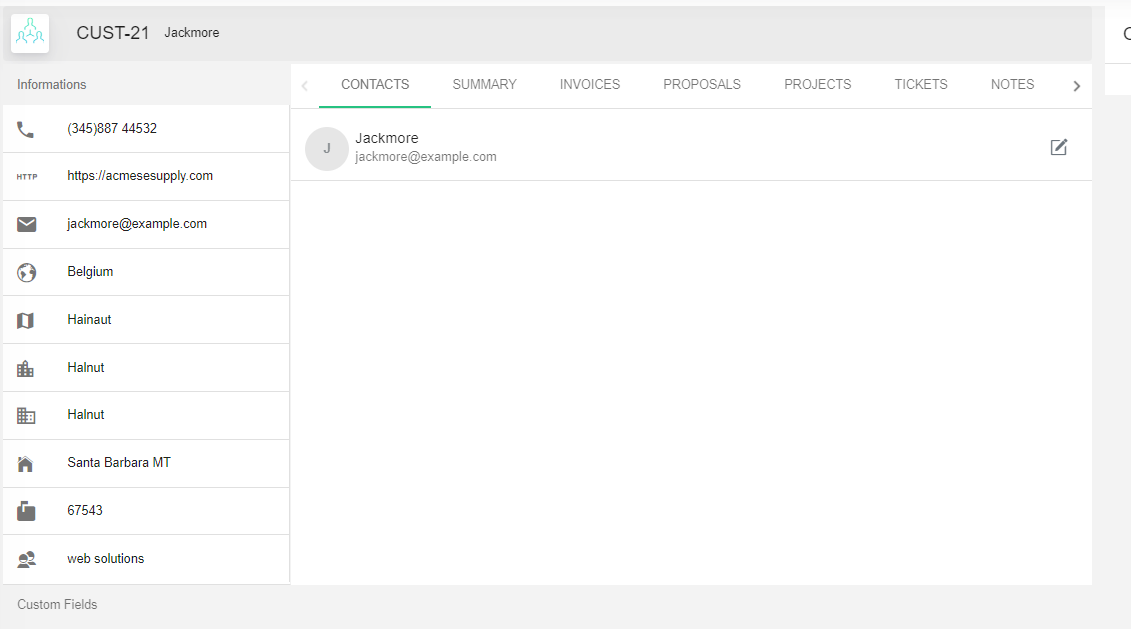
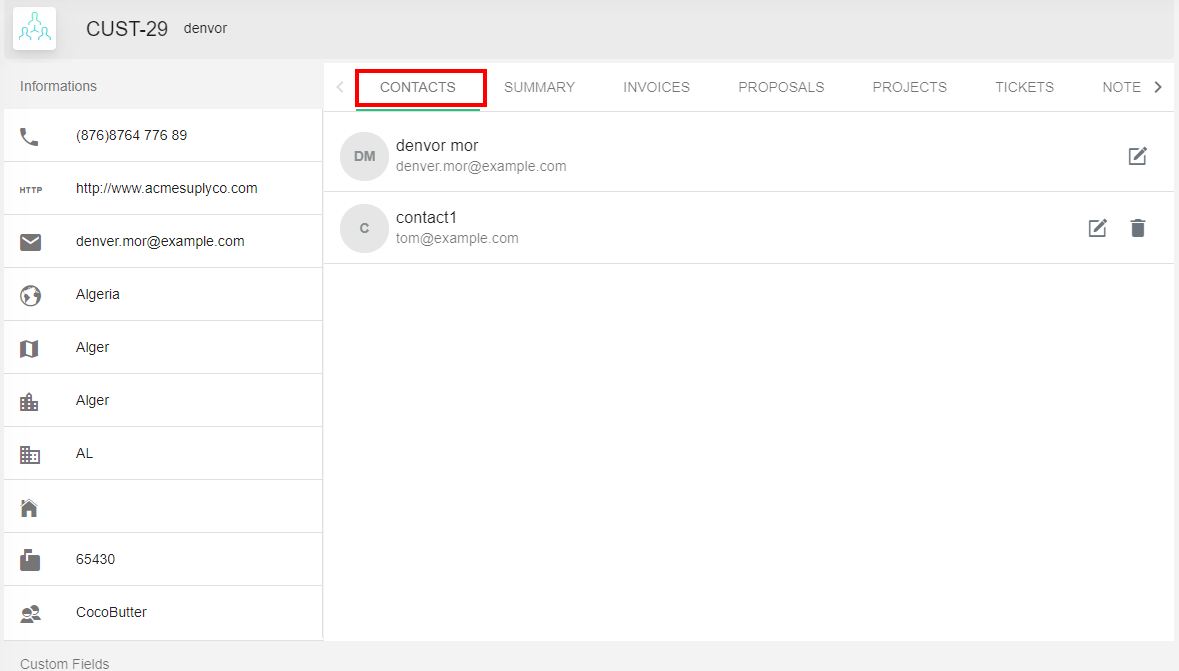
4.3.4 Customer Page Details:
You can see the contacts that have been added. The default contact is created when the new customer is created, You can not delete the default contact.
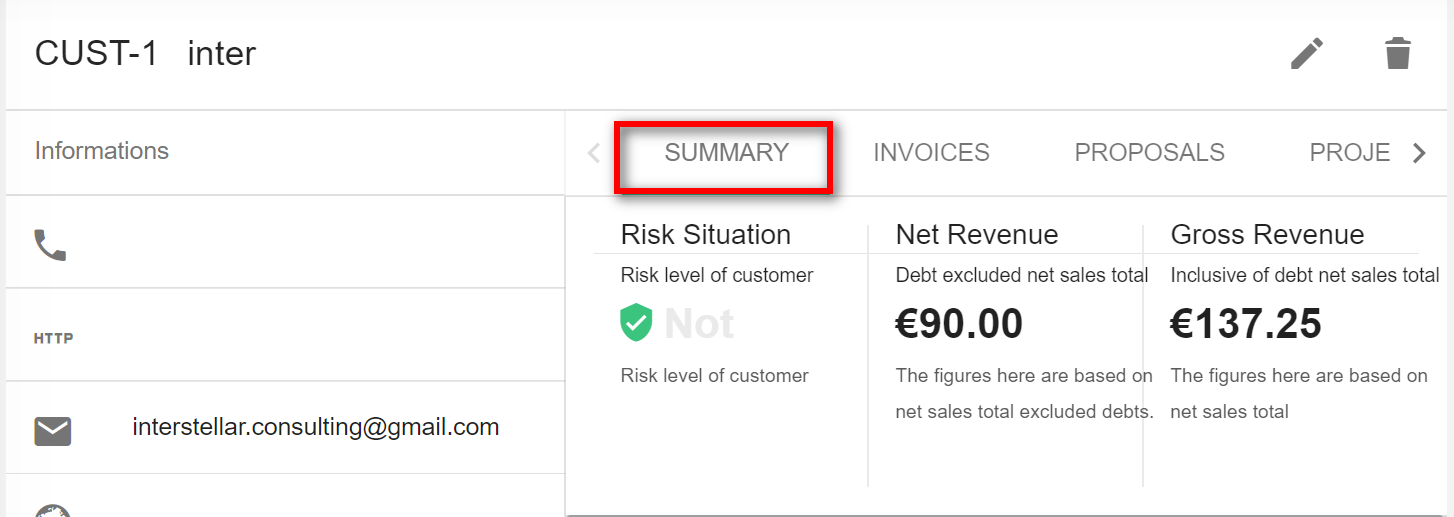
1. Summary: This tab displays all the transactions made by the customer.
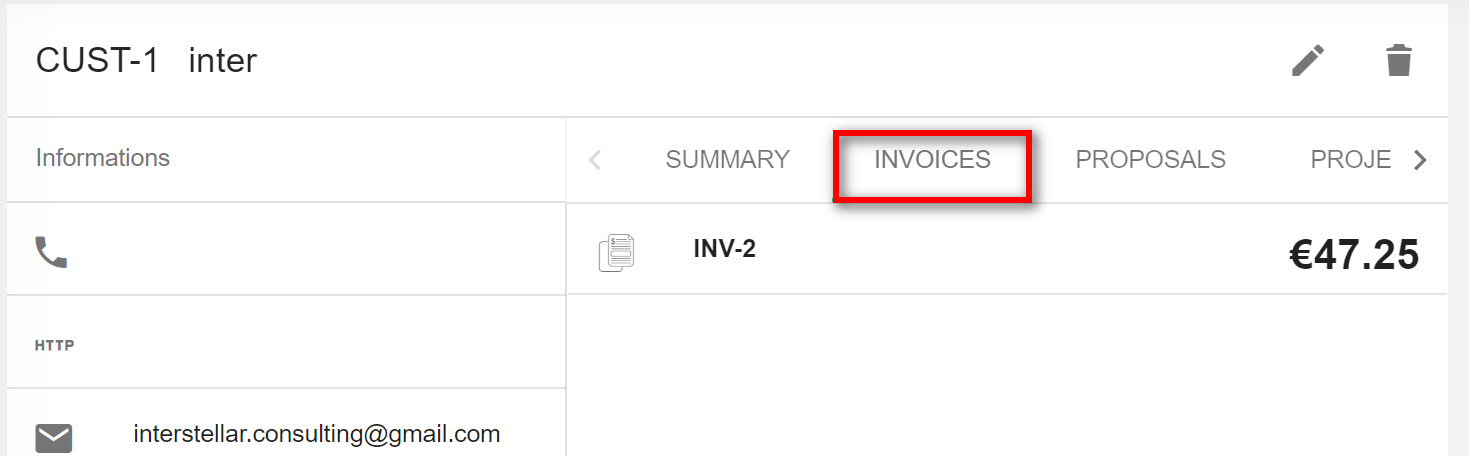
2. Invoices: This tab displays all the invoices pertaining to the customer.
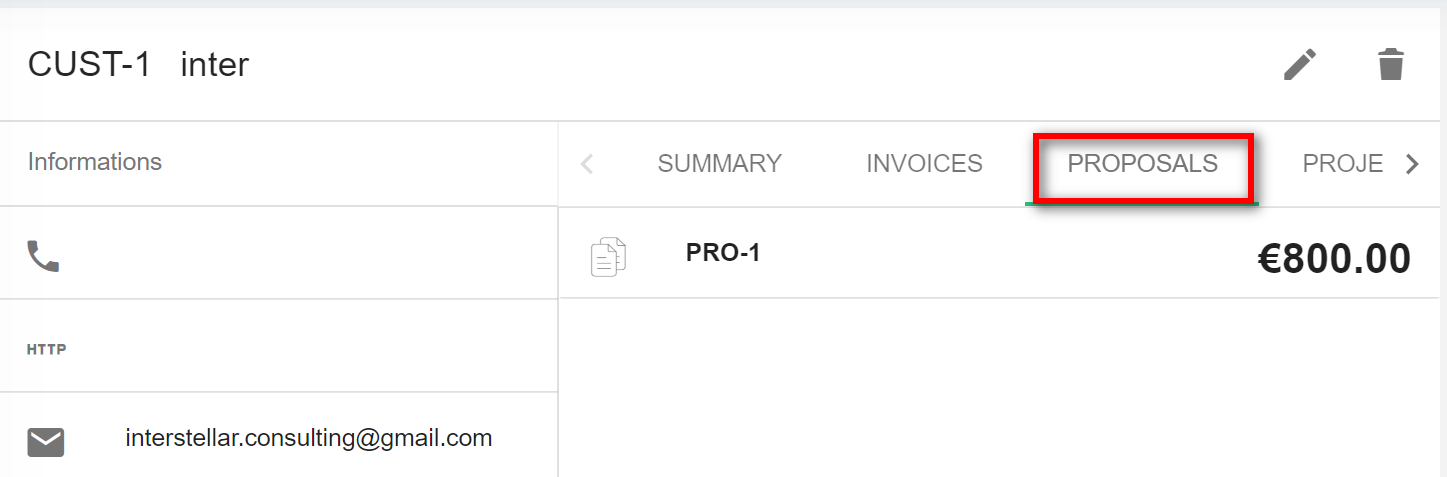
3. Proposals: This tab displays all the proposals sent to the customer.
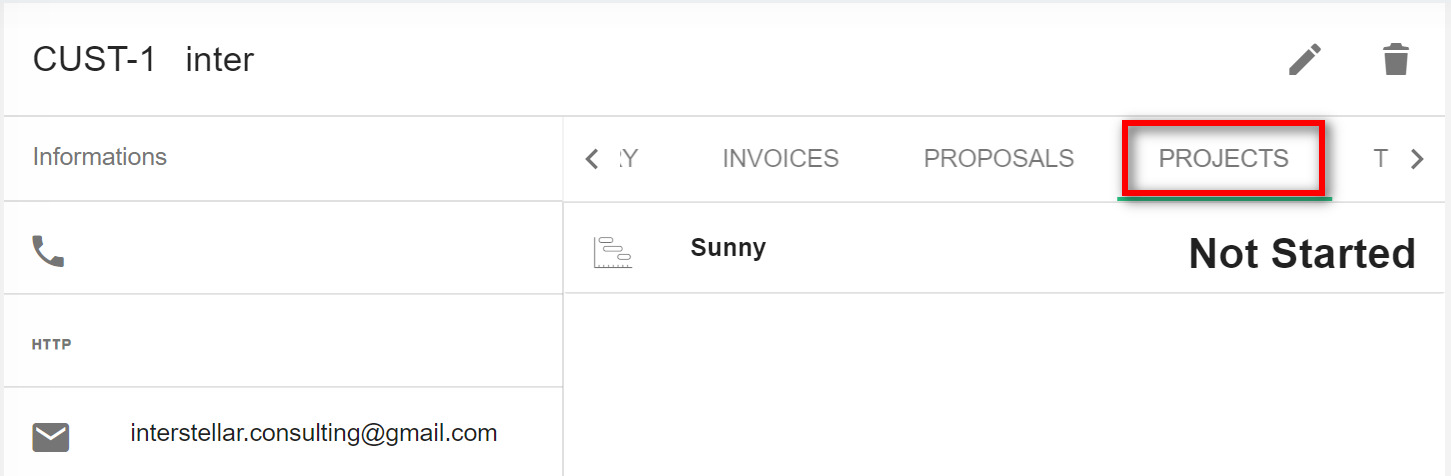
4. Projects: This tab displays all the projects pertaining to this customer.
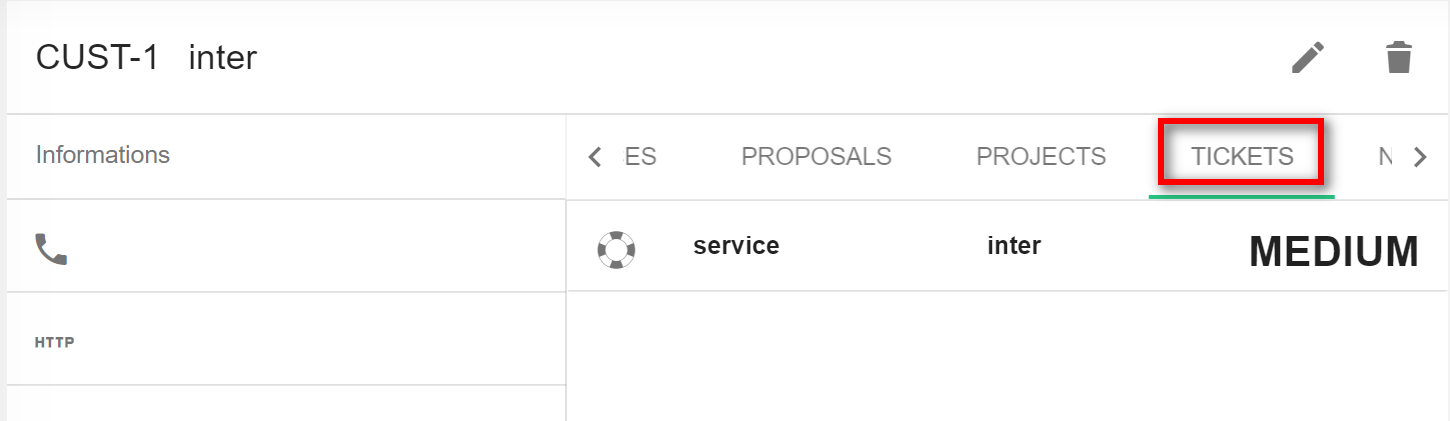
5. Tickets: This tab displays all the tickets pertaining to the customer.
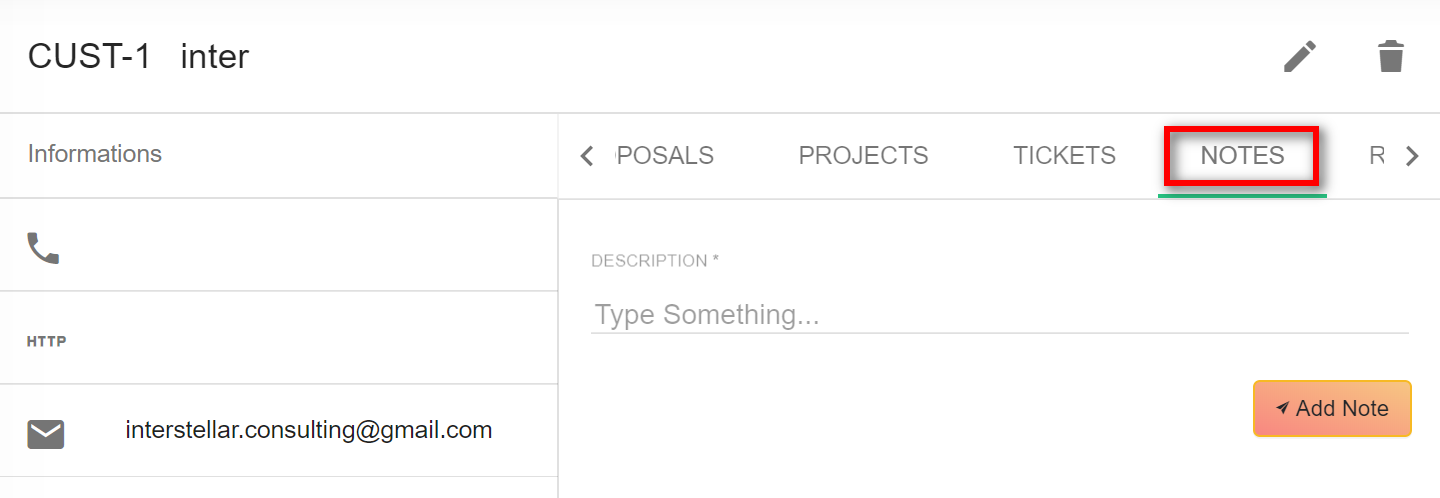
6. Notes: This tab displays all the notes created by the staff. Notes are internal and are not shown to the customer.
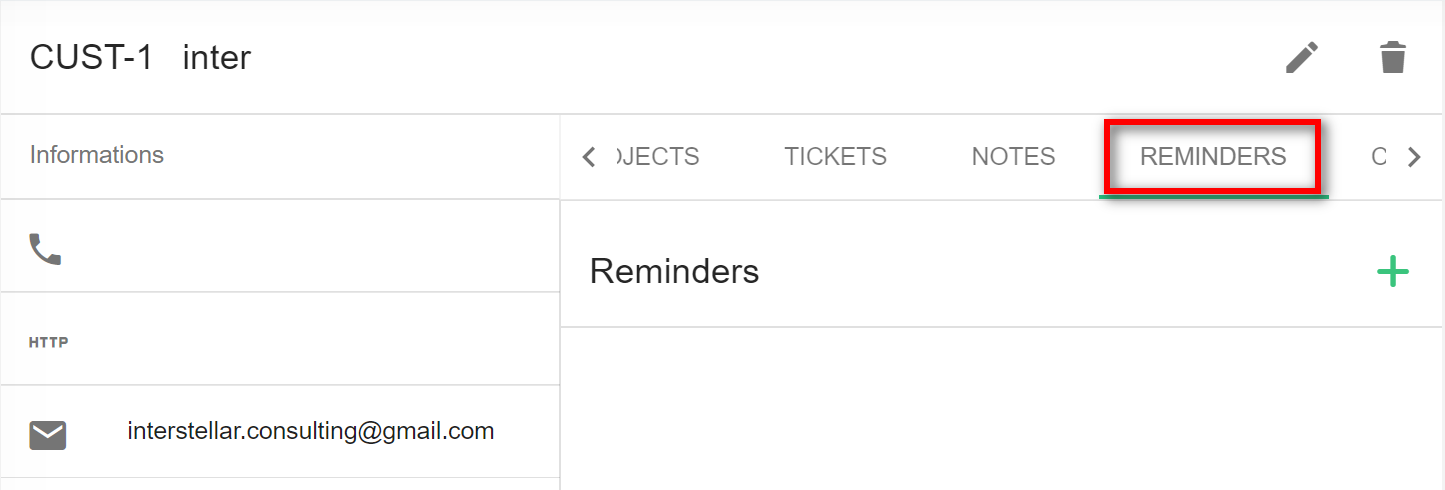
7. Reminders: This tab displays all the reminders set regarding this customer.
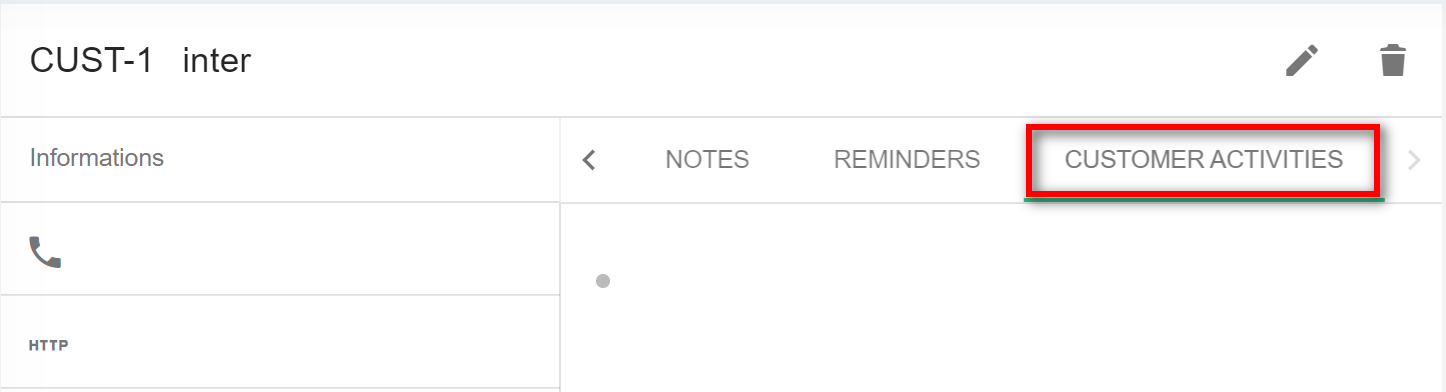
8. Customer Activities: This tab displays all the customer activities.
 4.3.6Import Customers:
Customers can be imported into the CRM from a .csv file.
Import Products (3): Customers can be imported into the CRM from a .csv file.
1. From the main customer’s page, click on the "Import icon " icon.
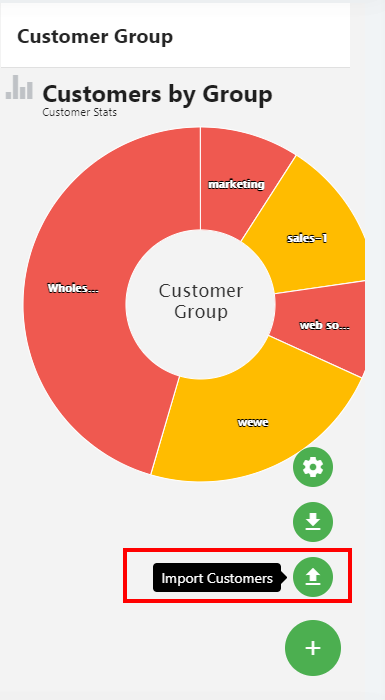
2. Click on the "Import Customer" option. a popup appears as shown below.
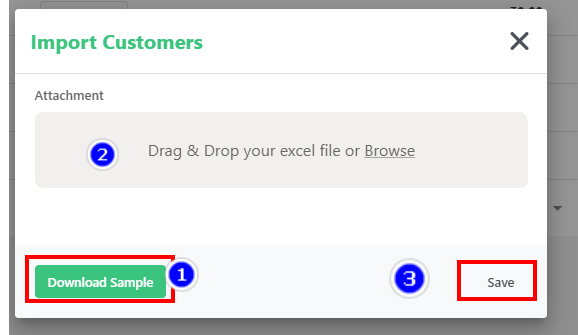
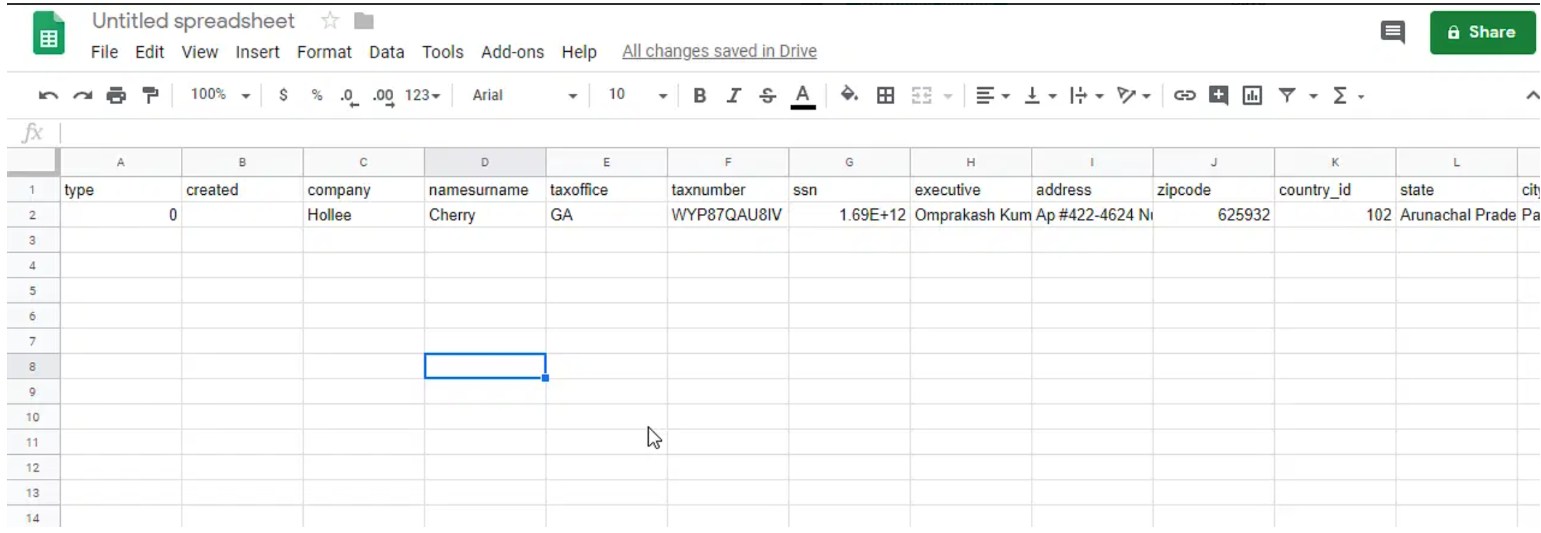
- Download Sample (1): click on the Download Sample button, to download a sample .csv file.
- Create the .csv file by referring to the sample given. And save the file locally.
- Choose file (2): Click on the "choose file" input box, navigate to the location of the file. Click on "Save" to begin the importing.
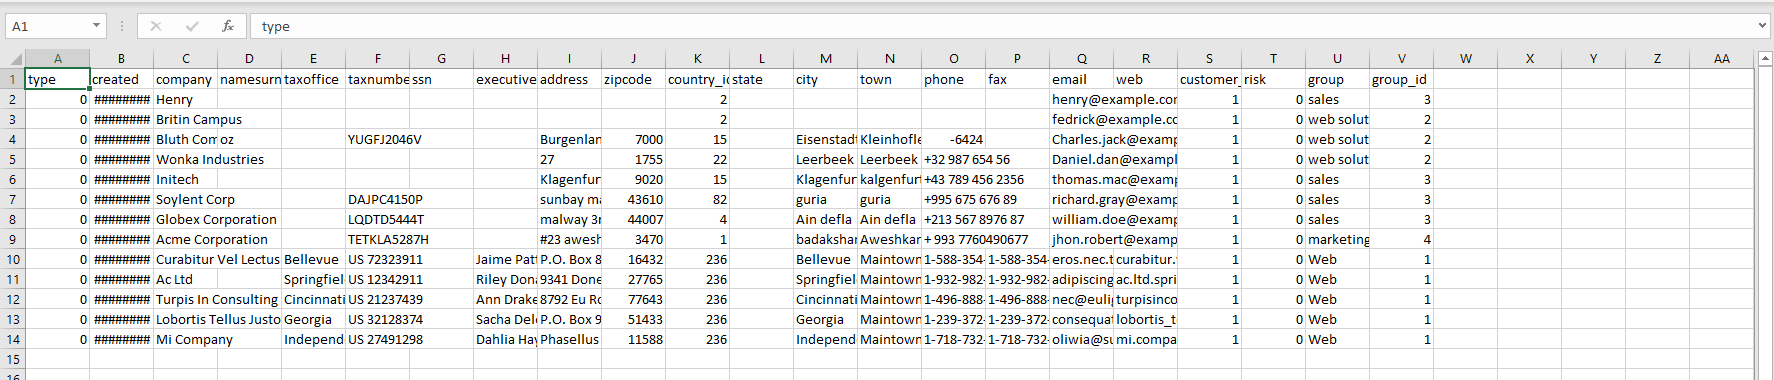
3. Imported customers are now displayed.
NOTE: If there are any errors in the .csv file created, those entries will be skipped and their line numbers will be displayed in the error.
4.3.7 Export Customers:
Export Customers (2): Customer can be exported from the CRM application in the form of a .csv file locally.
1. From the main customer’s page, the "Export Customers" icon
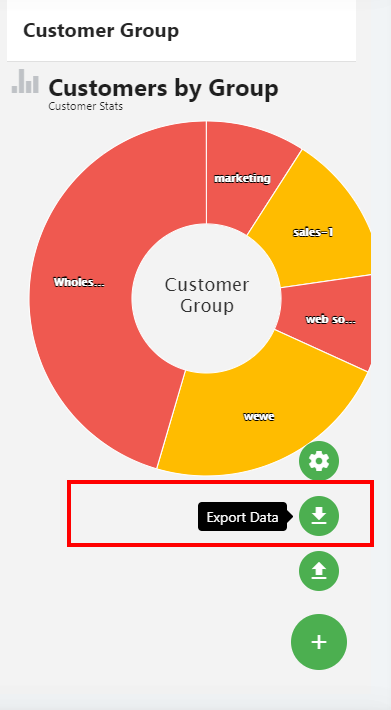
2. All the customers stored on the CRM will be stored in a .csv file and downloaded onto the local system automatically.
Once you click on create an icon, the product creation page appears, it is divided into three tabs.