
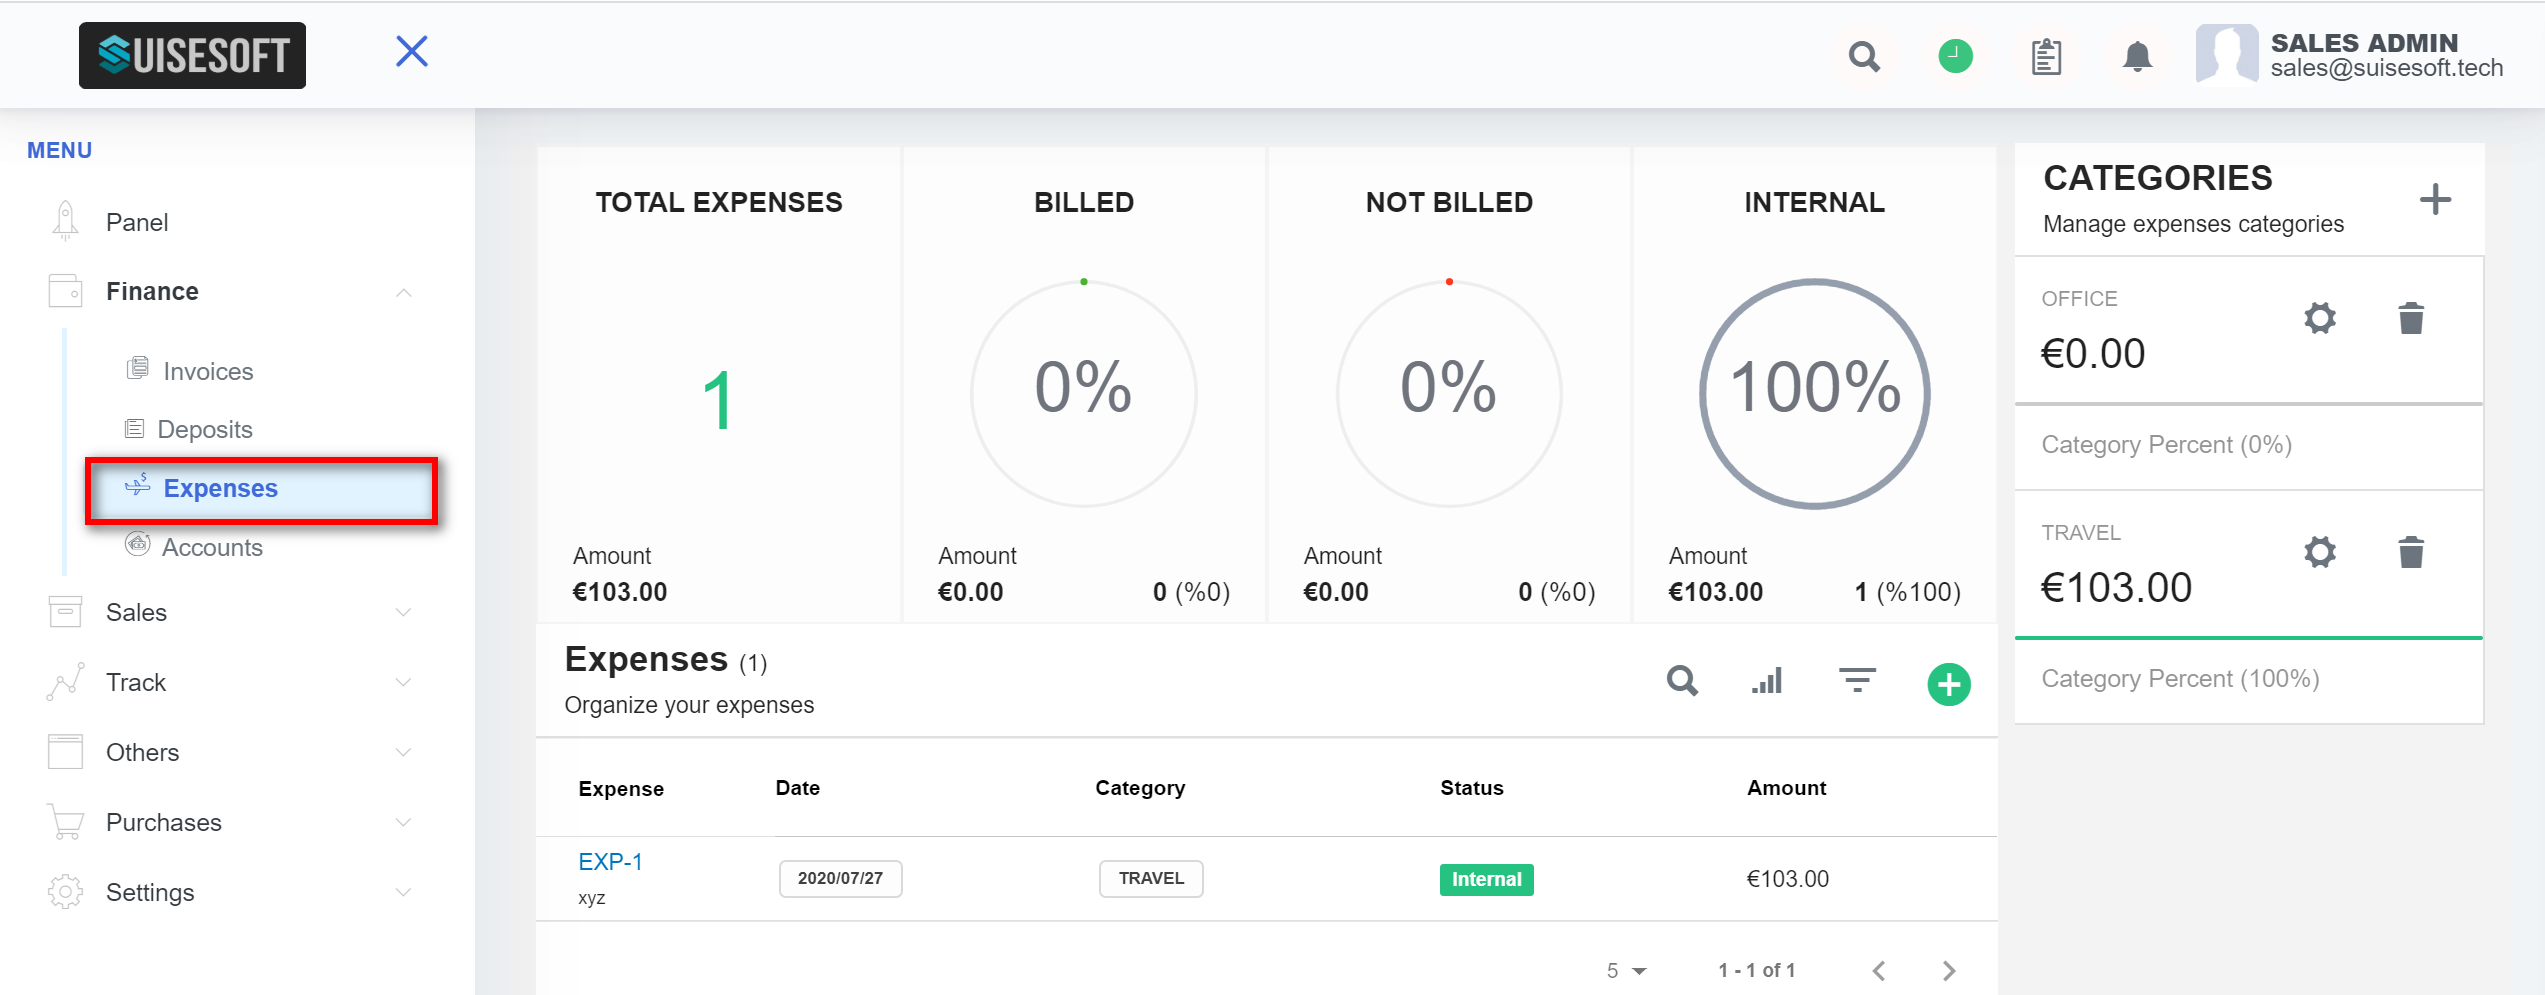
3.3.1How to manage Expenses?
1. Expenses can be found under Finance in the main menu.
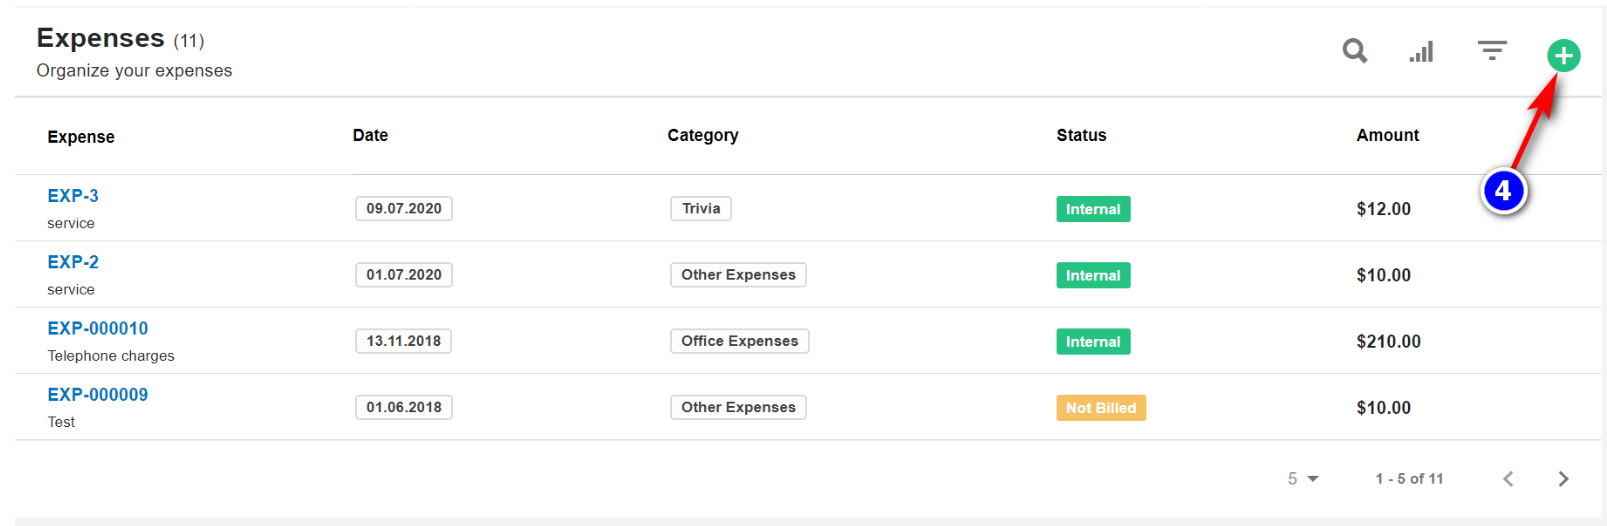
2. Here all the expenses created are listed. You can search by clicking on the "Search"(1) icon.
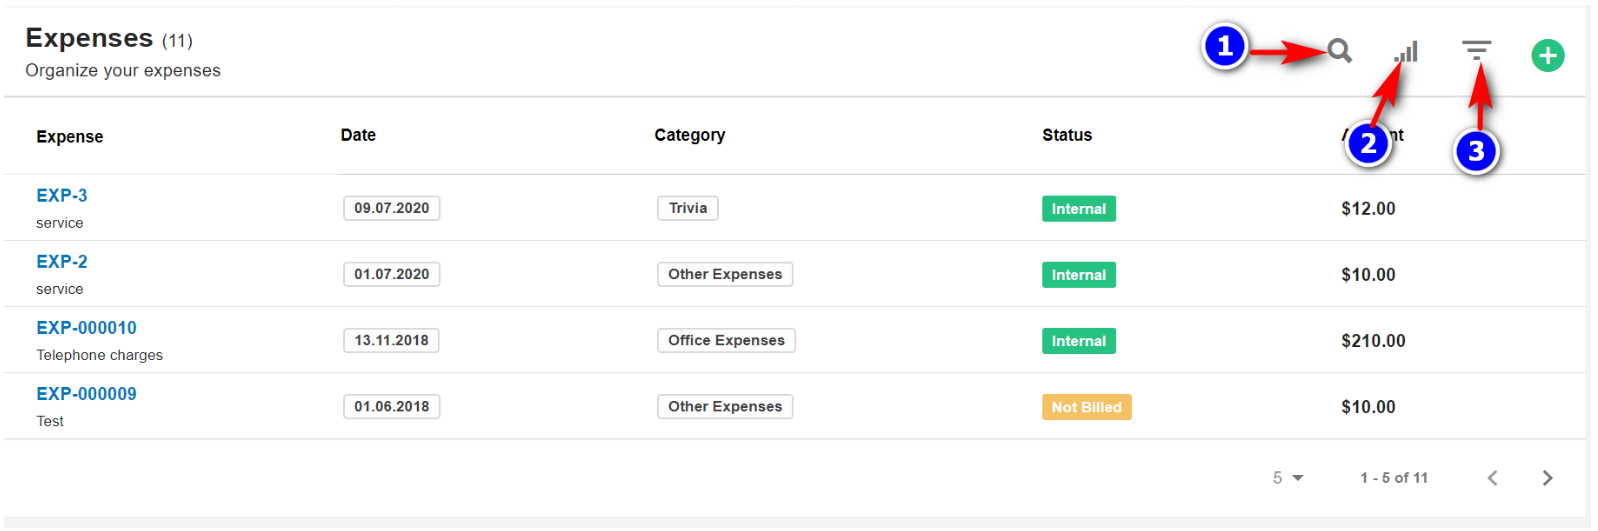
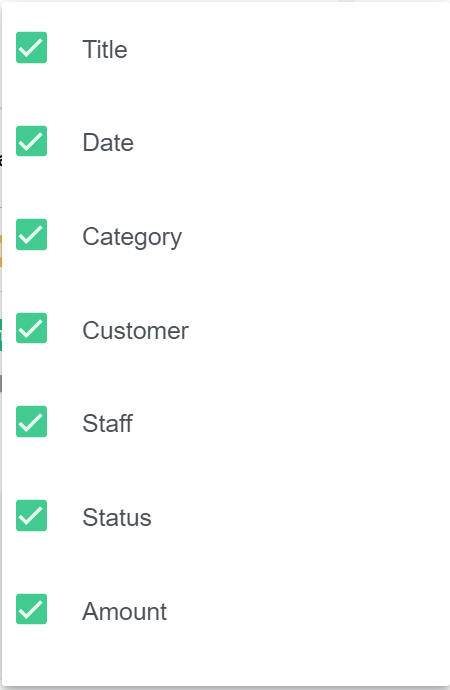
3. By default, all the columns for the table are displayed. To manage the columns to be displayed, click on the “Filter Column”(2) icon.
4. The list of columns will be displayed. Check the columns you want to be displayed. This option will be saved.
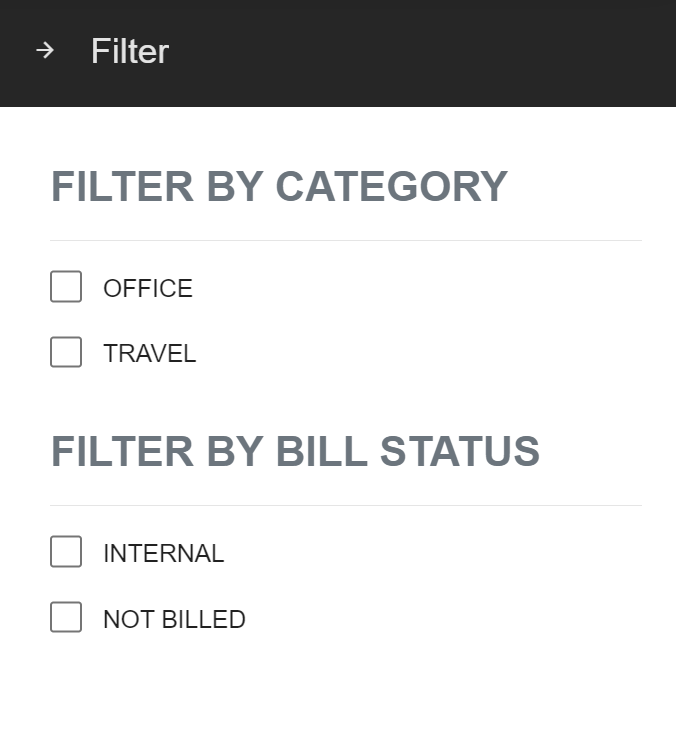
5. You can filter the invoices by clicking on the "Filter"(3) icon.
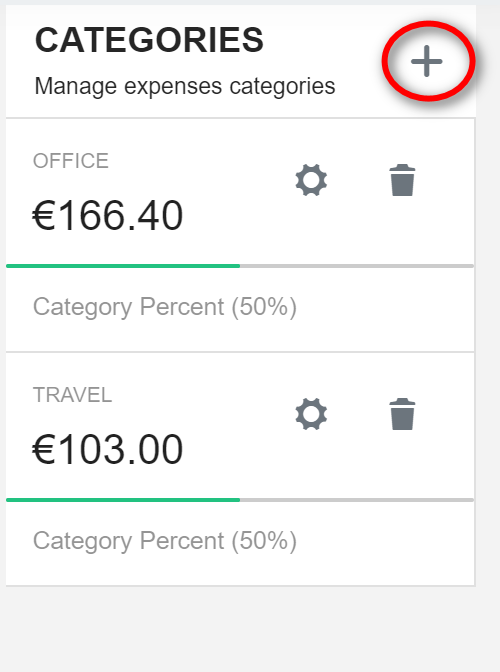
1. Once in the Expenses page, you can create a category of expense by clicking on the "+" icon under categories.
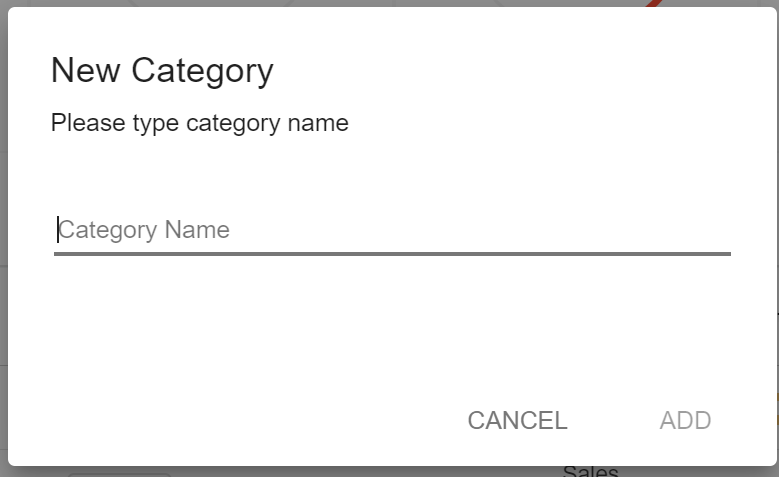
2. Enter the category name and click on Add.
3. The created categories are listed under categories.
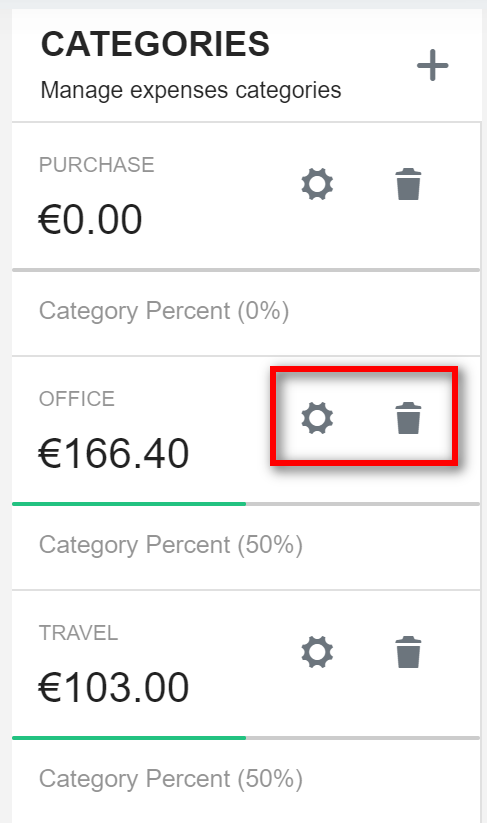
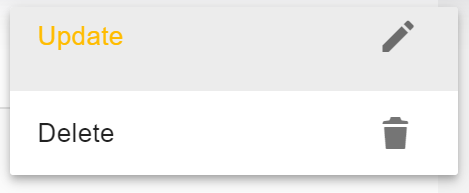
4. To edit category name or to delete a category click on the appropriate icons.
3.3.3 Create Expense:
1. To create an expense, click on the "Create"(4) icon.

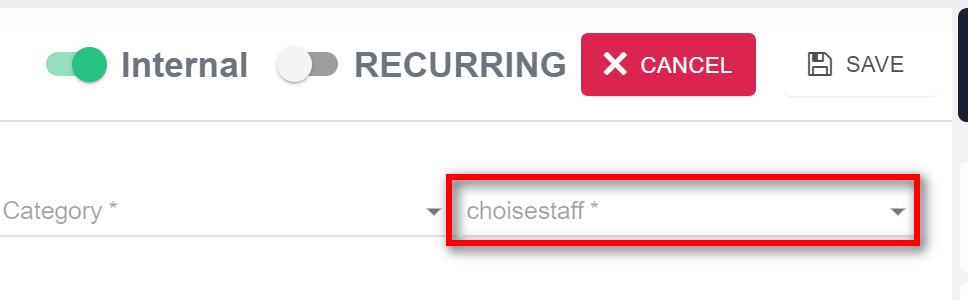
2. For Internal Expense:
Internal Expense is for staff to claim compensation for the expenses they incurred on behalf of your organization.

- Set the toggle to internal.
- Select the appropriate staff claiming the expense.
3. For External Expense:
External Expense is for your organization to claim compensation from the client/customer for expenses incurred.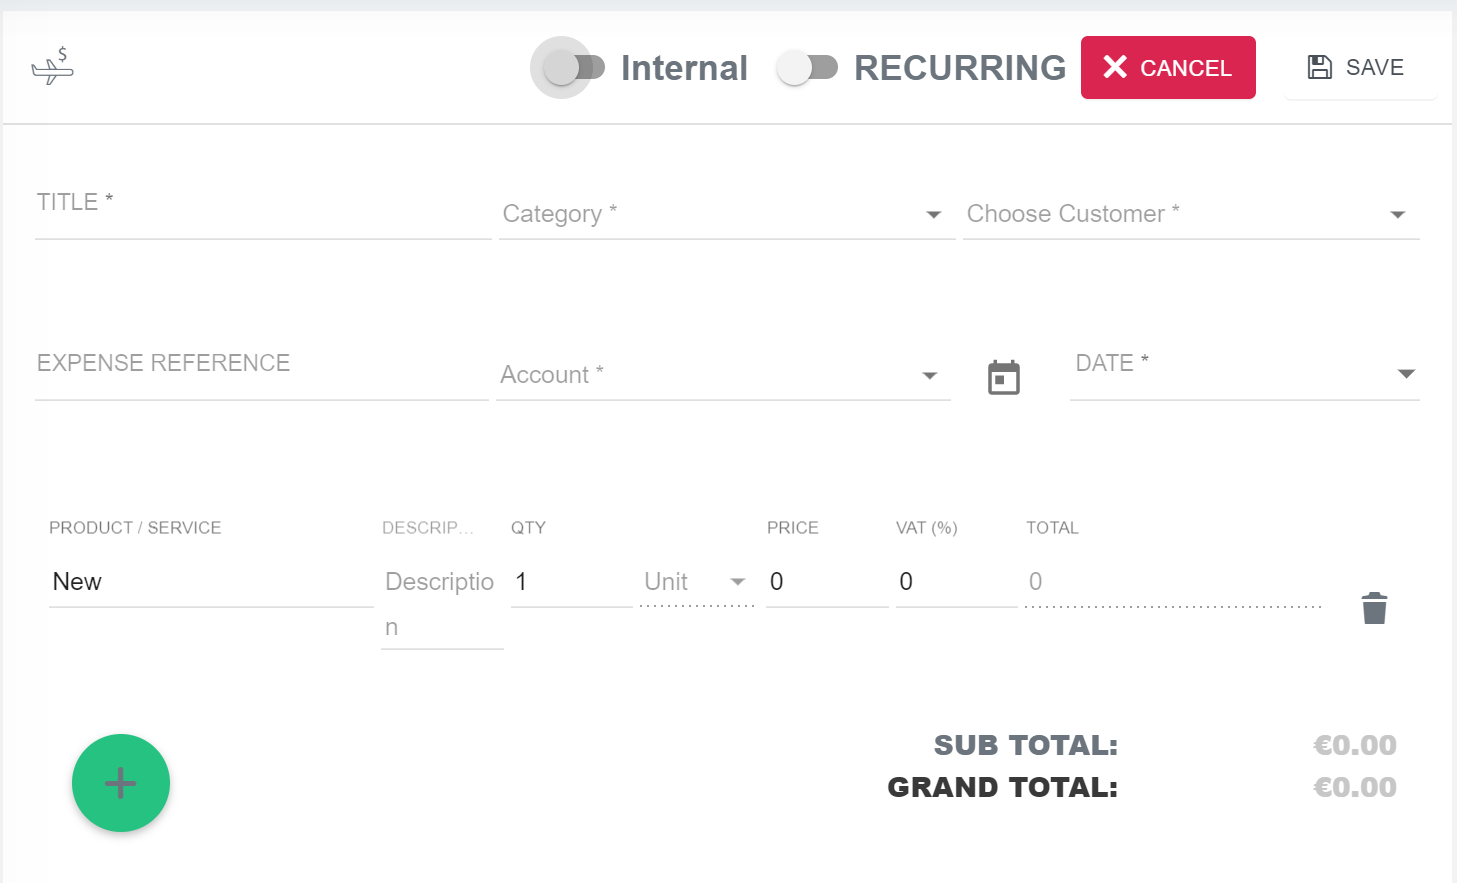
- Set the toggle to external. (Default position).
- Select the appropriate customer.

4. Enter the details and click on the save icon.
3.3.4 Create Recurring Expenses:
1. To Create a recurring expenses, click on the "Create"(4) icon.
2. Fill in all the details and to make it Recurring, select "Recurring" using toggle bar as shown.
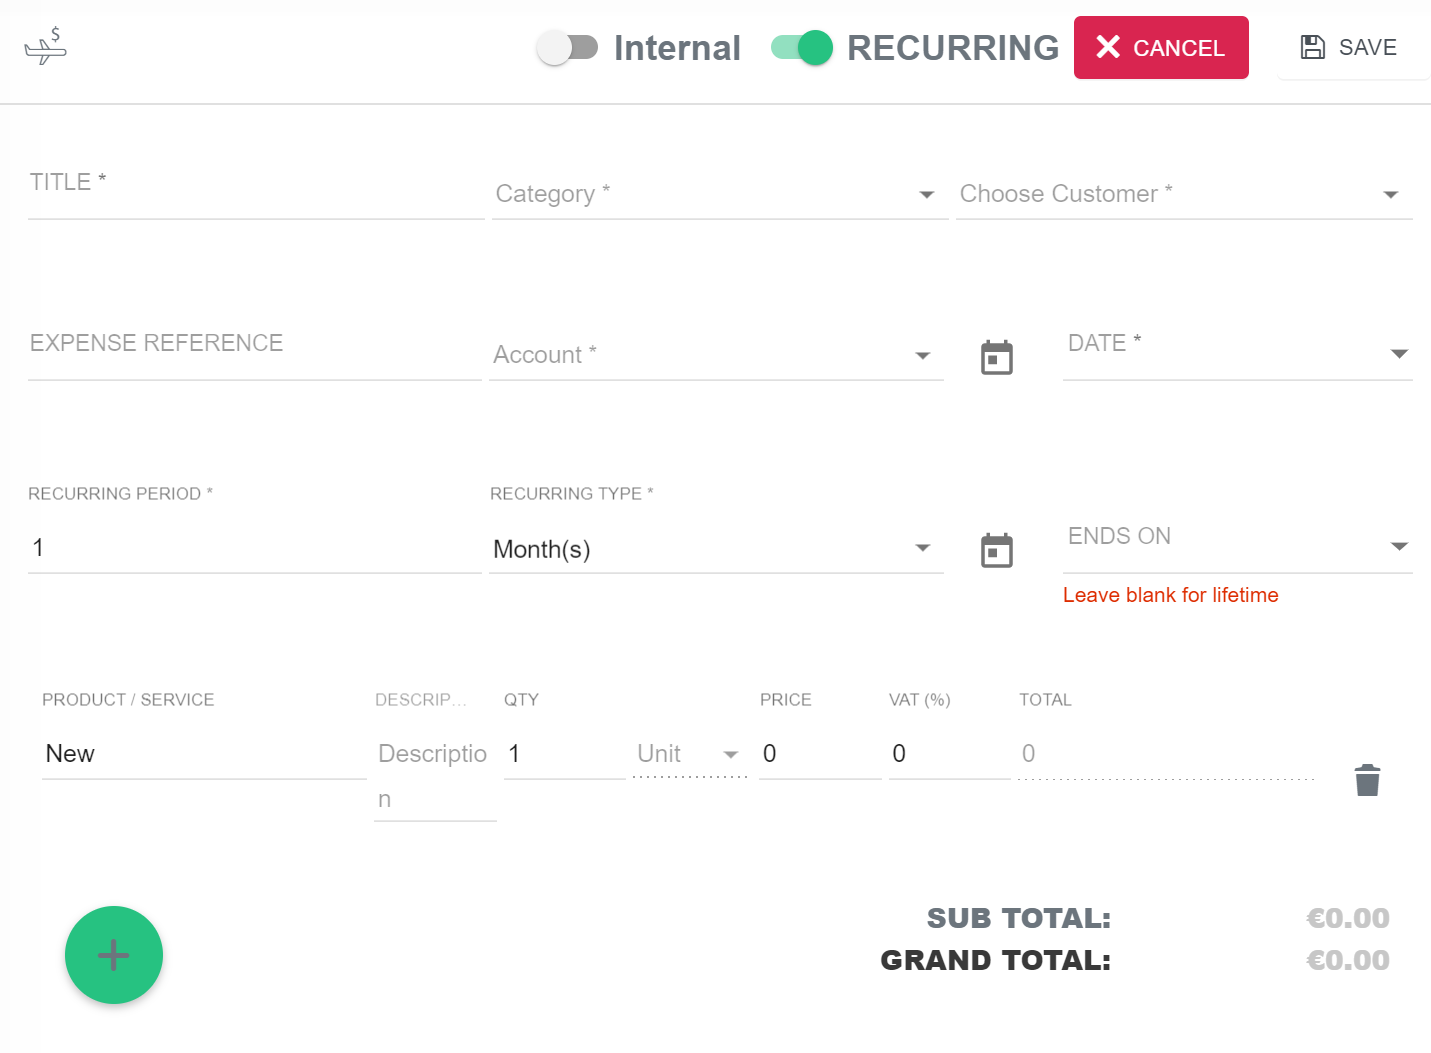
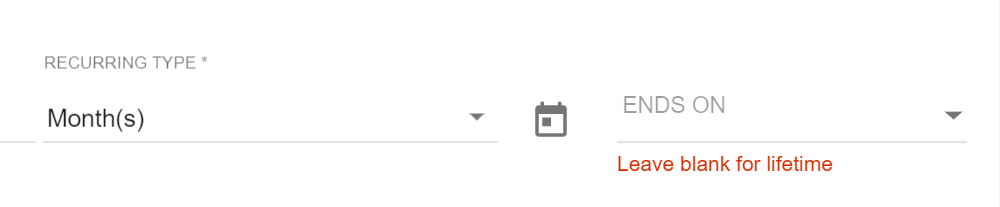
- Please note in order to make Invoice Recurring for Lifetime, Leave ‘Ends On’ Field Blank.
3. Set the required recurring period. An invoice will be created when you click on the “Tick” button. Every time you run the CronJob, it will check if the recurring period has elapsed after the issue date, if it has elapsed, then another invoice is created and added to the email list.
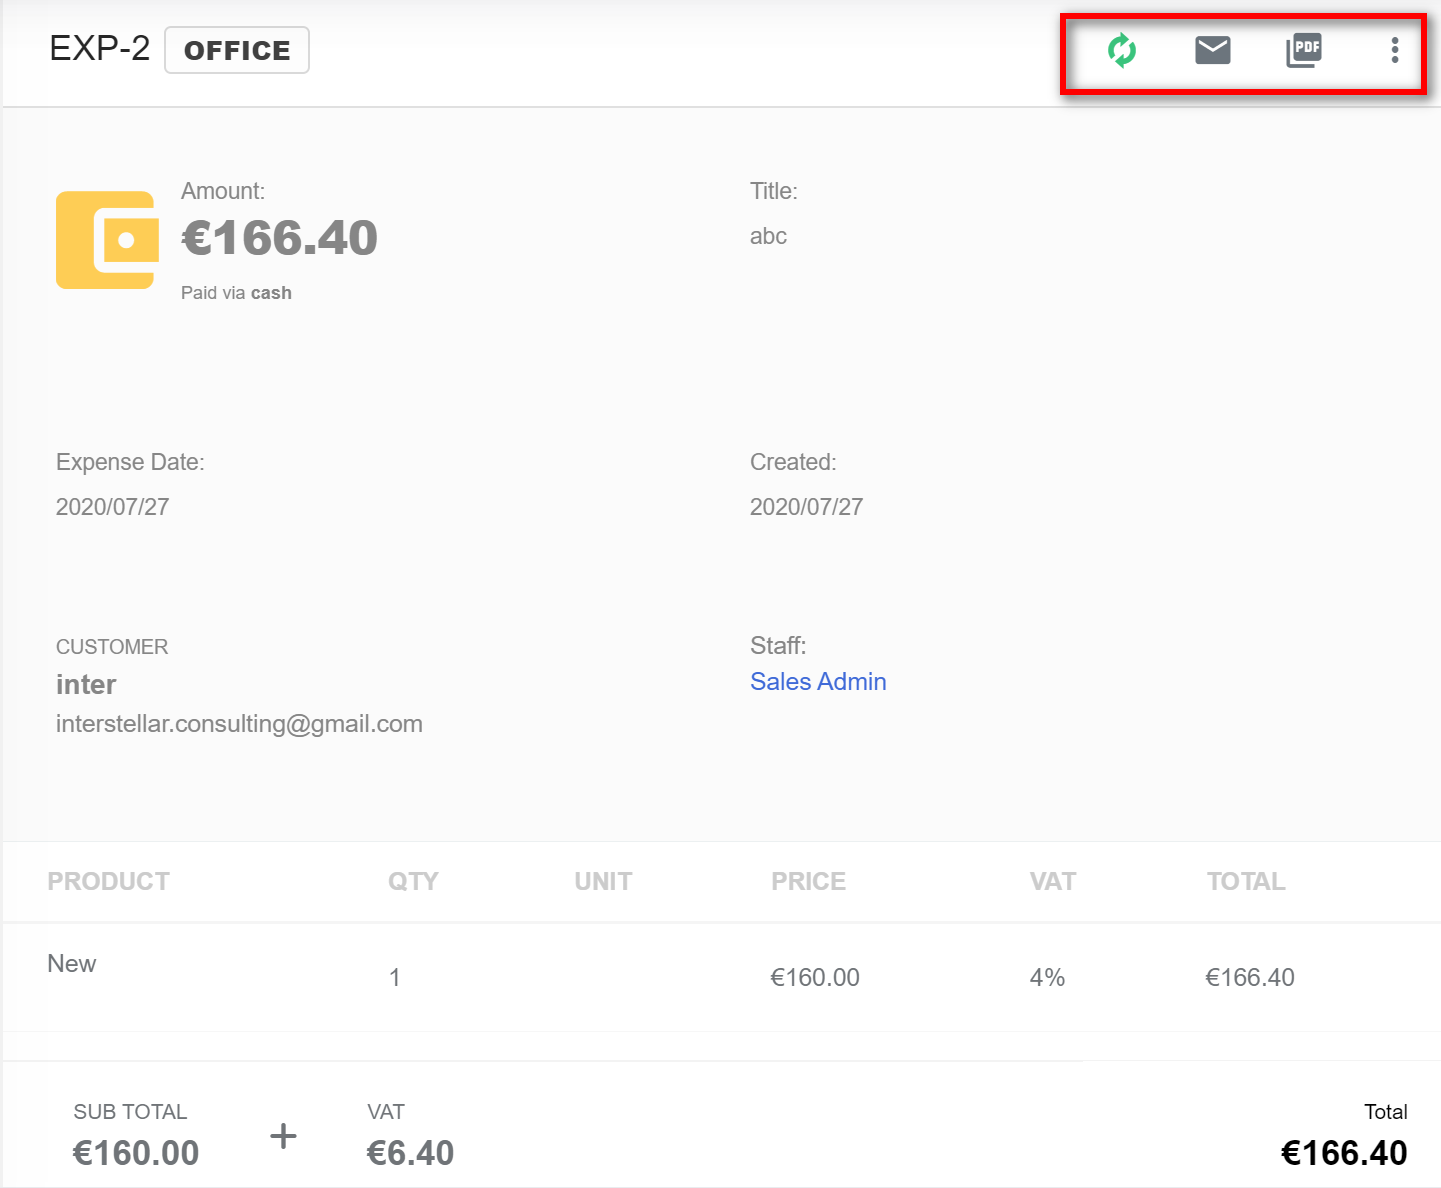
3.3.5 Expenses Page Details:
1. Select the expense you want to be displayed.
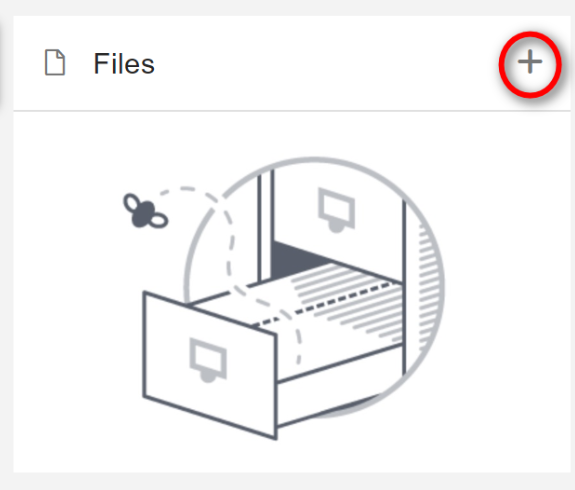
3.3.6 Adding Files:
1. Go to Expense and select the expense to which files have to be added. Click on the "+" icon.
2. Drag & Drop or browse your file and select upload.
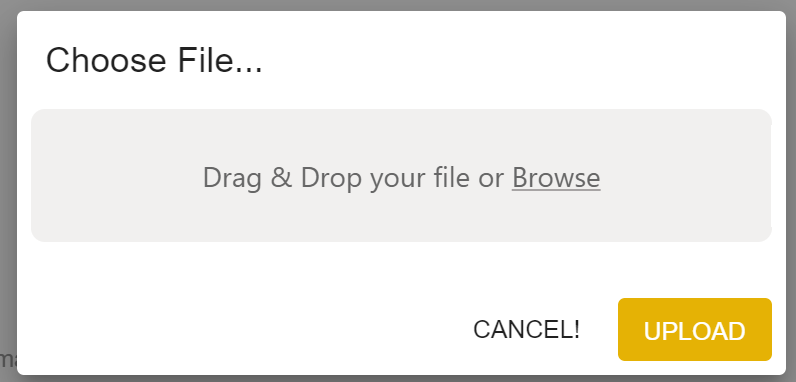
3. All the files/img uploaded for the expense in displayed under files section.