
9.2.1 How to manage Invoice:
1. Invoices can be found under "Finance" in the main menu.

2. Created Invoices are listed in the overview of the invoice page.
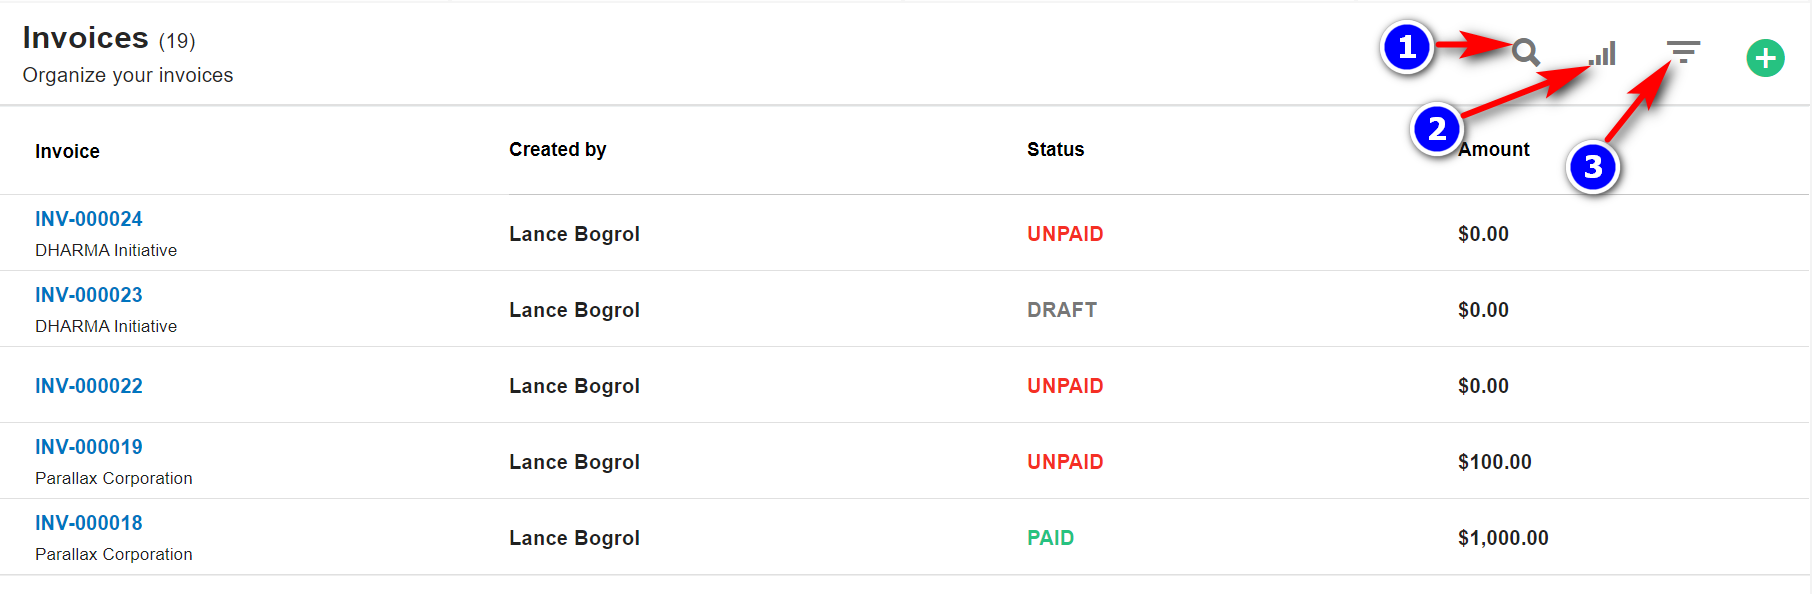
- Search(1): Click on the "Search" icon to search for a particular invoice.
- Filter Column(2): By default, all the columns for the invoice table are displayed. To manage what column needs to be displayed, click on the "Filter Column" icon, after you click on the icon a box will appear as shown in the below image, you can "Check" or "Uncheck" the fields you want to display on your customer page.

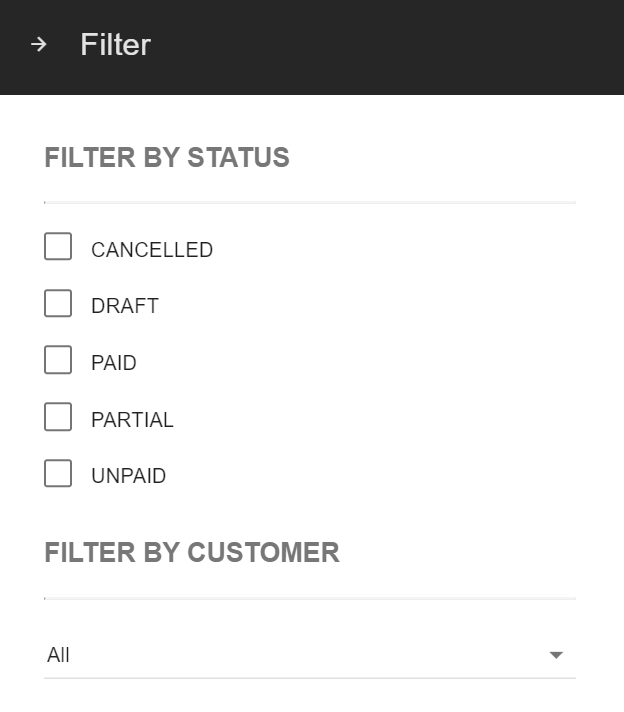
5. Filter(3): To filter the invoice by type or country click on the "Filter" icon.
9.2.2 Create Invoice:
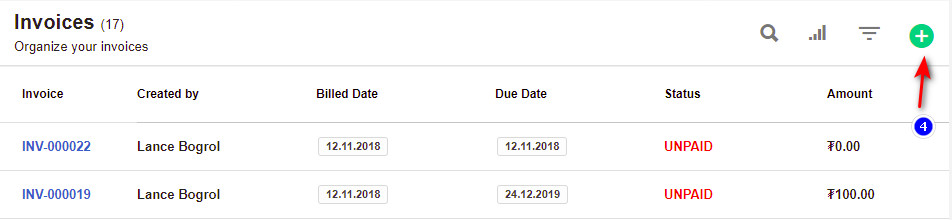
1.Create/Add (4): To add a new invoice record, click on the "Create" icon.

2. Enter the details and click on Save.

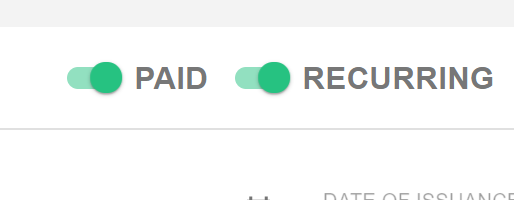
NOTE: While Creating an Invoice, you can make it Recurring and also change the status to Paid using the toggle bar as shown:
9.2.2 Create Recurring Invoice:
1. To Create an Invoice, click on the "Create"(4) icon.
2. Fill in all the details and to make it Recurring, select "Recurring" using the toggle bar as shown

- Please note in order to make Invoice Recurring for Lifetime, Leave ‘Ends On’ Field Blank.

3. Set the required recurring period. An invoice will be created when you click on the “Tick” icon. Every time you run the CronJob, it will check if the recurring period has elapsed after the issue date, if it has elapsed, then another invoice is created and added to the email list.

9.2.3 Invoice Page Details:
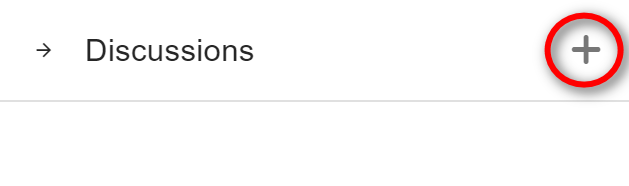
1. Discussion (5): you can create a discussion to create a new discussion click on the "+" icon.
- mail(6) icon: You can click on the "mail icon" to send the mail to the respective contact,
- create PDF(7): it creates the PDF for the invoice.
- print(8): allows you to print the invoice created.

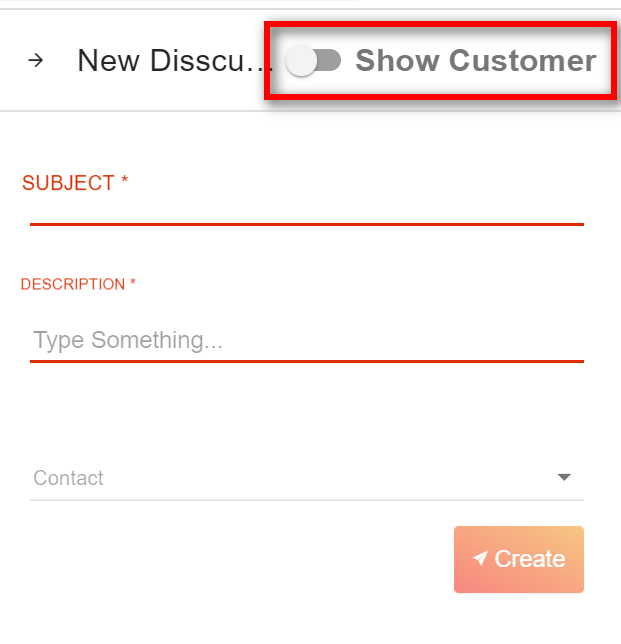
2.Fill in all details and click on "Create" for discussion.
3. You can create a new discussion for contact or customer by enabling or disenabling the "Show Customer" button.
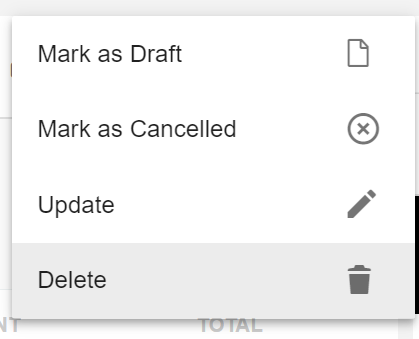
4. For editing, deleting your invoice or changing your invoice status to mark as a draft or canceled click on the "More"(9) icon and choose the appropriate option. 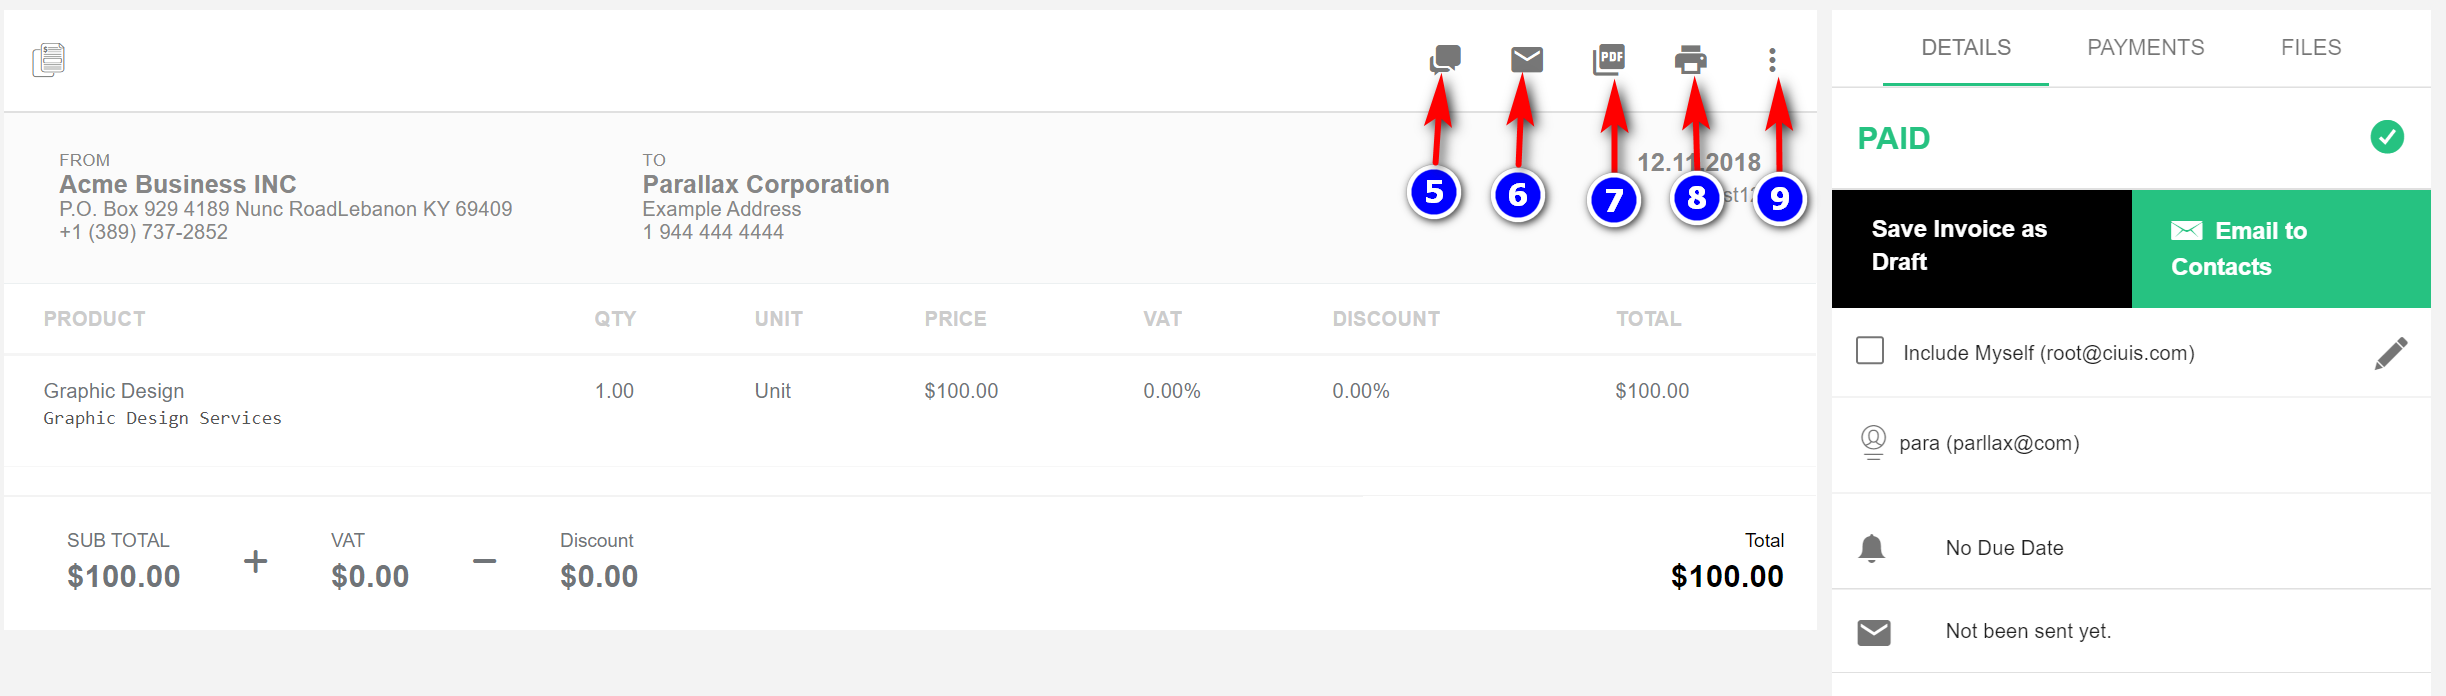
9.2.4 Sending Email to contacts:
1.On to your right-side you have a panel for sending an invoice to your contact via email.
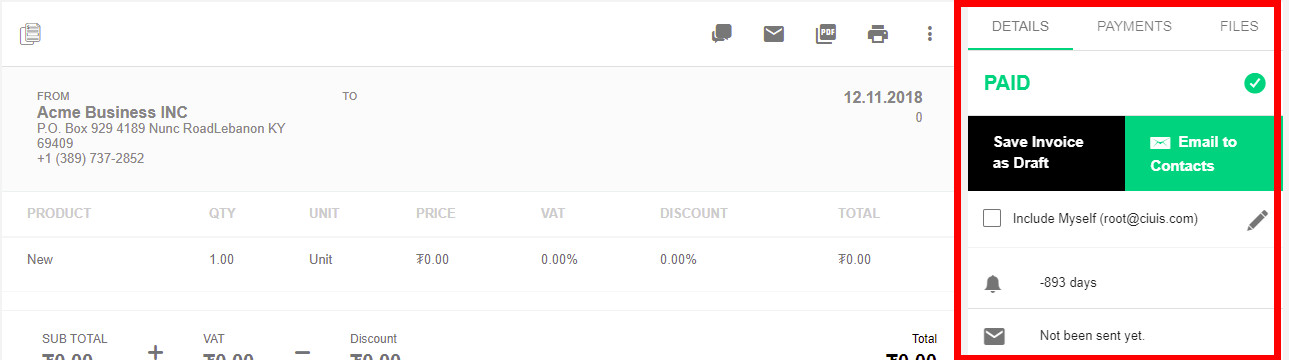
under Details, you will find the customer to whom you can mail to.

2. The “Email to contacts” button sends the invoice to all the contacts for the customer. These contacts can be seen listed below.
3. To "Edit" the list of contacts, click on the edit icon.

4. Click on the dropdown list and review the list of contacts to be selected. Click on "Done".
5. "Check" the "Include myself" checkbox to send the mail to the user as well.
9.2.5 Payment Files:
The "Payment tab" allows you to add the payment files for the invoices.
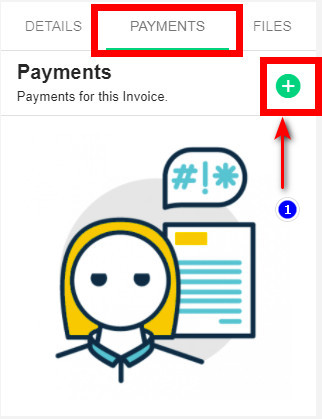 To add the payment file click on the "+" icon. fill in the details to record the payment.
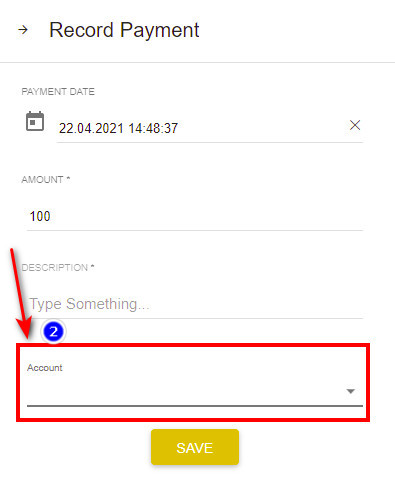
- Select the account type from the drop-down and click on the "save" button.
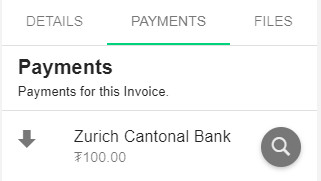
the file will be displayed under the payment tab.
9.2.6 Files:
1. Files can also be added to an invoice.
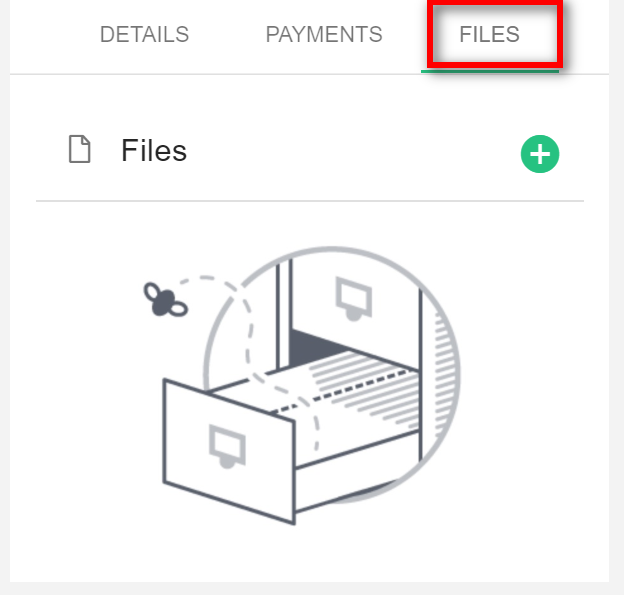
2. The files added to the invoice are listed in the Files tab.
3. Click on the “Add” icon, browse the files to be added and click on Upload to save the file.