
4.3.1 Create Order:
1. You can find Orders under "Sales", in the main menu.
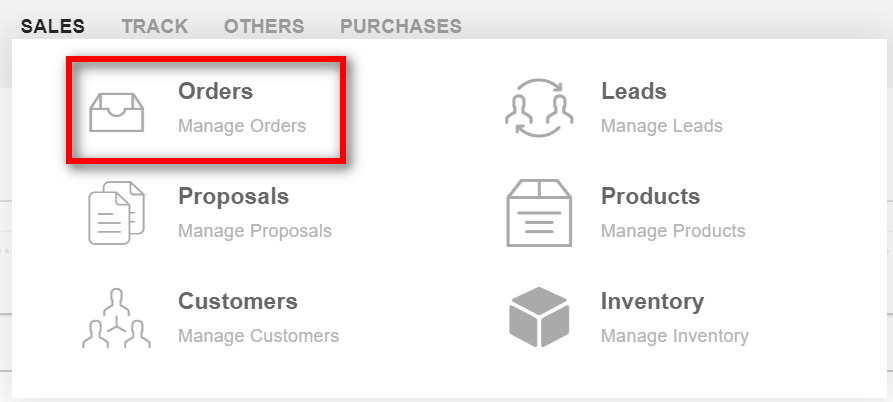
2. All the created Orders are listed here. Click on the Create icon to create an order.
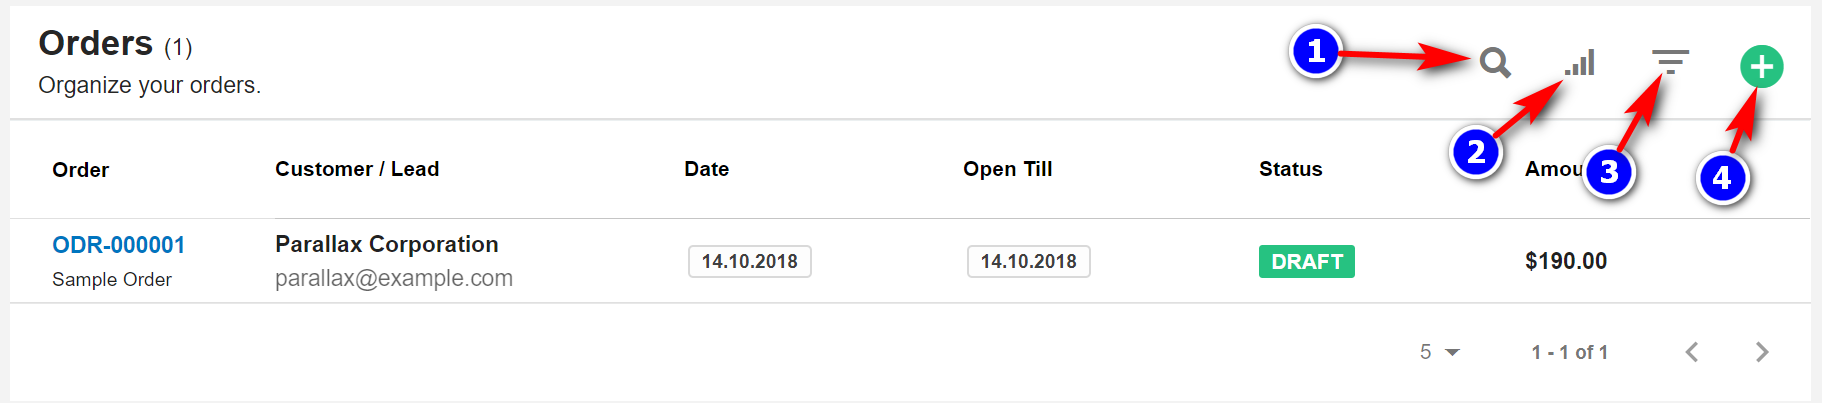
- Search(1): To search the Orders click on the "Search" icon to search for a particular order.
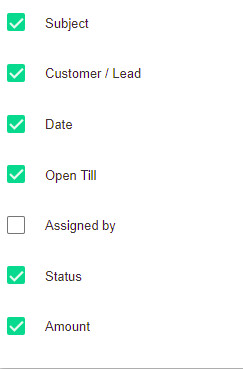
- Filter Column(2): By default, all the columns for the orders table are displayed. To manage what column needs to be displayed, click on the "Filter Column" icon, after you click on the icon a box will appear as shown in the below image, you can "Check" or "Uncheck" the fields you want to display on your orders page.
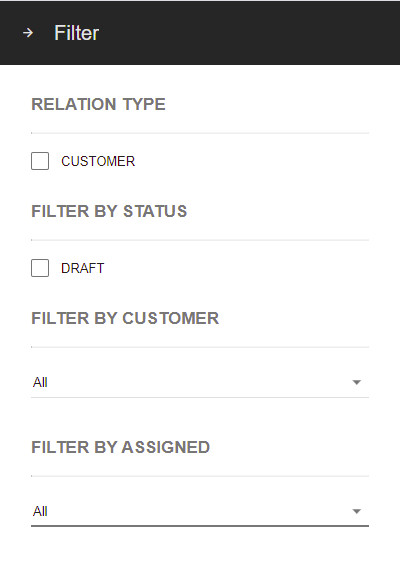
- Filter(3): To filter the orders by "Relation Type", by "Status", by "Customer", or by "Assigned" click on the "Filter" icon.
3.Create(4): To add a new orders record, click on the "Create(+)" icon.
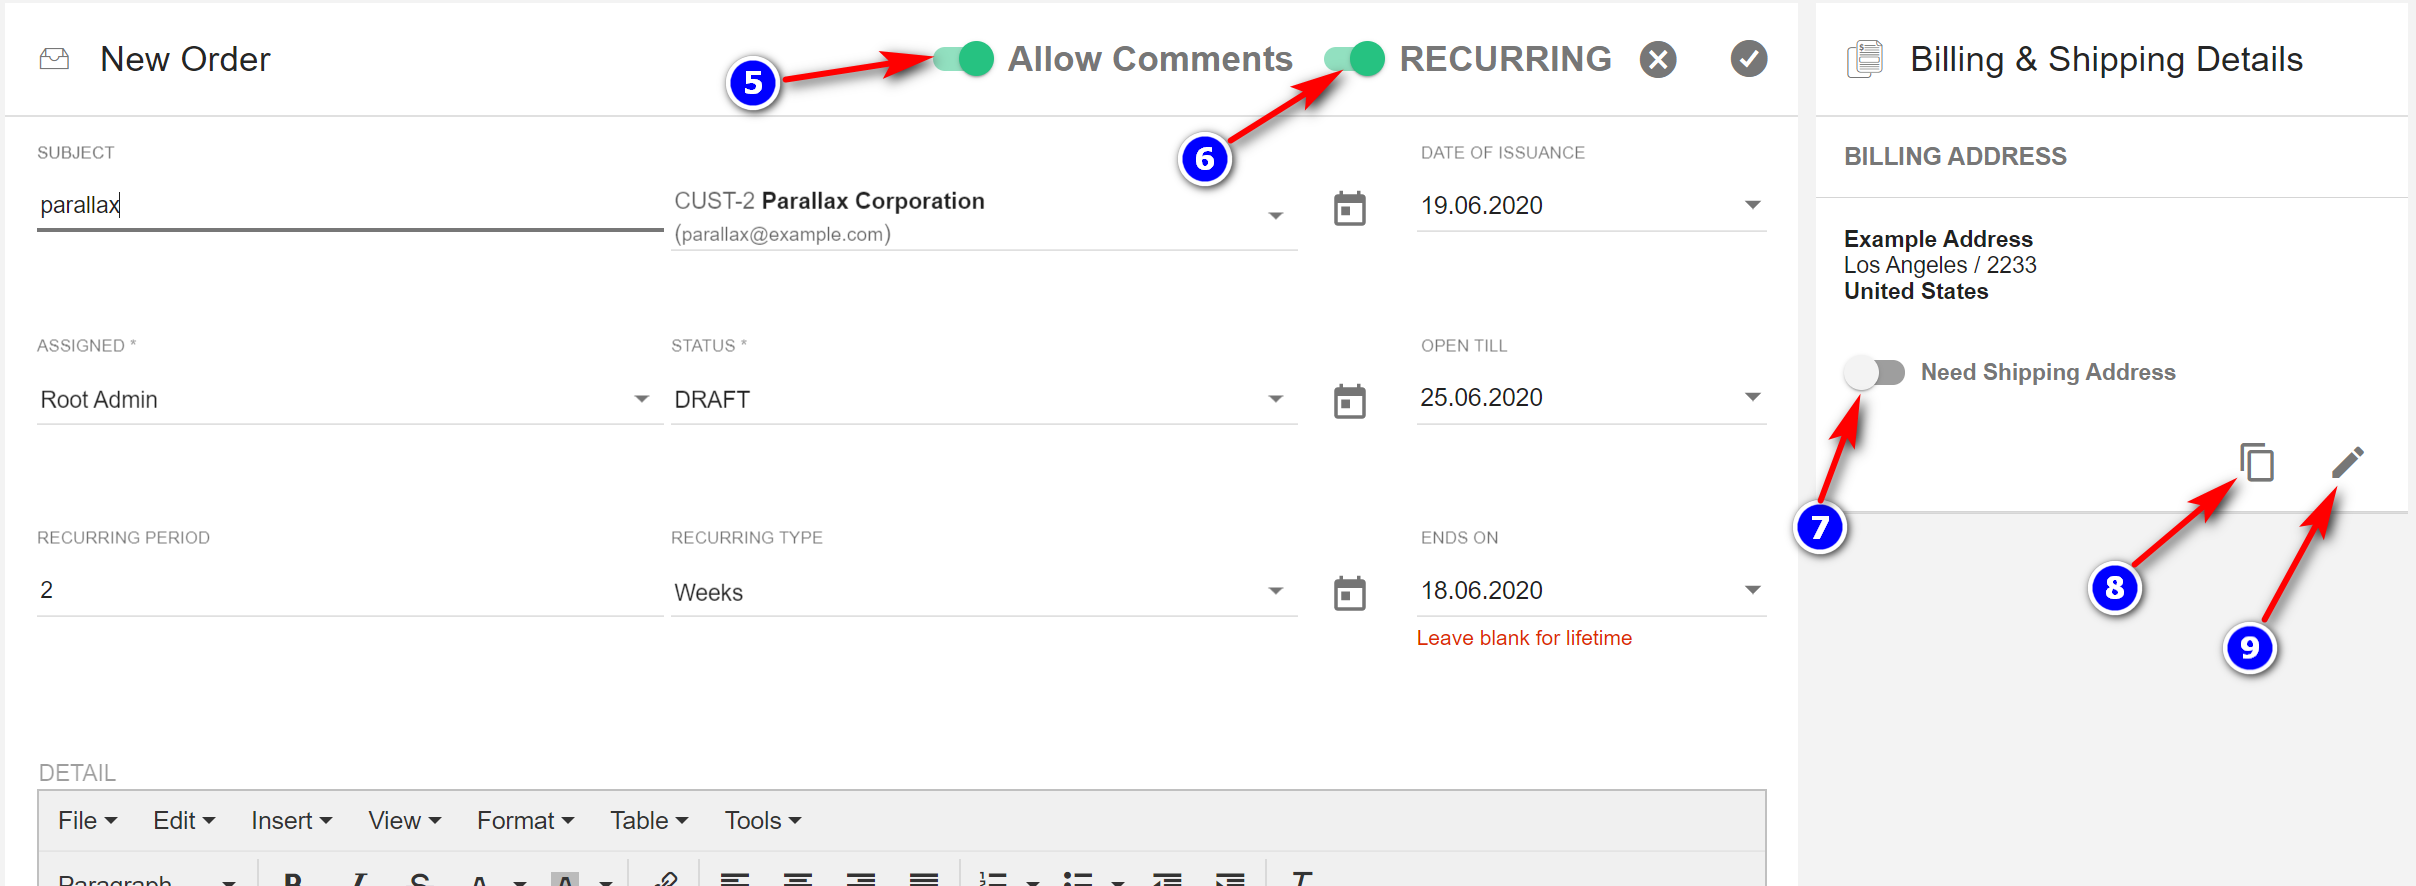
- "Allow Comments(5) ": You can allow the comments by enabling the "Allow Comments" toggle button.
- "Recurring (6)" : Recurring: Enable or disable the button "Recurring toggle button".
- " Need Shipping Address(7) ": You can use different Billing Adresse and Shipping Adresse. Enable or disable the button "Need Shipping Address".
- "Edit (9)" To edit the address click on the "Pencil" icon. You can also copy the address from customer-icon (8).
4. Enter the details and click on "Save".
4.3.2 Orders Page Details:
- Sent(1): To send the orders click on the "Sent" icon.
- PDF(2): To generate and download a pdf click on the "PDF" icon.
- Print(3): To print out the orders click on the "Print" icon.
- Convert(4): To convert the orders into an invoice click on the "Convert"(16) icon.
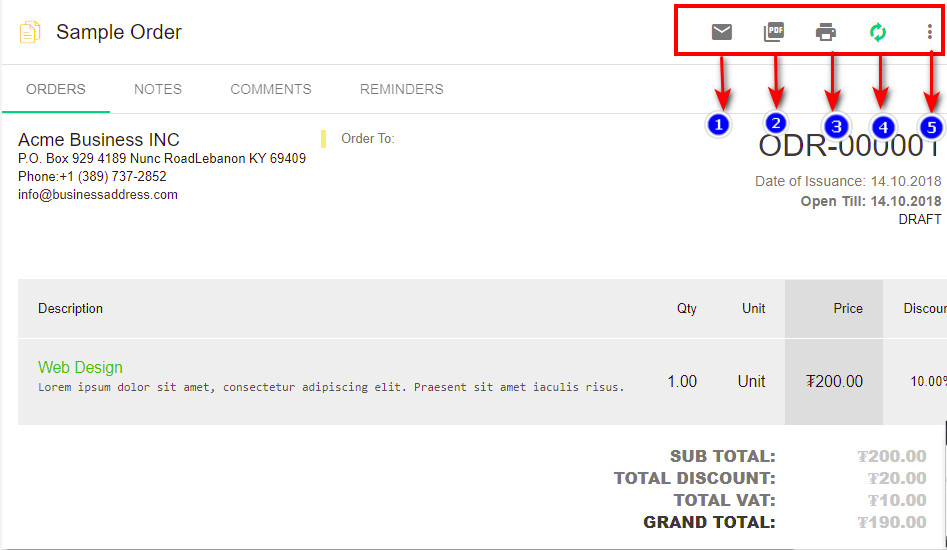 Options(5): . To edit or delete the order, click on the "More" icon and choose the appropriate option.

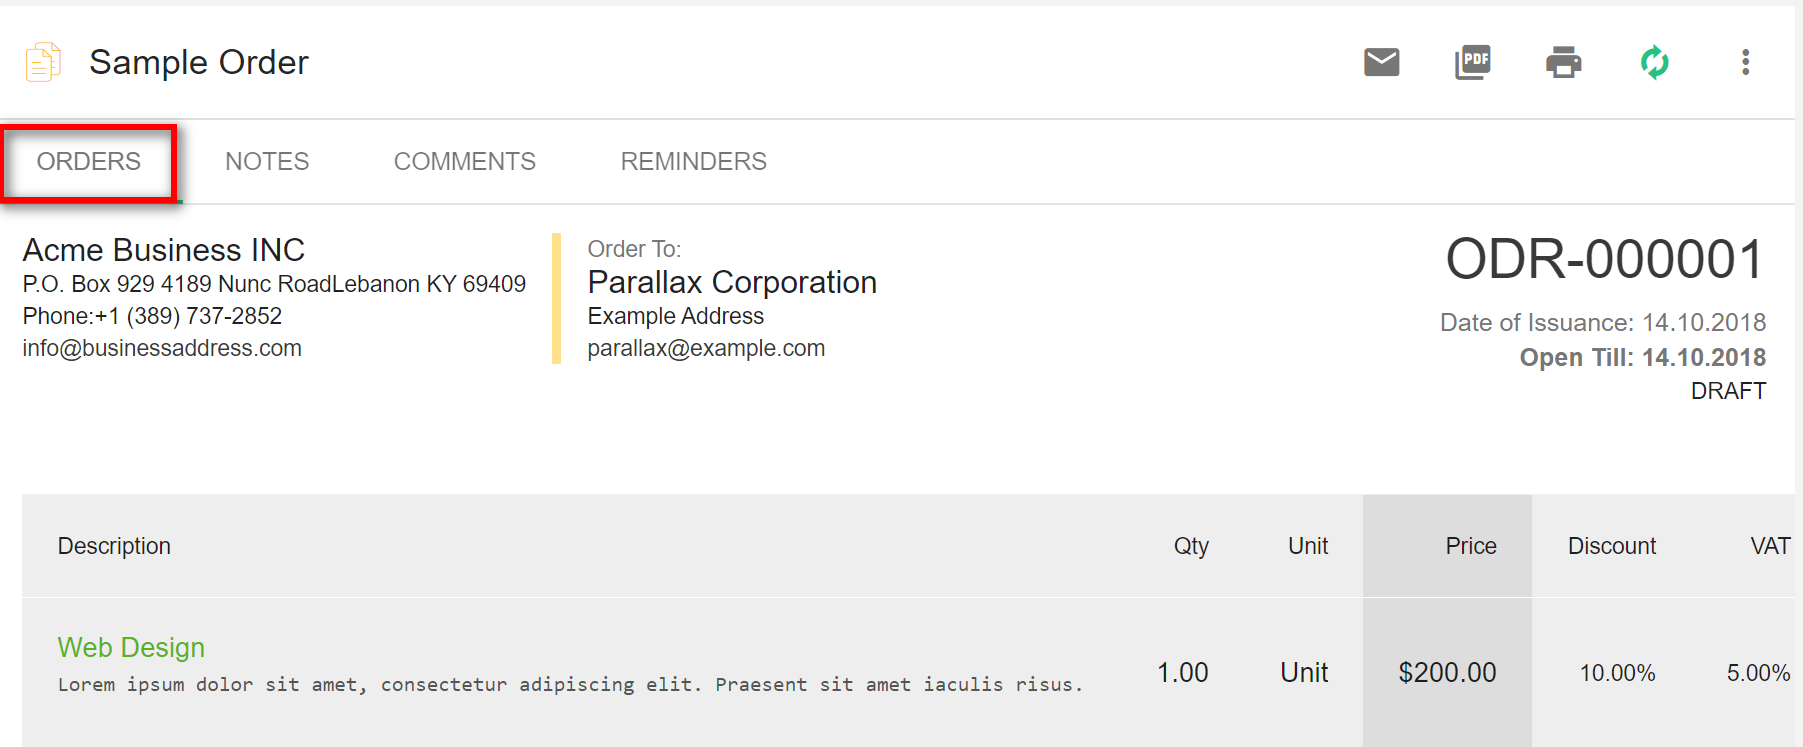
4. Orders: This tab displays all details of the order.
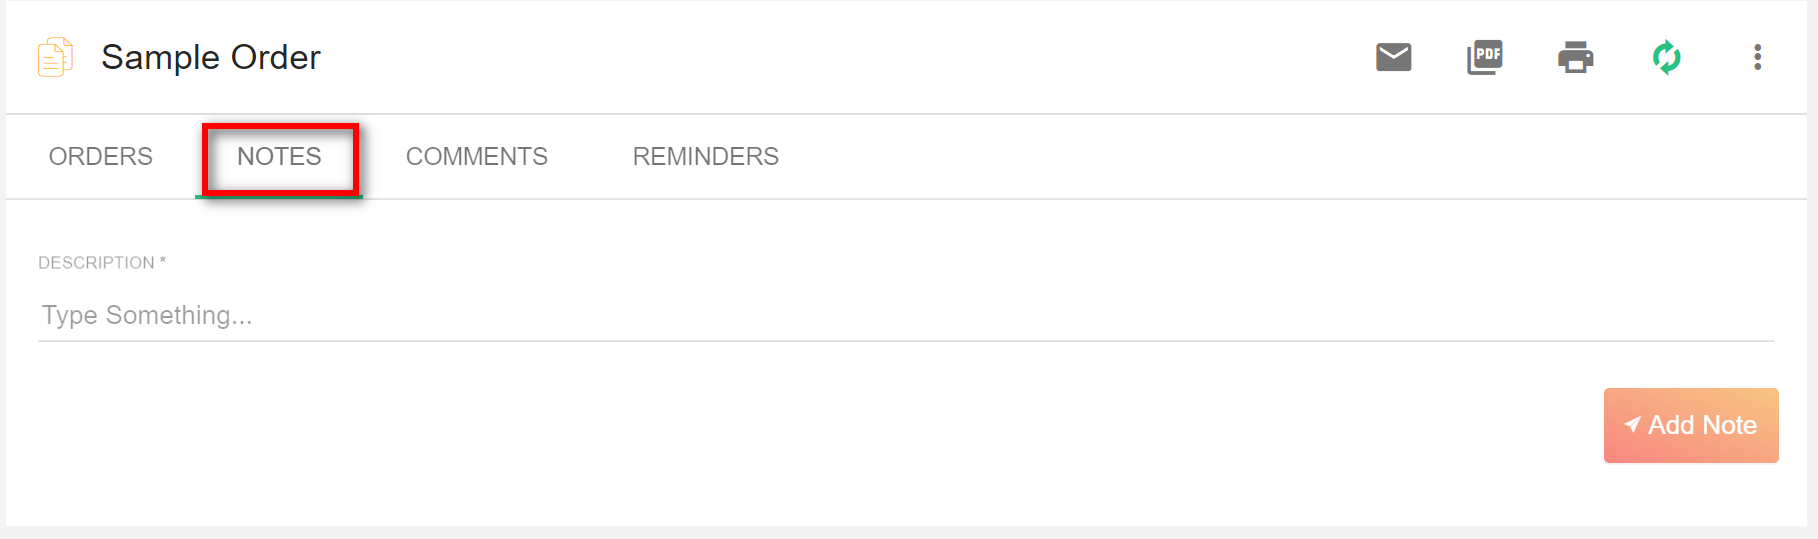
5. Notes: This tab displays all the notes created by the staff.
6. Comments: This tab displays all comments from the customer.

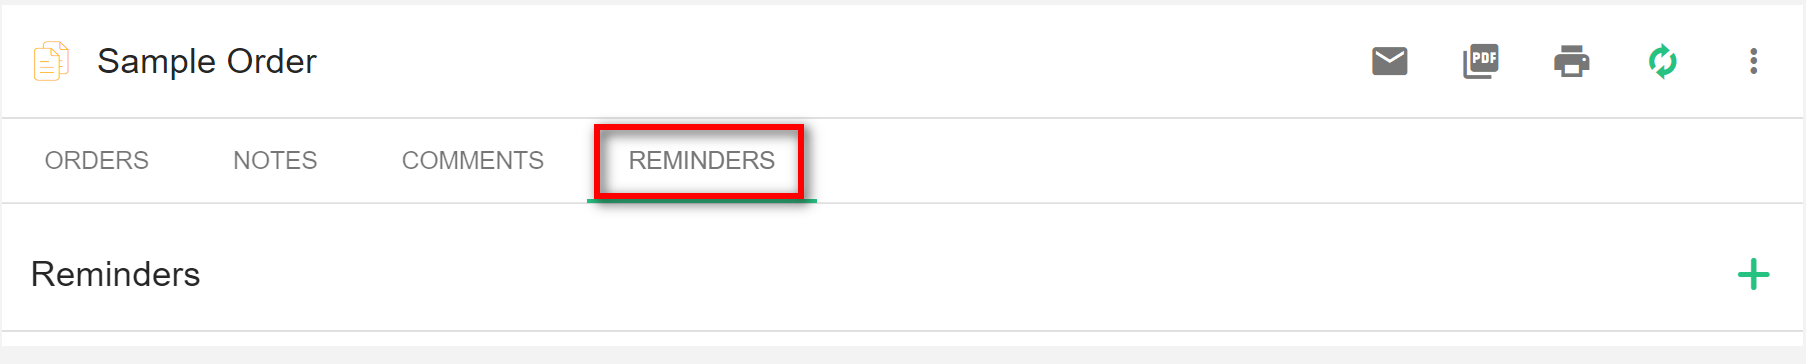
7. Reminders: This tab displays all the reminders set regarding this order.
4.3.3 Sending Email to contacts:
On to your right-side, you have a panel for sending an orders to your contact via email.
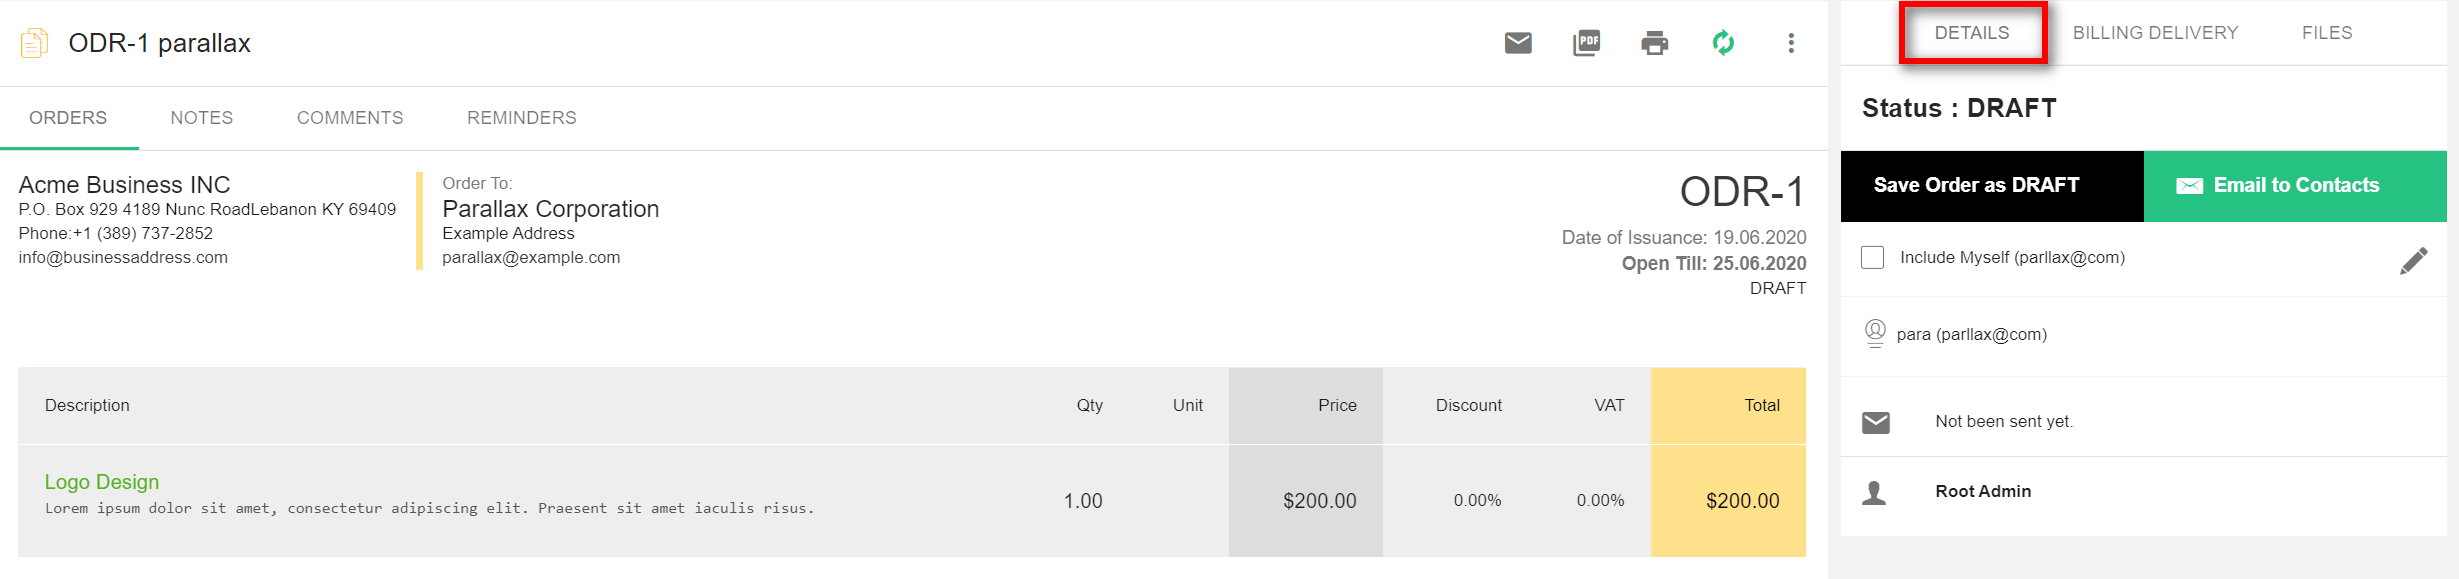
- "Deatils" : under Details, you will find the customer to whom you can mail to.
- The “Email to contacts” button sends the invoice to all the contacts for the customer. These contacts can be seen listed below.
- To "Edit" the list of contacts, click on the edit icon.

4. Click on the dropdown list and review the list of contacts to be selected. Click on "Done".
5. "Check" the "Include myself" checkbox to send the mail to the user as well.
9.2.6 Files:
1. "Files" can also be added to an orders.
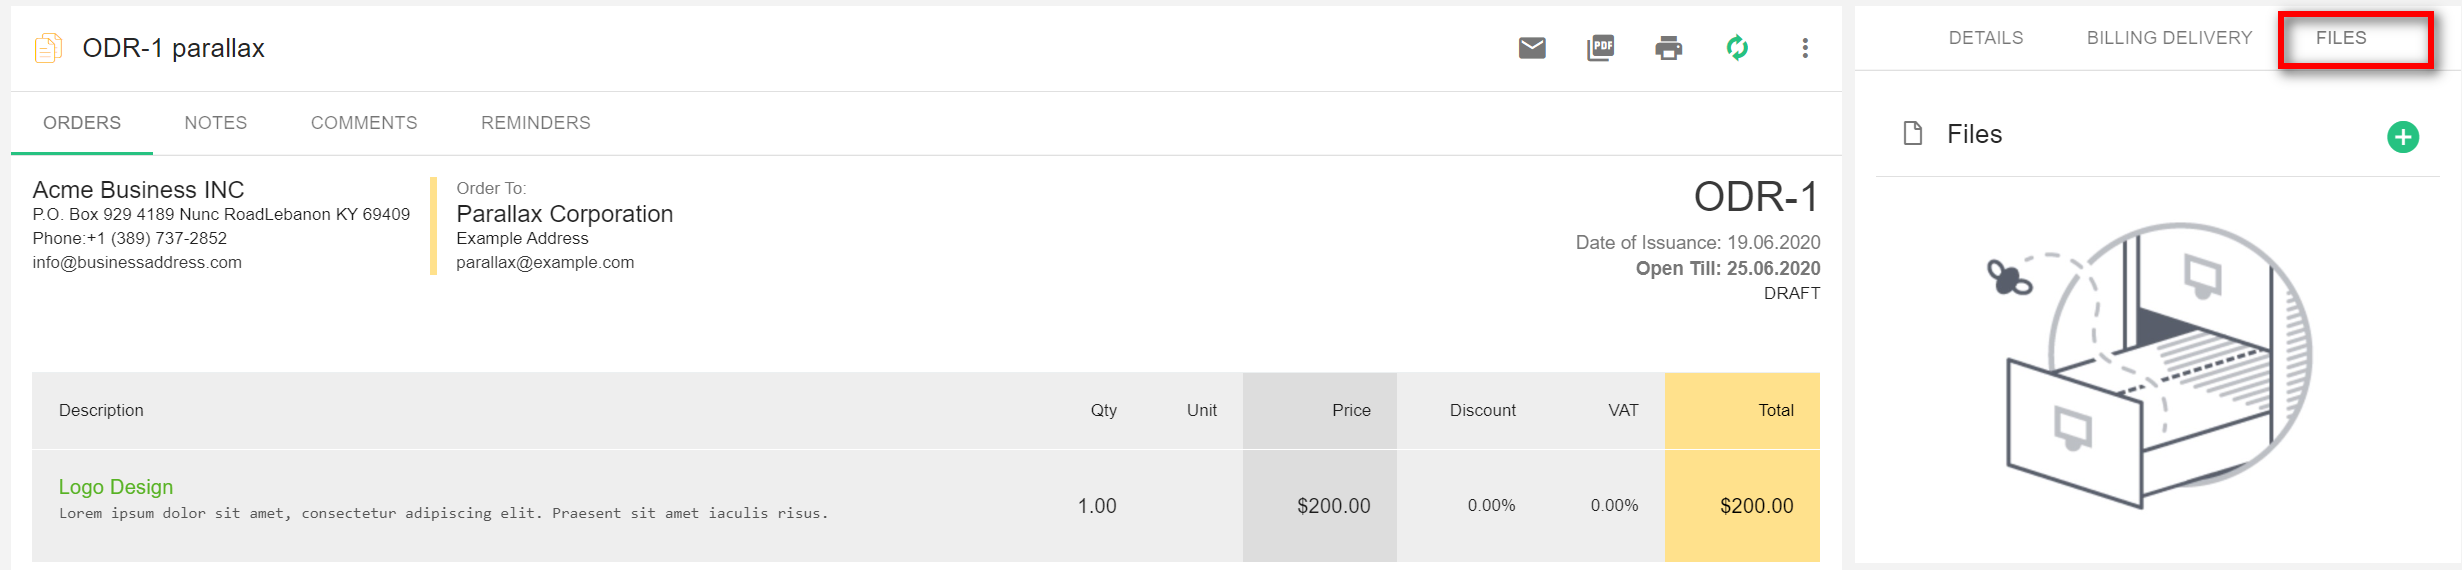
2. The files added to the orders are listed in the Files tab.
3. Click on the “Add” icon, browse the files to be added and click on Upload to save the file.