
3.2.1 Create Vendor:
1. Vendors can be found under "Purchases" in the main menu.

2. All the existing vendors are shown as a list on the vendor's page.

Follow the points for understanding the vendor's page 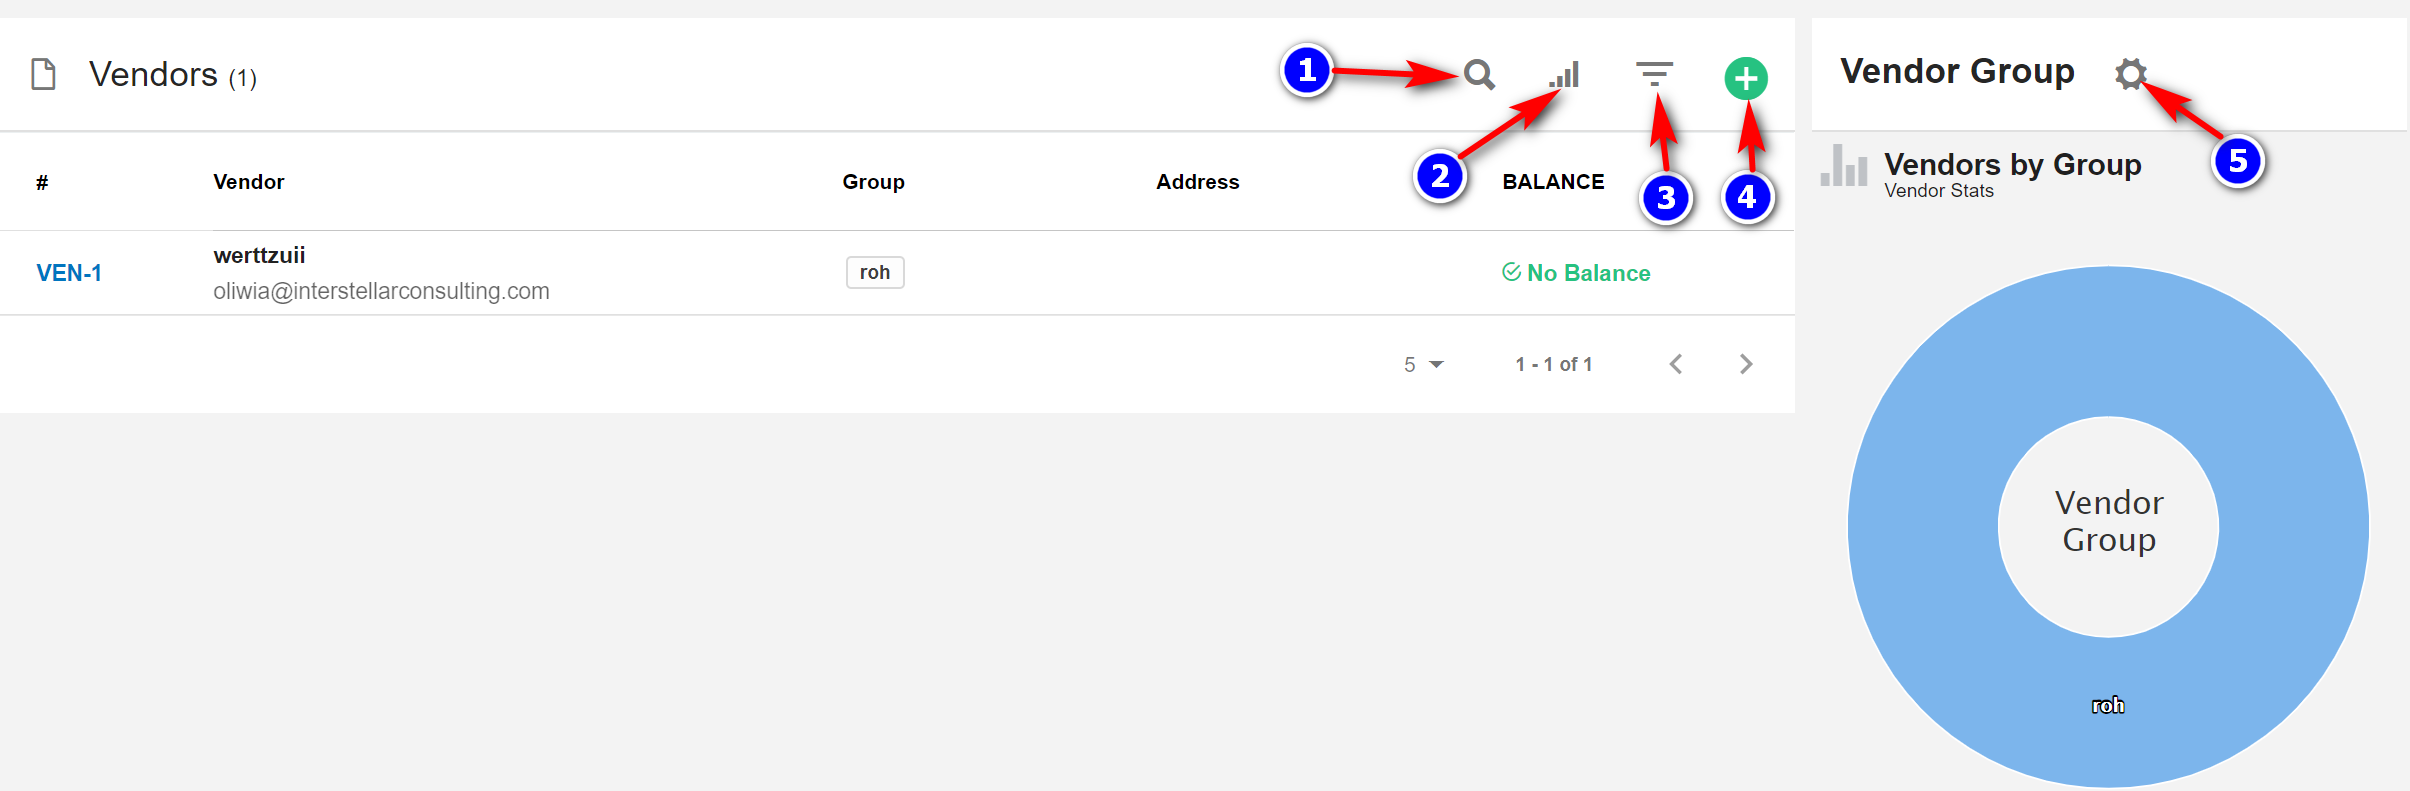
3. Search(1): To search a particular Vendor click on the "Search" icon.
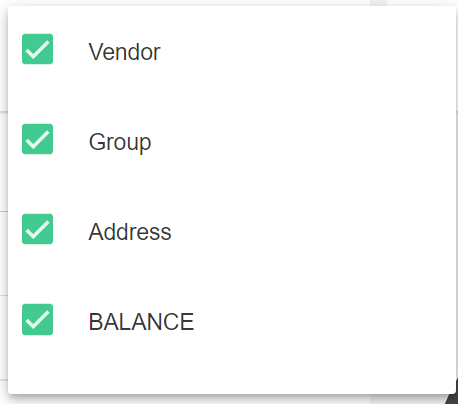
4. Filter Column(2): By default, all the columns for the vendor's table are displayed. To manage what column needs to be displayed, click on the "Filter Column" icon, after you click on the icon a box will appear as shown in the below image, you can "Check" or "Uncheck" the fields you want to display on your product page.
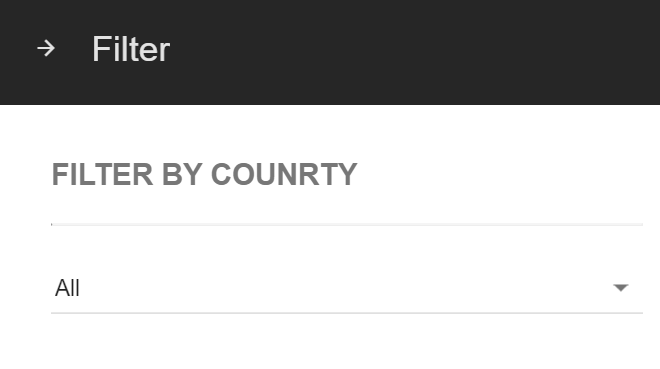
5. Filter(3): To filter the vendors by type or country click on the icon "Filter" icon.
6. Create Vendor(4): Click on the "Create Vendor(+)" icon to create a new vendor.
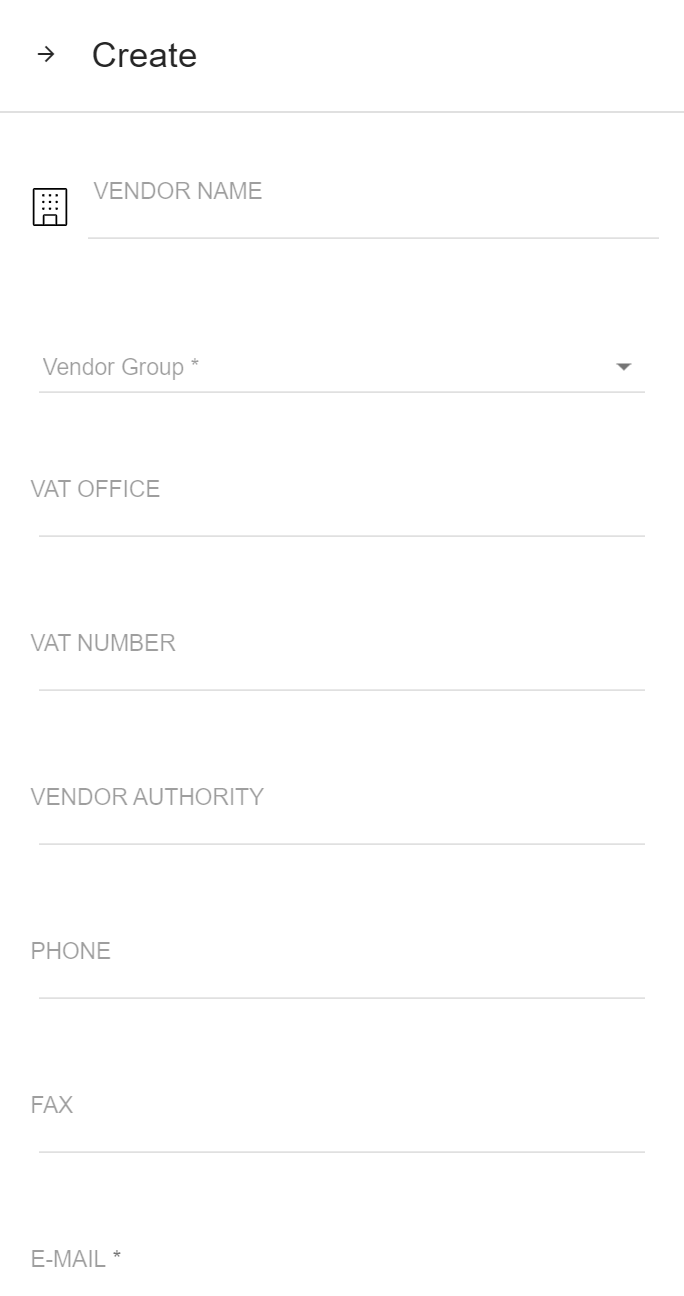
7. Enter the details and click on the "Create button". the vendor will be created. 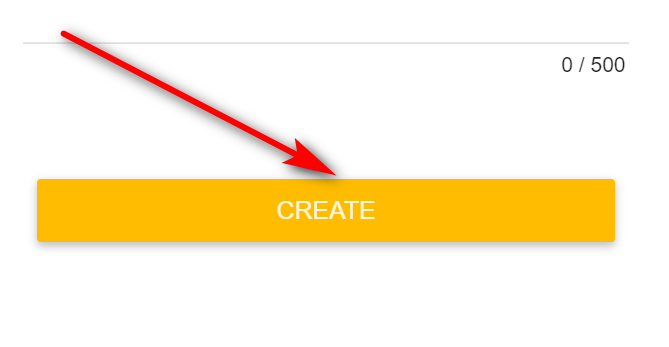
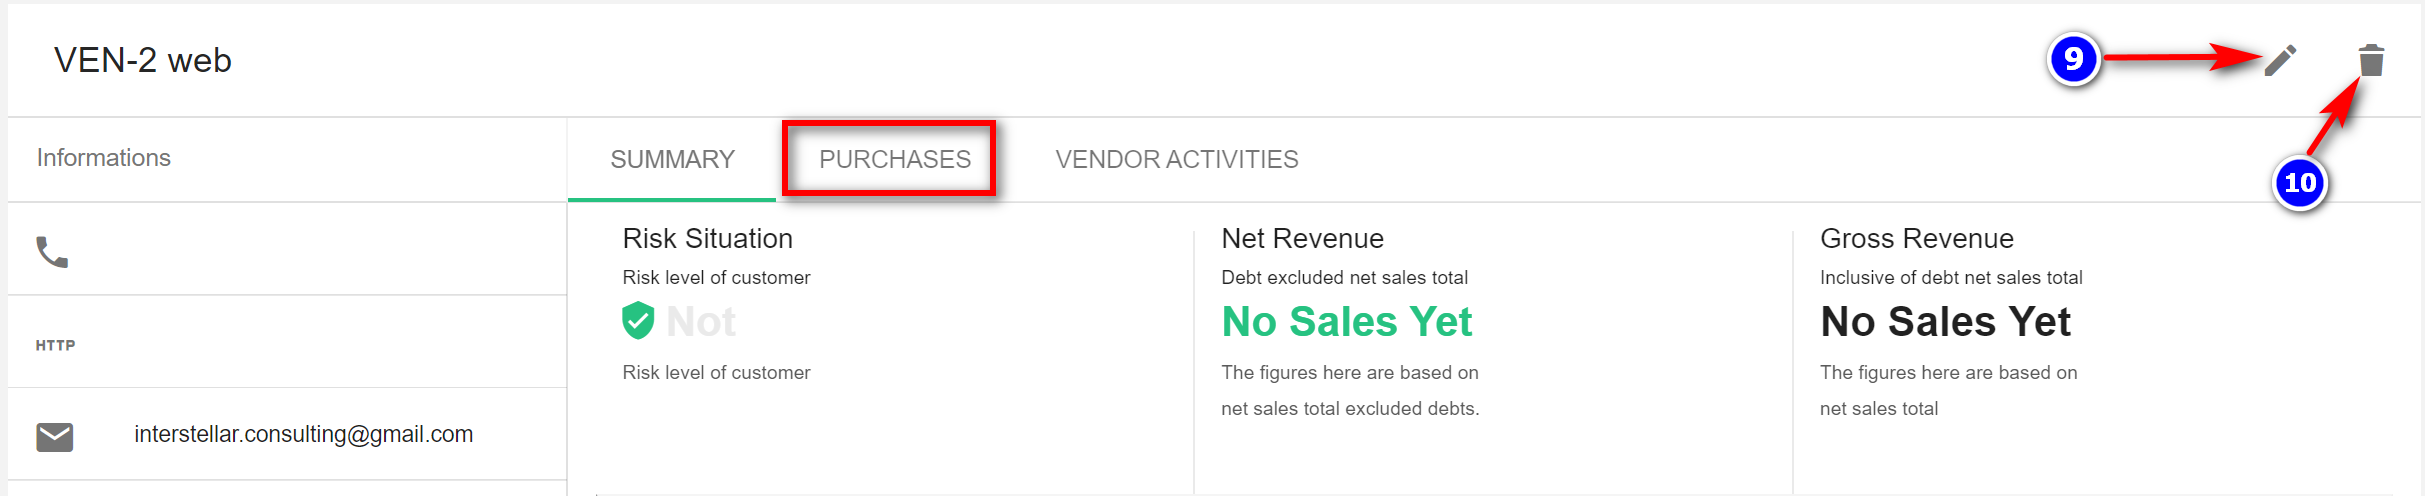
3.2.2 Vendor Page Details:
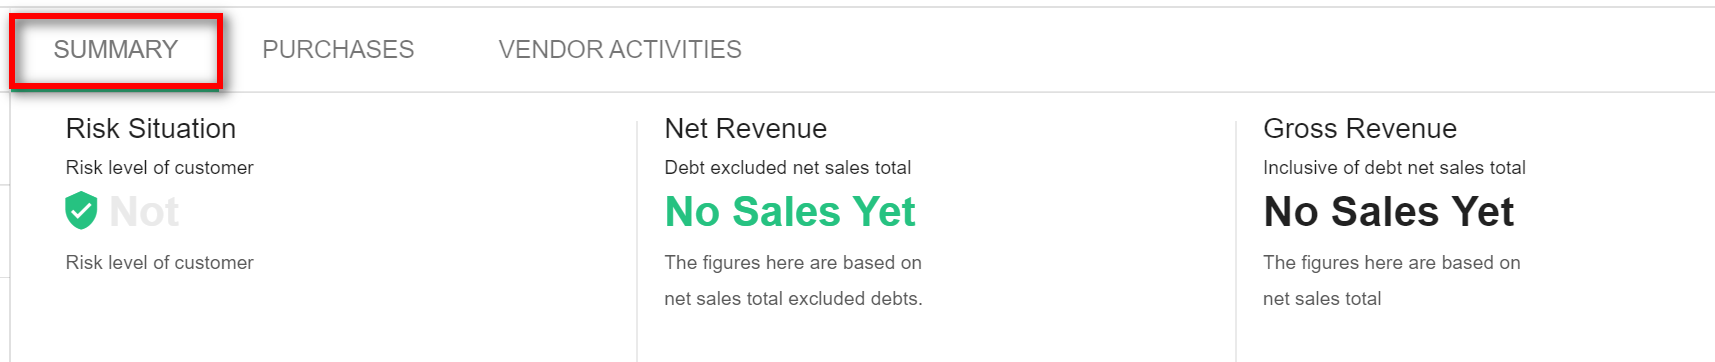
1. Summary: This tab displays all the transactions made by the vendor.
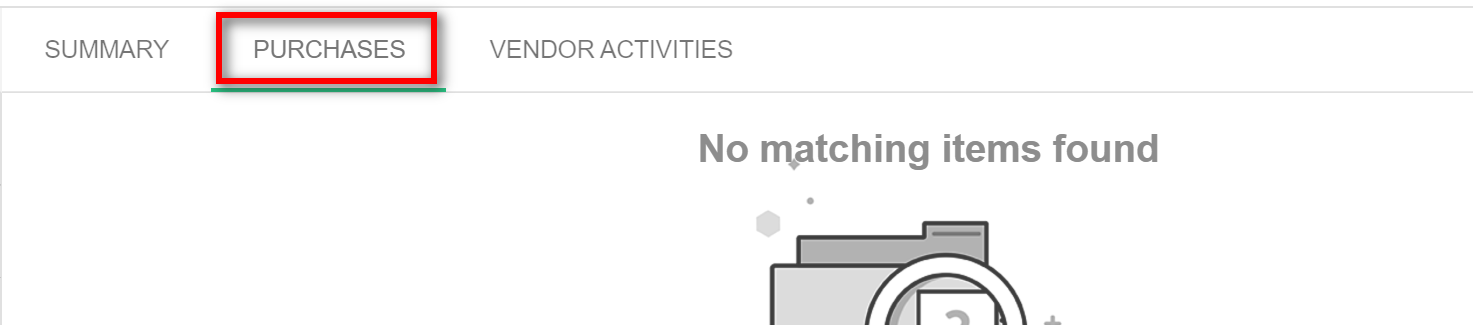
2. Purchases: This tab displays all the purchases pertaining to the vendor.
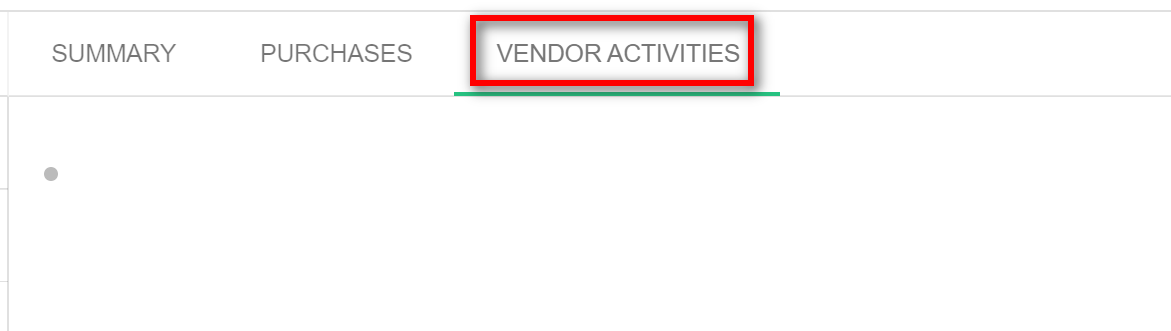
3. Vendor Activities: This tab displays all the vendor activities.
3.2.3 Edit Vendor:
1. Click on the existing vendor that you want to edit the details for.
2. Edit(9): Click on the "Edit" icon.
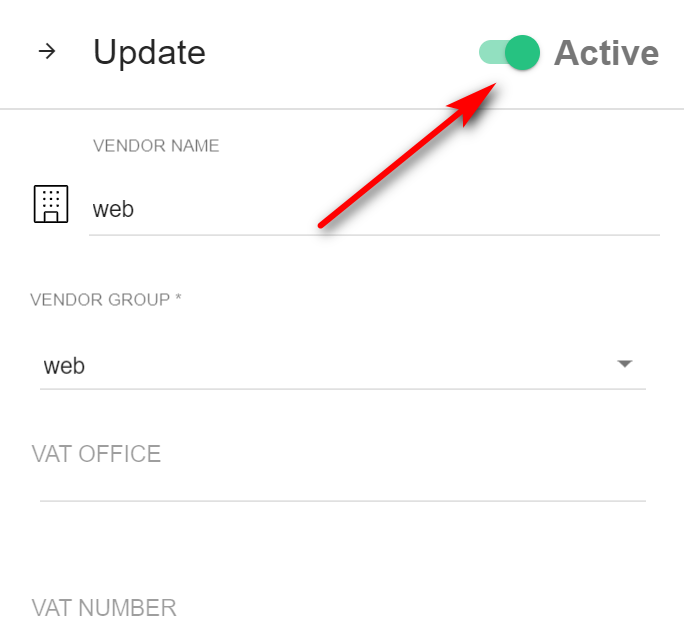
3. Active button: Enable or disable the Active button to activate or deactivate the vendor.
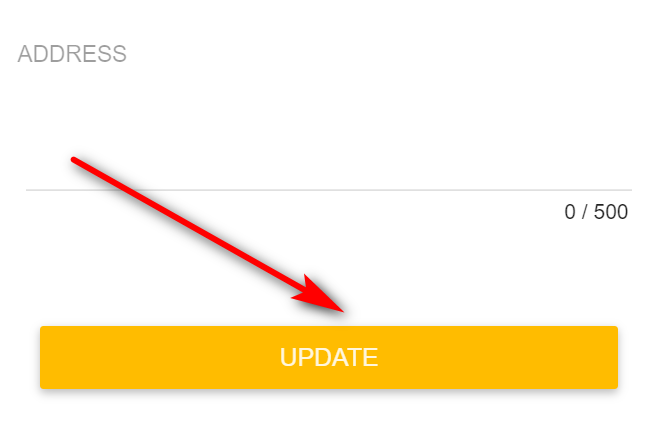
4. Make the required changes on the side nav and click on the "Update button ".
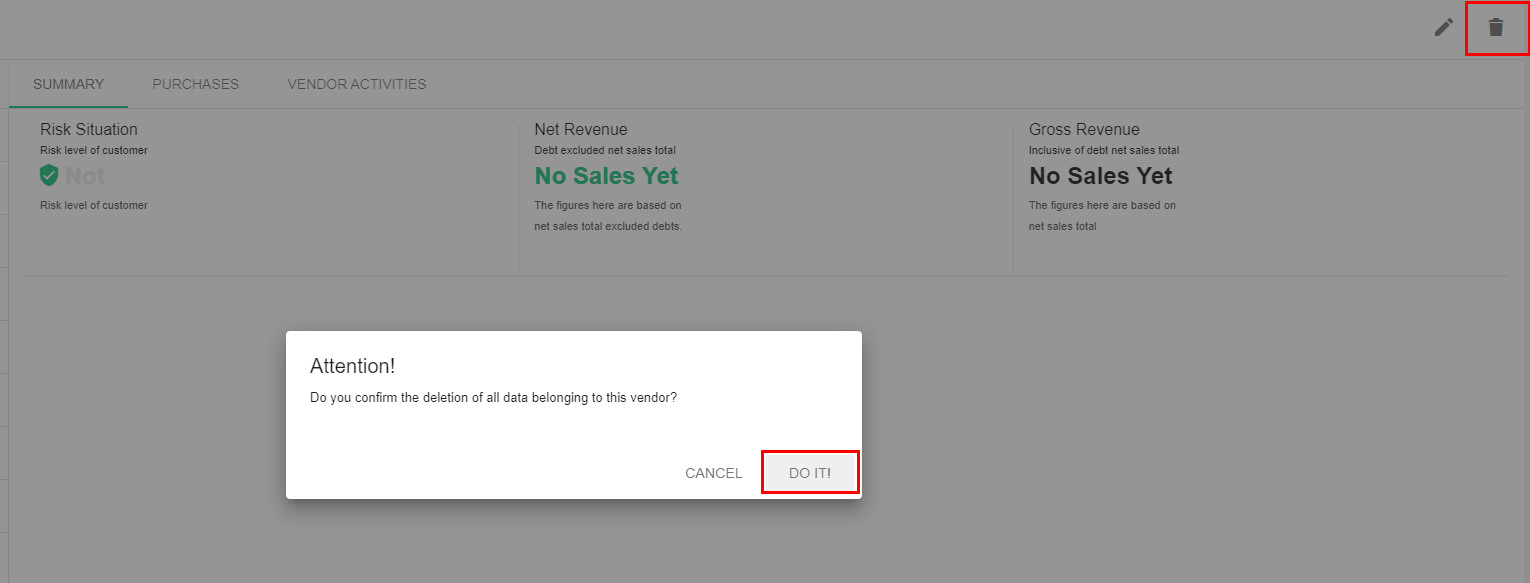
5. Delete(10): Click on the "Delete" icon and then click on the "DO IT!" button to the vendor will be deleted
3.2.4 Create Vendor Group:
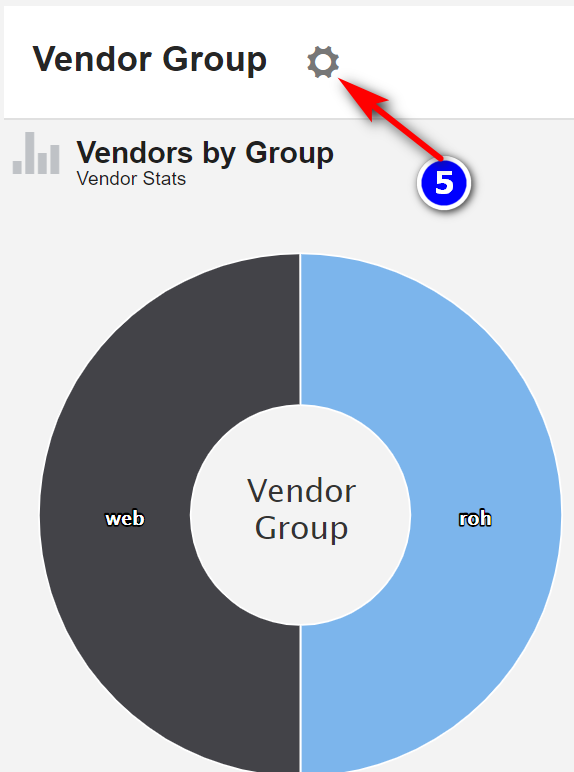
1. Vendor Group(5): Click on the "Vendor Group Option" icon to add the category for the vendor.
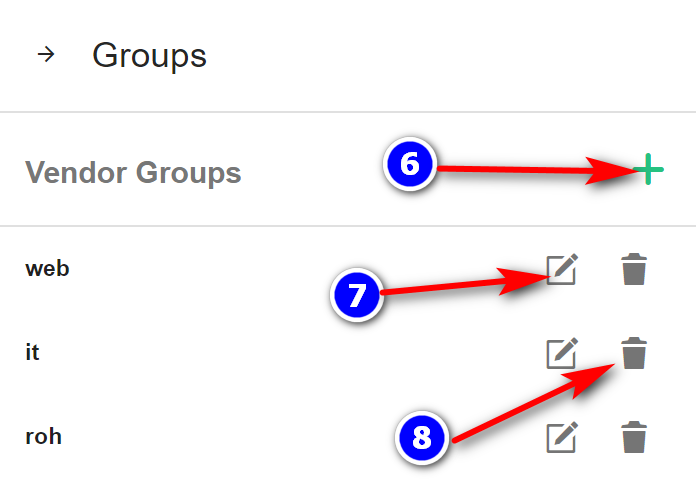
2. Create Vendor Category(6): Click on the "Create Vendor(+)" icon, to add a new category to the vendor's page.
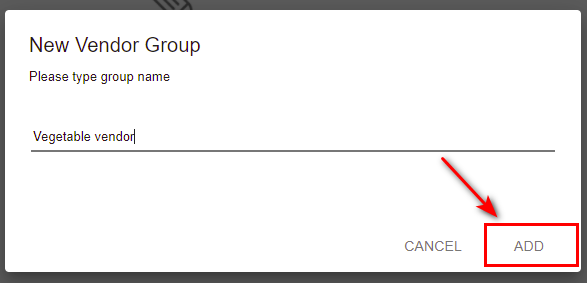
3. Enter the group name and click on "Add", your vendor group will be added.
4. Edit(7) and Delete(8): You can also "Edit" and "Delete" vendor groups by clicking on the appropriate icons.