3.1.1 Create Customer:
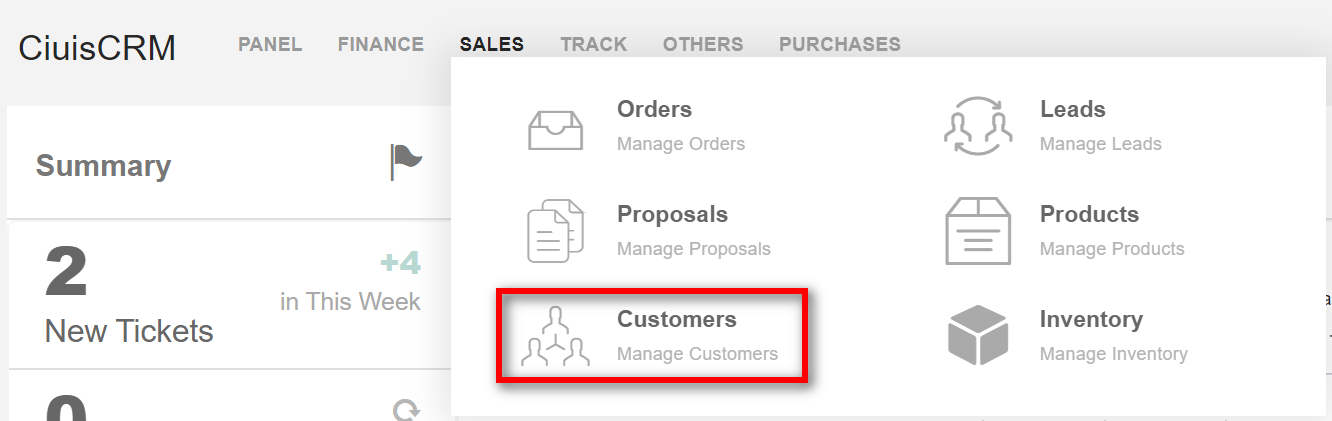
1. Customers can be found under "Sales" in the main menu.
2. All existing customers and their transaction details are listed here. You can access the customer page options by following the point in the image.
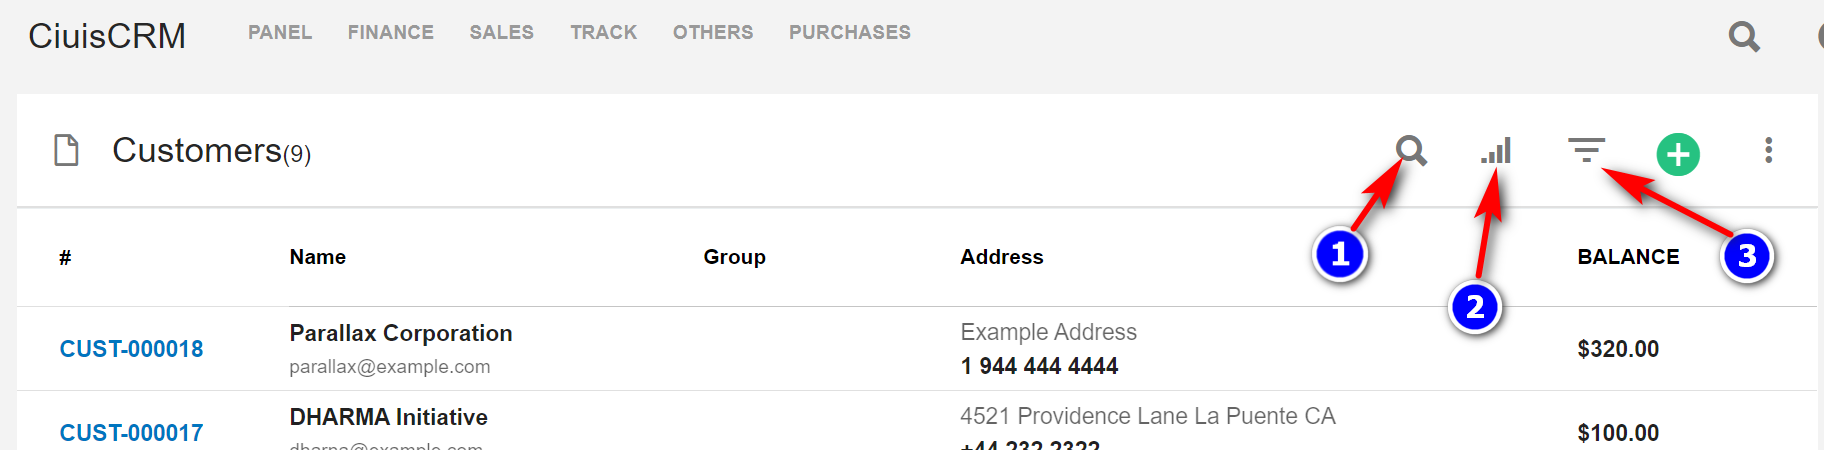
- Search(1): Click on the "Search" icon to search for a particular customer.
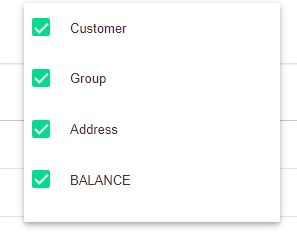
- Filter Column(2): By default, all the columns for the customer table are displayed. To manage what column needs to be displayed, click on the "Filter Column" icon, after you click on the icon a box will appear as shown in the below image , you can "Check" or "Uncheck" the fields you want to display on your customer page.
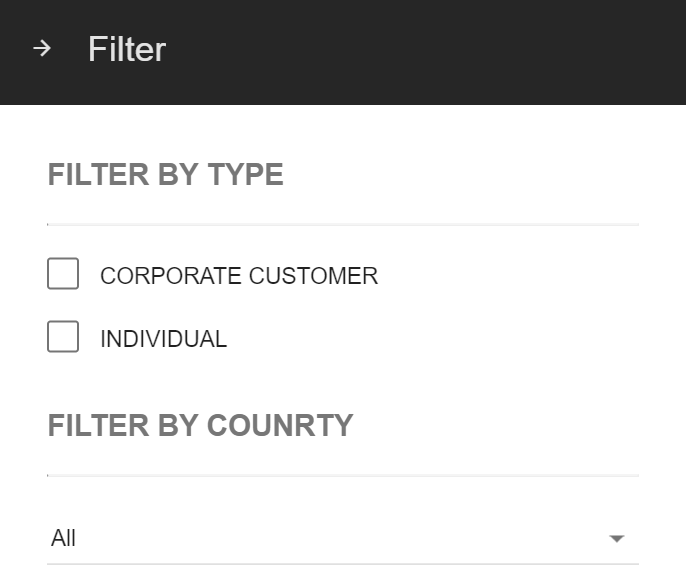
- Filter(3): To filter the customers by type or country click on the "Filter" icon.
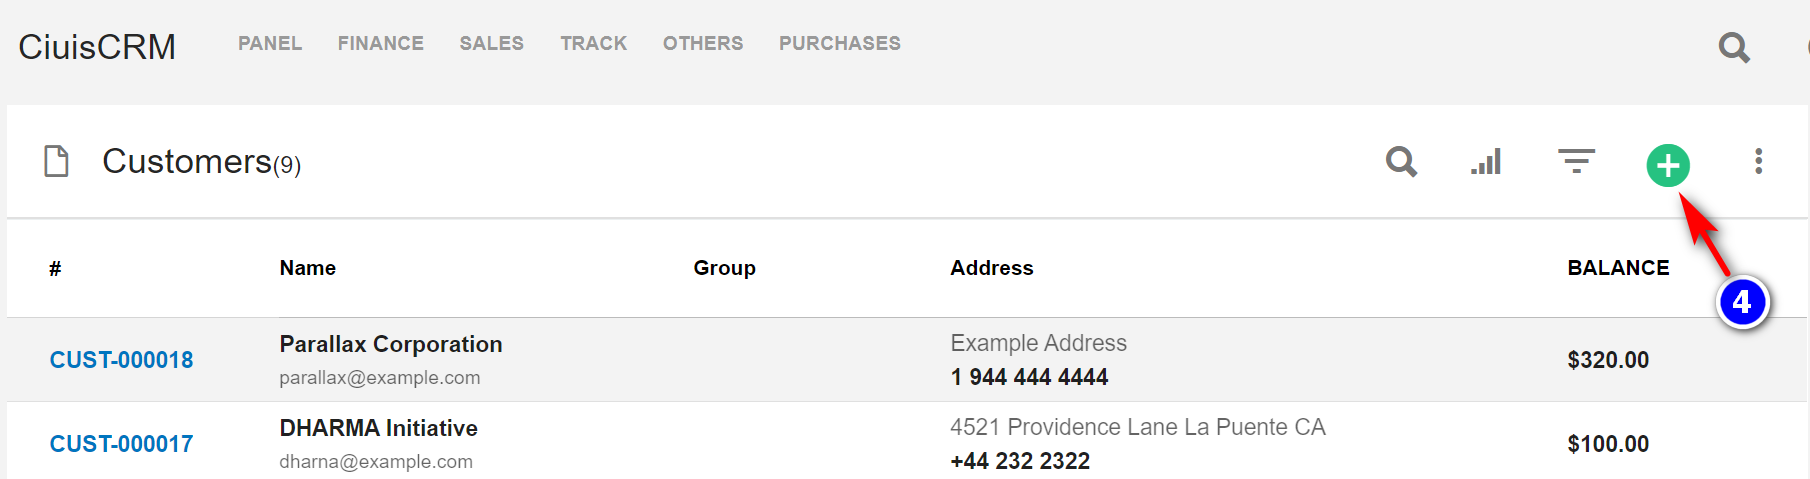
3. Create/Add (4): To add a new customer record, click on the "Create" icon.
4. Enter the details of the customer.
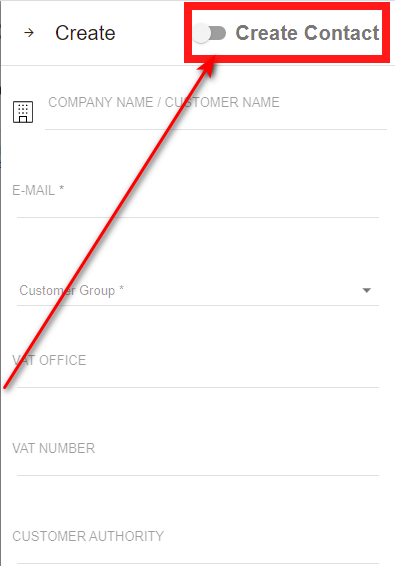
For Customer without Contact:
By default, the toggle button is set to "Customer without Contact".
For Customer with Contact:
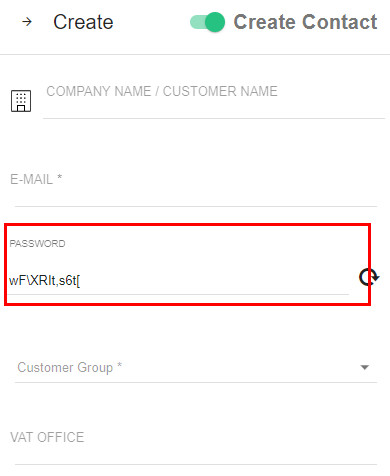
- To add a Customer with Contact, toggle the button toward "Create Contact". Customer Contact is used to store details of the Customer. While creating a customer with contact, an account is created for the customer, using which they can log in using the Client/Customer area.
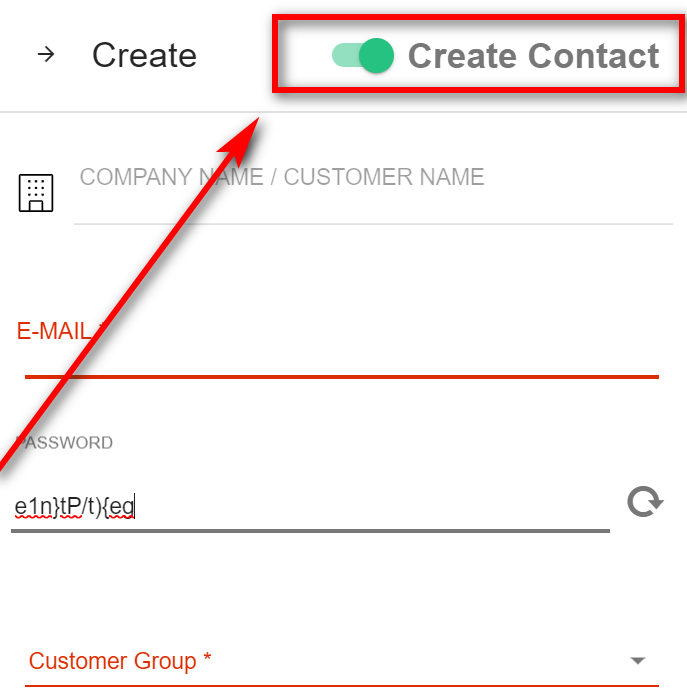
- An auto-generated password is displayed. Change the password if you want.
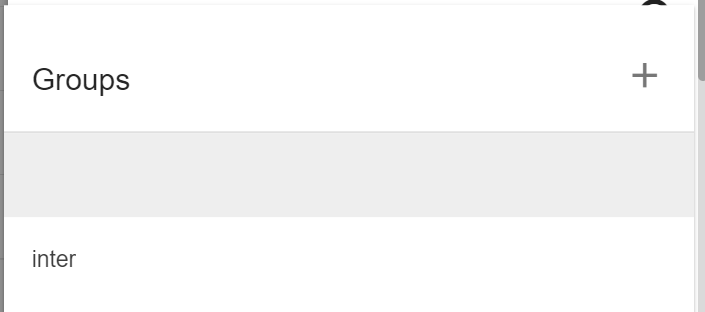
5. To add each customer to their respective customer group, You can click on the "+" icon to add the new customer group.
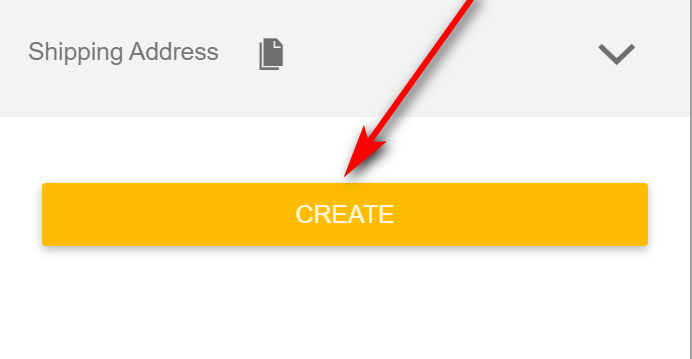
6. After filling in all the details about the customer click on the “Create” button.
repeat the same for adding multiple customers.
3.1.2 Customer Page Details:
After adding customer you will have a pane that displays all the customer details such as below followed :
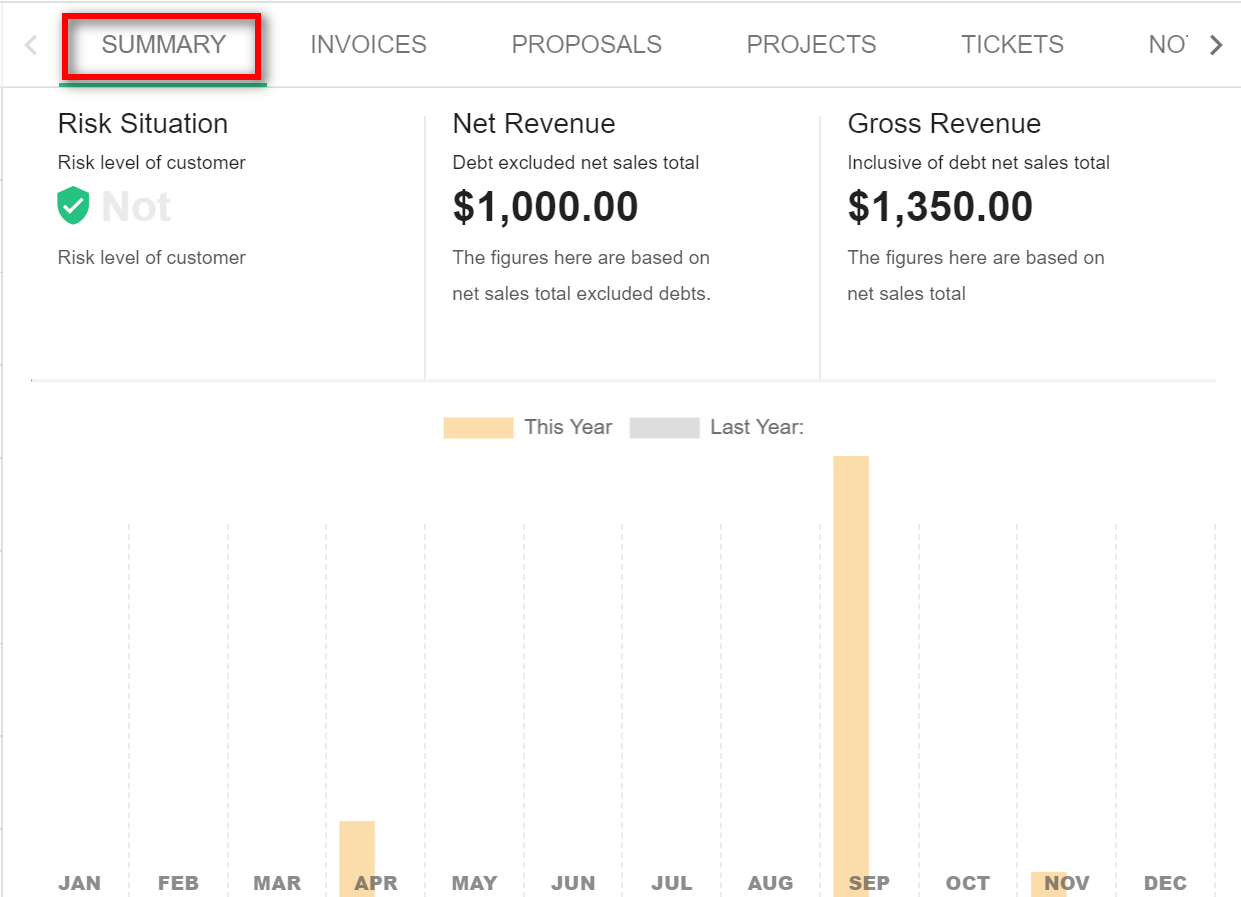
1. Summary: This tab gives the overall transactions made by the customer.
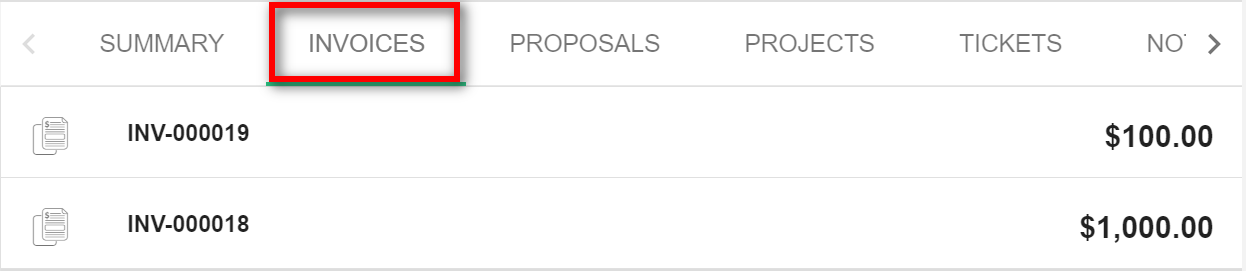
2. Invoices: This tab displays all the invoices pertaining to the customer.
3. Proposals: This tab displays all the proposals sent to the customer.

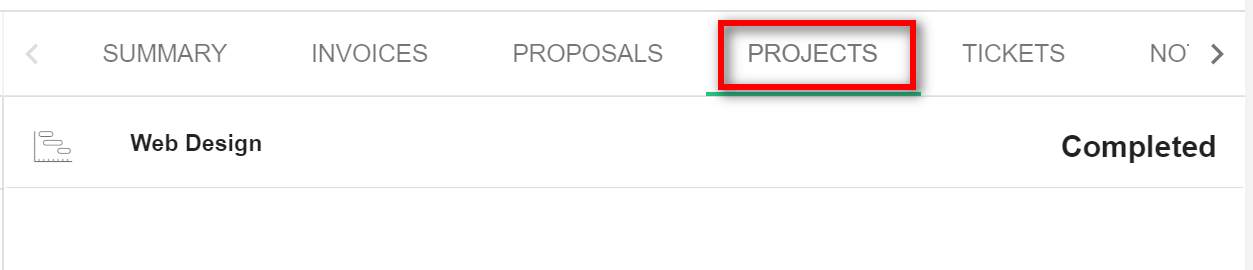
4. Projects: This tab displays all the projects pertaining to this customer.
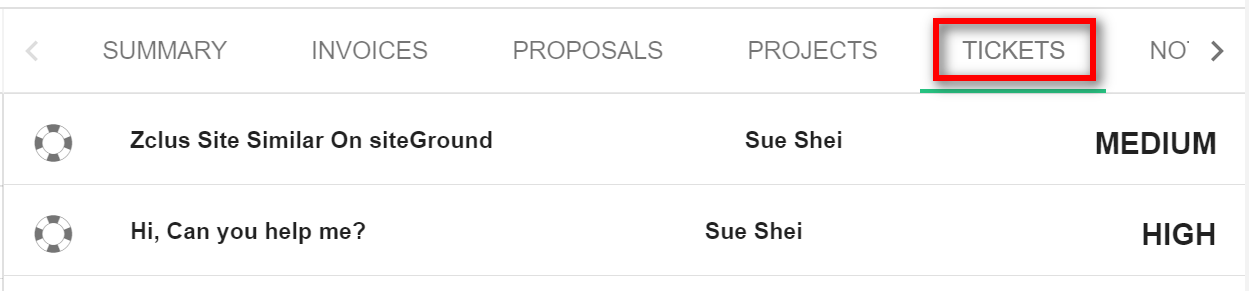
5. Tickets: This tab displays all the tickets pertaining to the customer.
6. Notes: This tab displays all the notes created by the staff. Notes are internal and are not shown to the customer.

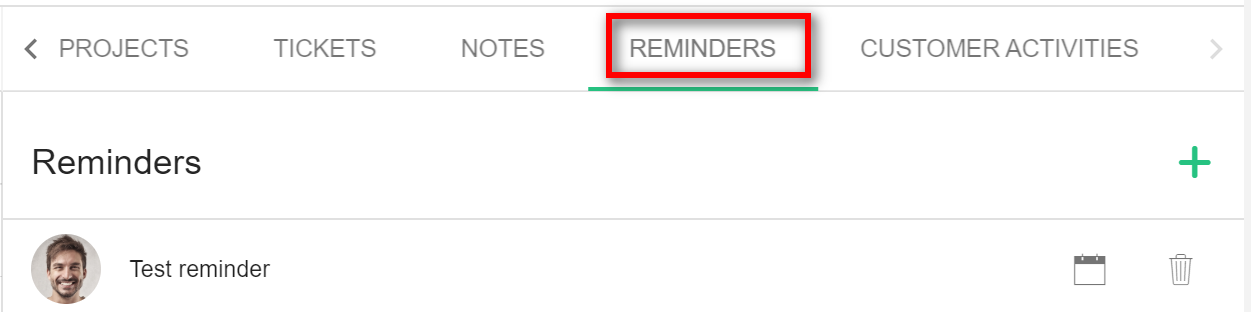
7. Reminders: This tab displays all the reminders set regarding this customer.
8. Customer Activities: This tab displays all the customer activities.

3.1.3 Edit Customer:
1. Click on the customer that you want to particularly edit.
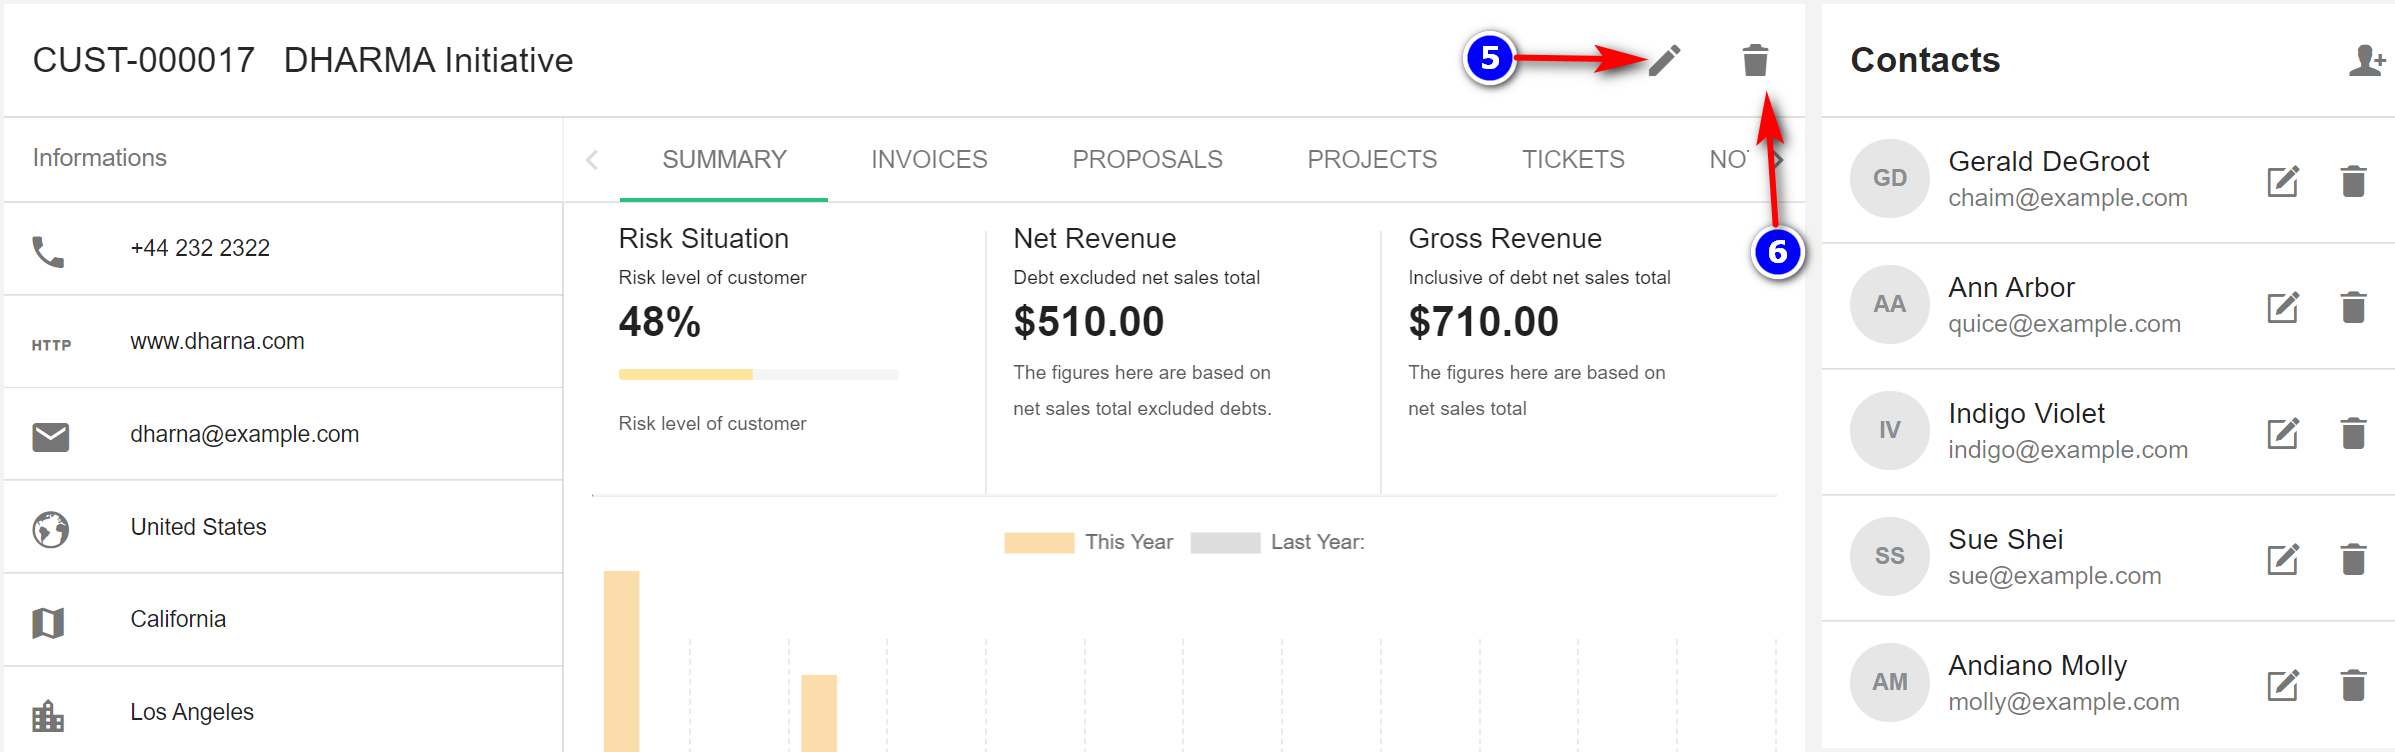
2. Edit(5): Click on the Edit icon.
3. Active button: Enable or disable the Active button to activate or deactivate the customer
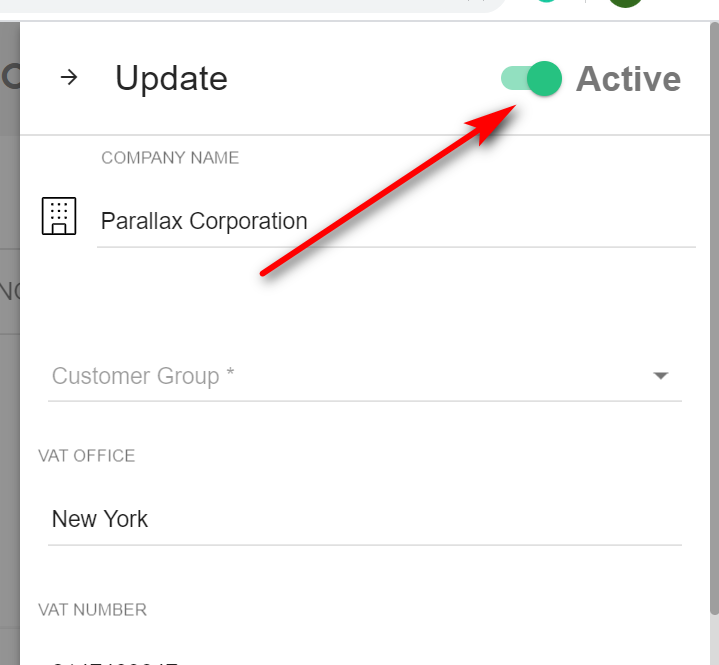
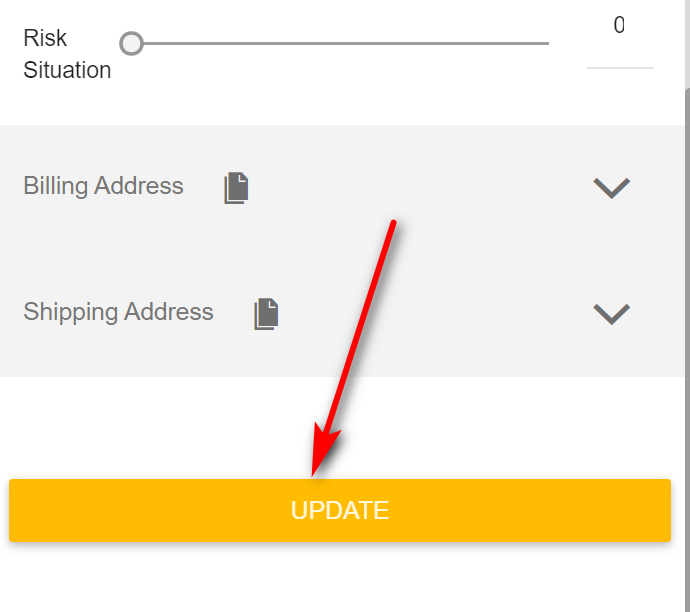
4. Make the required changes on and click on the "Update button".
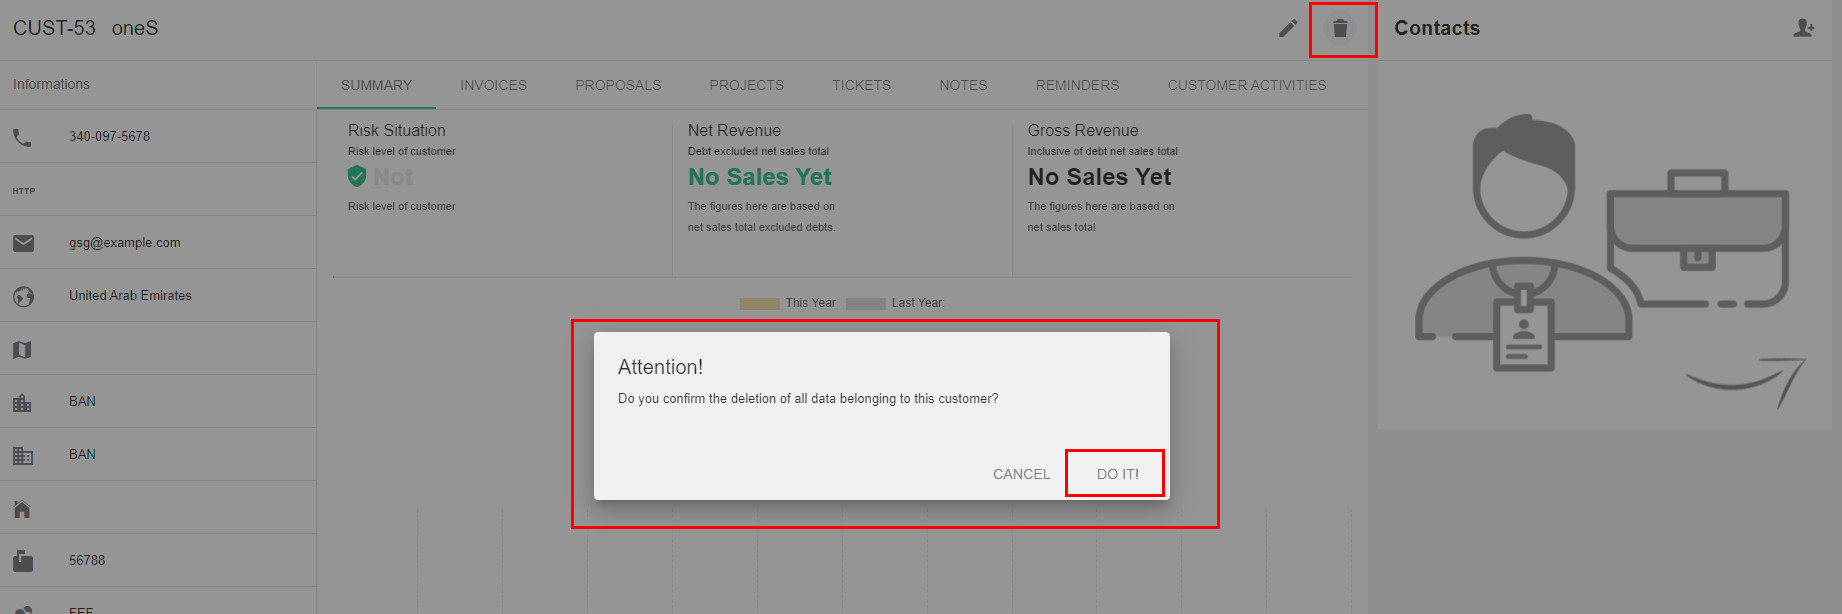
4. Remove(6): deleting any customer click on the "Remove" icon, on the top right corner, and then click the "DO IT!" button the customer will be deleted.
3.1.4 Edit Customer Contact:
1. Click on the contact to be edited.
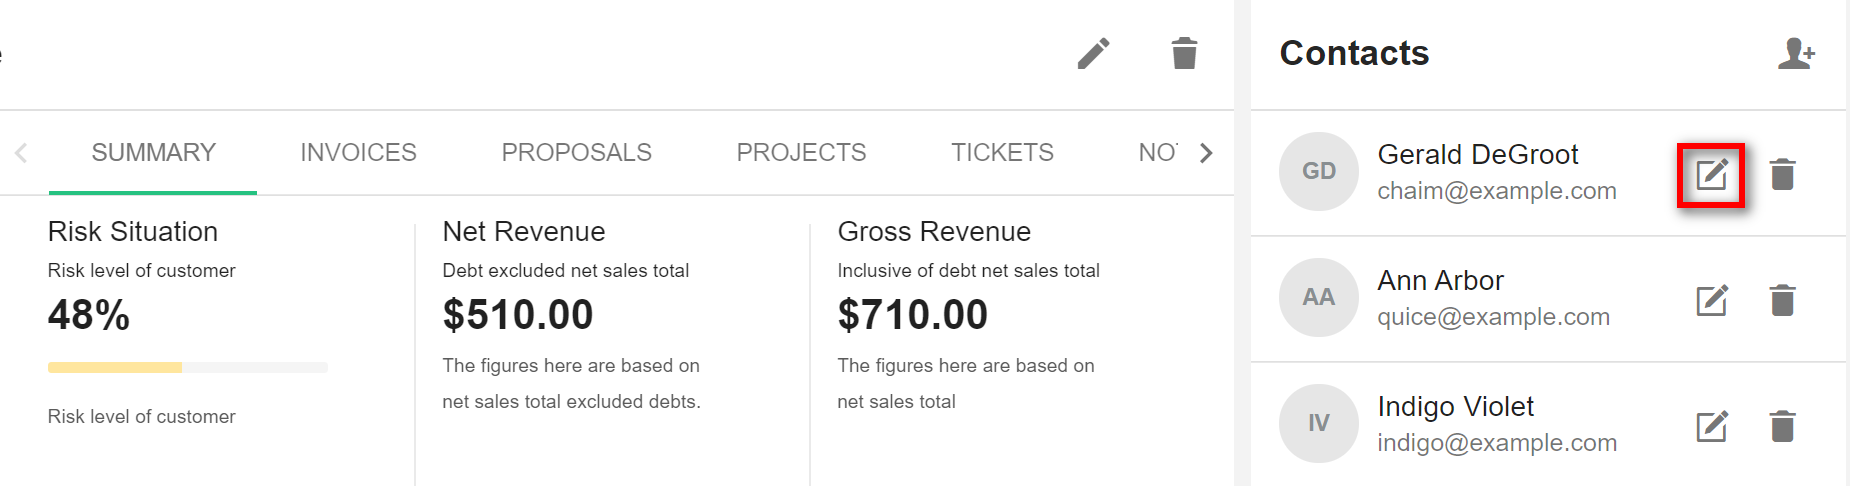
2. All the details of the contact are displayed in the pop-up window.

3. Update(7): Click on the "Update" Tab to change the details. Enter the details and click on the “Update button”(9) button.
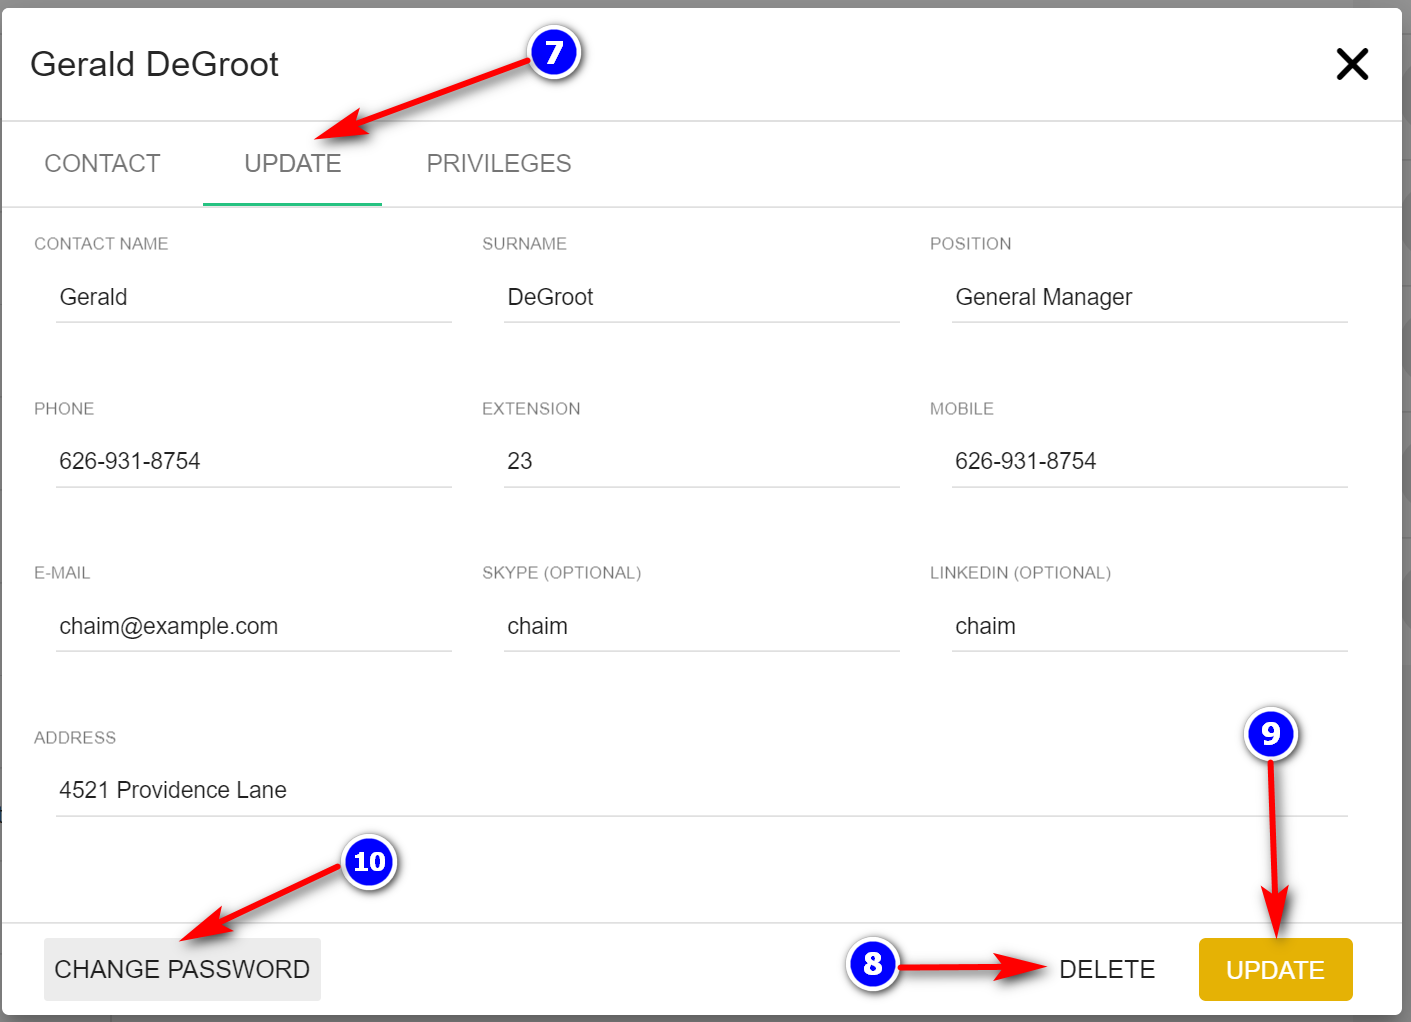
4. Delete(8): Click on the "Delete" button to delete the contact.
5. Change Password(10): Click on the Change Password button to change the password for the contact account.
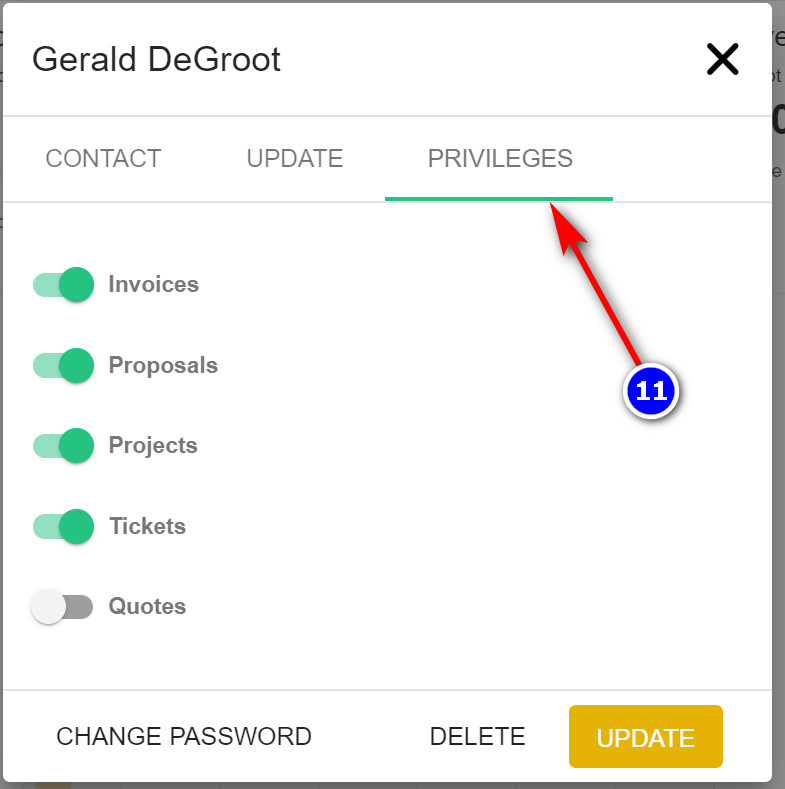
6. Privileges(11): Navigate to the Privileges Tab to modify the privileges by toggling ON and OFF / Enable or Disable.
3.1.5 Create Customer Group:
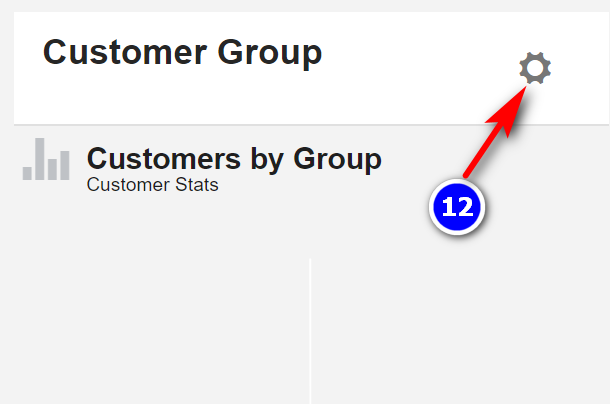
1. Customer Group(12): Click on the “Customer Group Option” icon to add the group for your customers.
2. Create Category(13): On the side nav, click on the "Create Category" icon to create the category for your customer group.
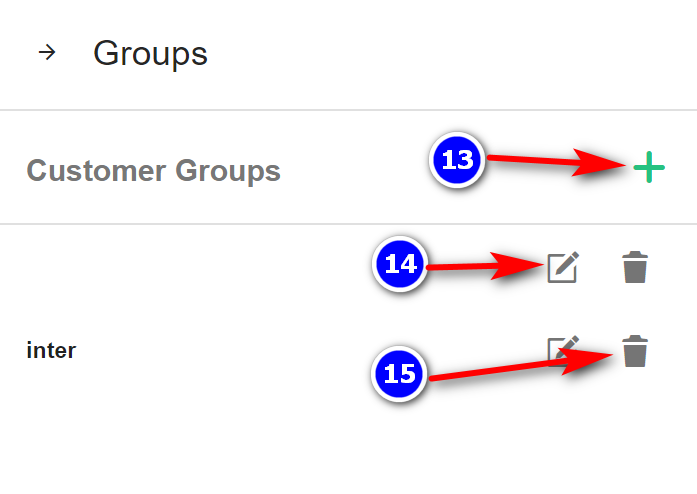
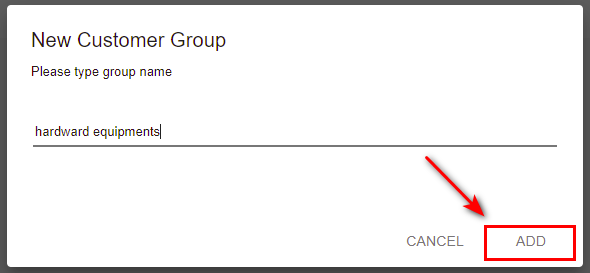
3. Enter the Customer Group Name and click on "Add", your customer group will be added.
4. Edit(14) and Delete(15): To Edit and Delete customer groups, click on their respective icons.
3.1.6Import Customers:
Customers can be imported into the CRM from a .csv file.
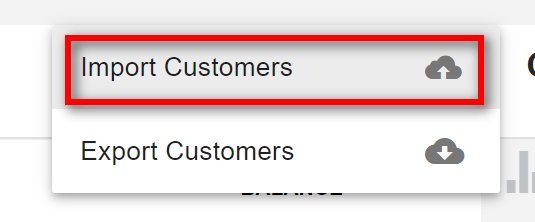
1. More Options(16): From the main customer’s page, click on the "More Options" icon.

2. Select the "Import Customers" option.
2. From the side nav, click on the Download Sample button, to download a sample .csv file.
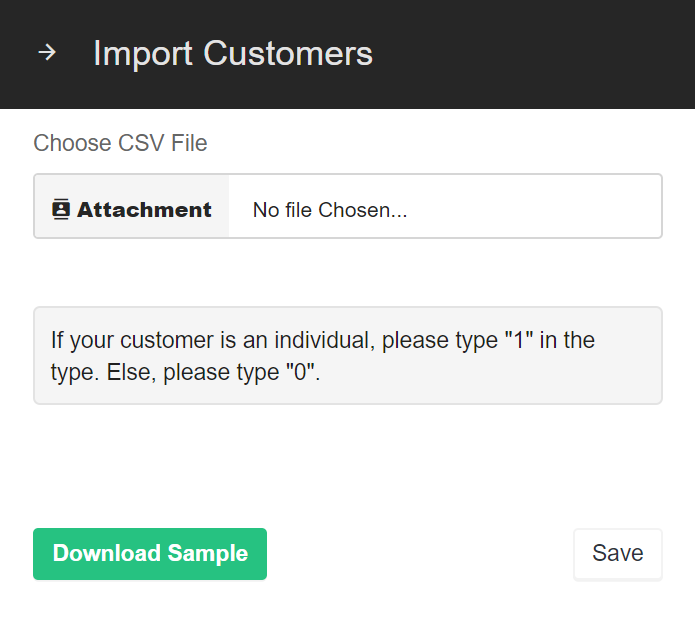
3. Create the .csv file by referring to the sample given. And save the file locally.

4. Click on the "Attachment" input box, navigate to the location of the file. Click on "Save" to begin the importing.
5. Imported customers are now displayed.

NOTE: If there are any errors in the .csv file created, those entries will be skipped and their line numbers will be displayed in the error.
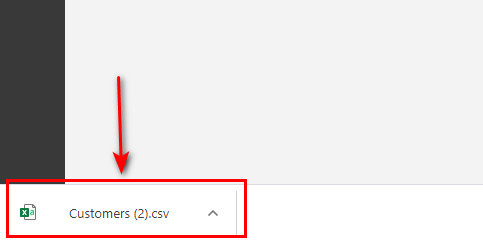
3.1.7 Export Customers:
Customers' details can be exported from the CRM in the form of a .csv file.
1. From the main customer’s page, click on the "More Options"(16) icon and select the "Export Customers" option.

2. All the customers stored on the CRM will be stored in a .csv file and downloaded onto the local system automatically.