
5.2.1 Create Inventory:
- "Inventory" can be found under "Sales" in the main menu.
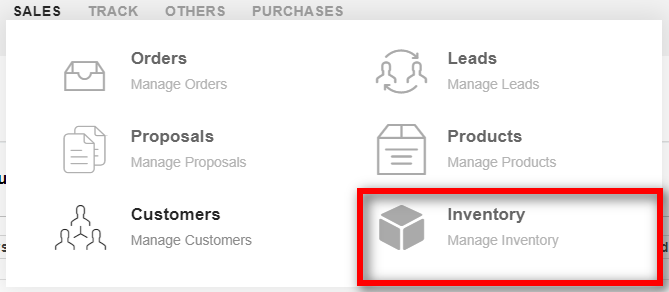
- All the inventories that are created are listed on the Inventory page here.
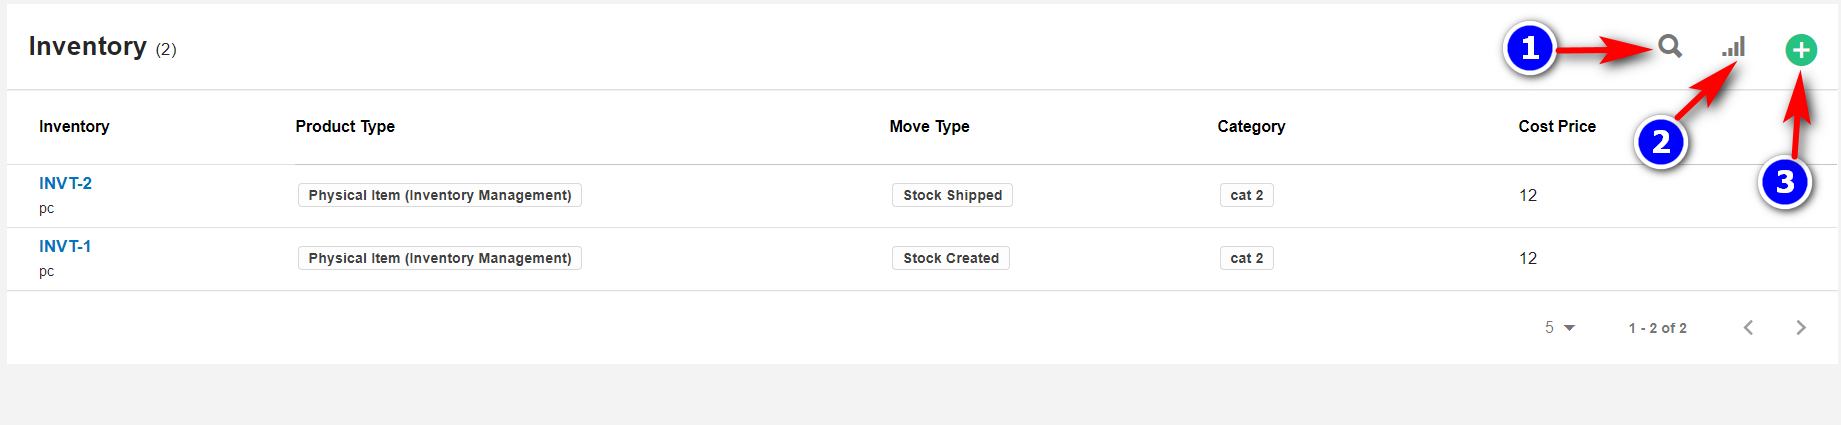
- Search(1): To search the inventory click on the "Search" icon to search for a particular inventory.
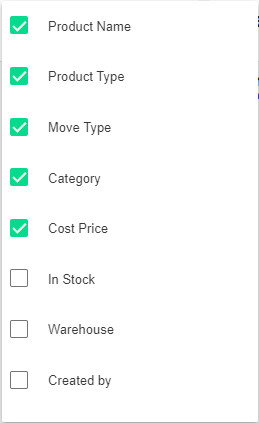
- Filter Column(2): By default, all the columns for the "Inventory" table are displayed. To manage what column needs to be displayed, click on the "Filter Column" icon, after you click on the icon a box will appear as shown in the below image, you can "Check" or "Uncheck" the fields you want to display on your "Inventory" page.
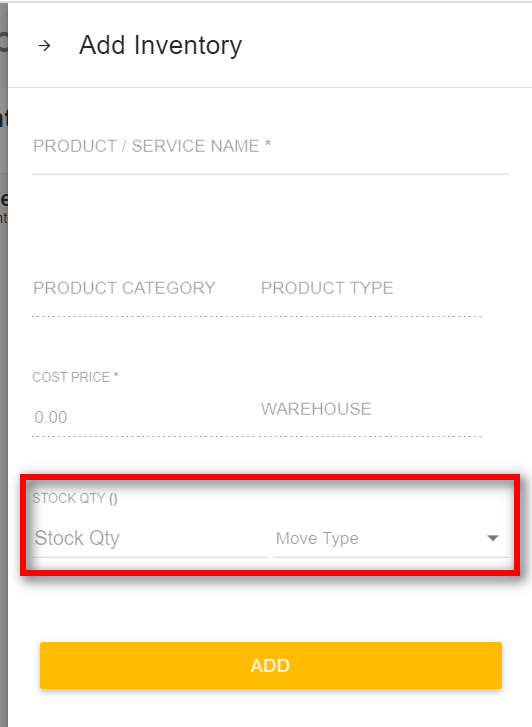
3. Create(3): To create a new inventory, click on the "Create(+)" icon. Fill in all the details and click on the "Add" button.
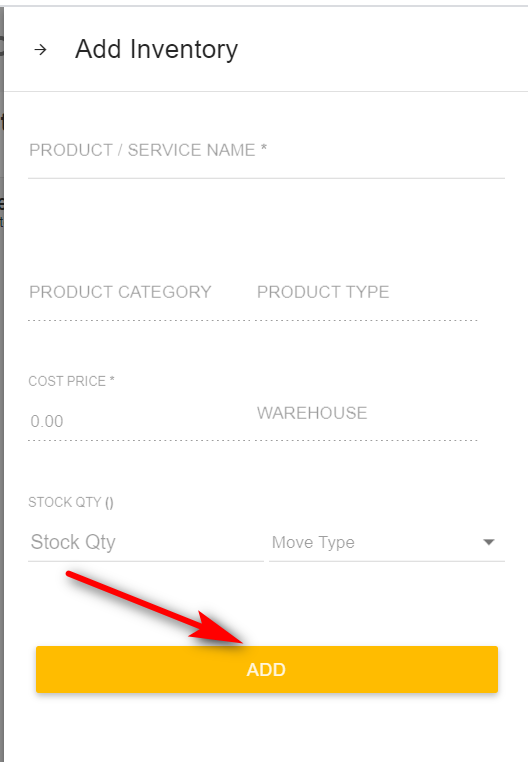
Note: Make sure a few products are stored so that you can create a new inventory. Existing inventories will be displayed in the table.
4. Existing product details will be automatically filled in respective fields. Fill in the Stock quantity and Move type fields.
5.2.2 Move type:
There are 8 move types.
- Stock Created: To add new stock to the warehouse


- Stock Removed: To remove stock from the warehouse.


- Stock Transfers: To transfer stocks or products from one warehouse to another warehouse

Once you select the Stock transfer you will get extra fields name: warehouse to and ware house from you can fill in the appropriate details.


4. Stock reversal: To reverse the stock from the warehouse.
5. Stock shipped: To mark the stock as shipped.
6. Stock shipped reversal: To reverse the shipped stock in the warehouse.
7. Stock purchase: To mark the stock as purchased.
8. Stock purchase reversal: To reverse the purchased stock in the warehouse.