10.2.1 Inital Setup & Main Settings
10.2.1.1 How to manage Company Settings?
1. Company Settings Tab can be found here.
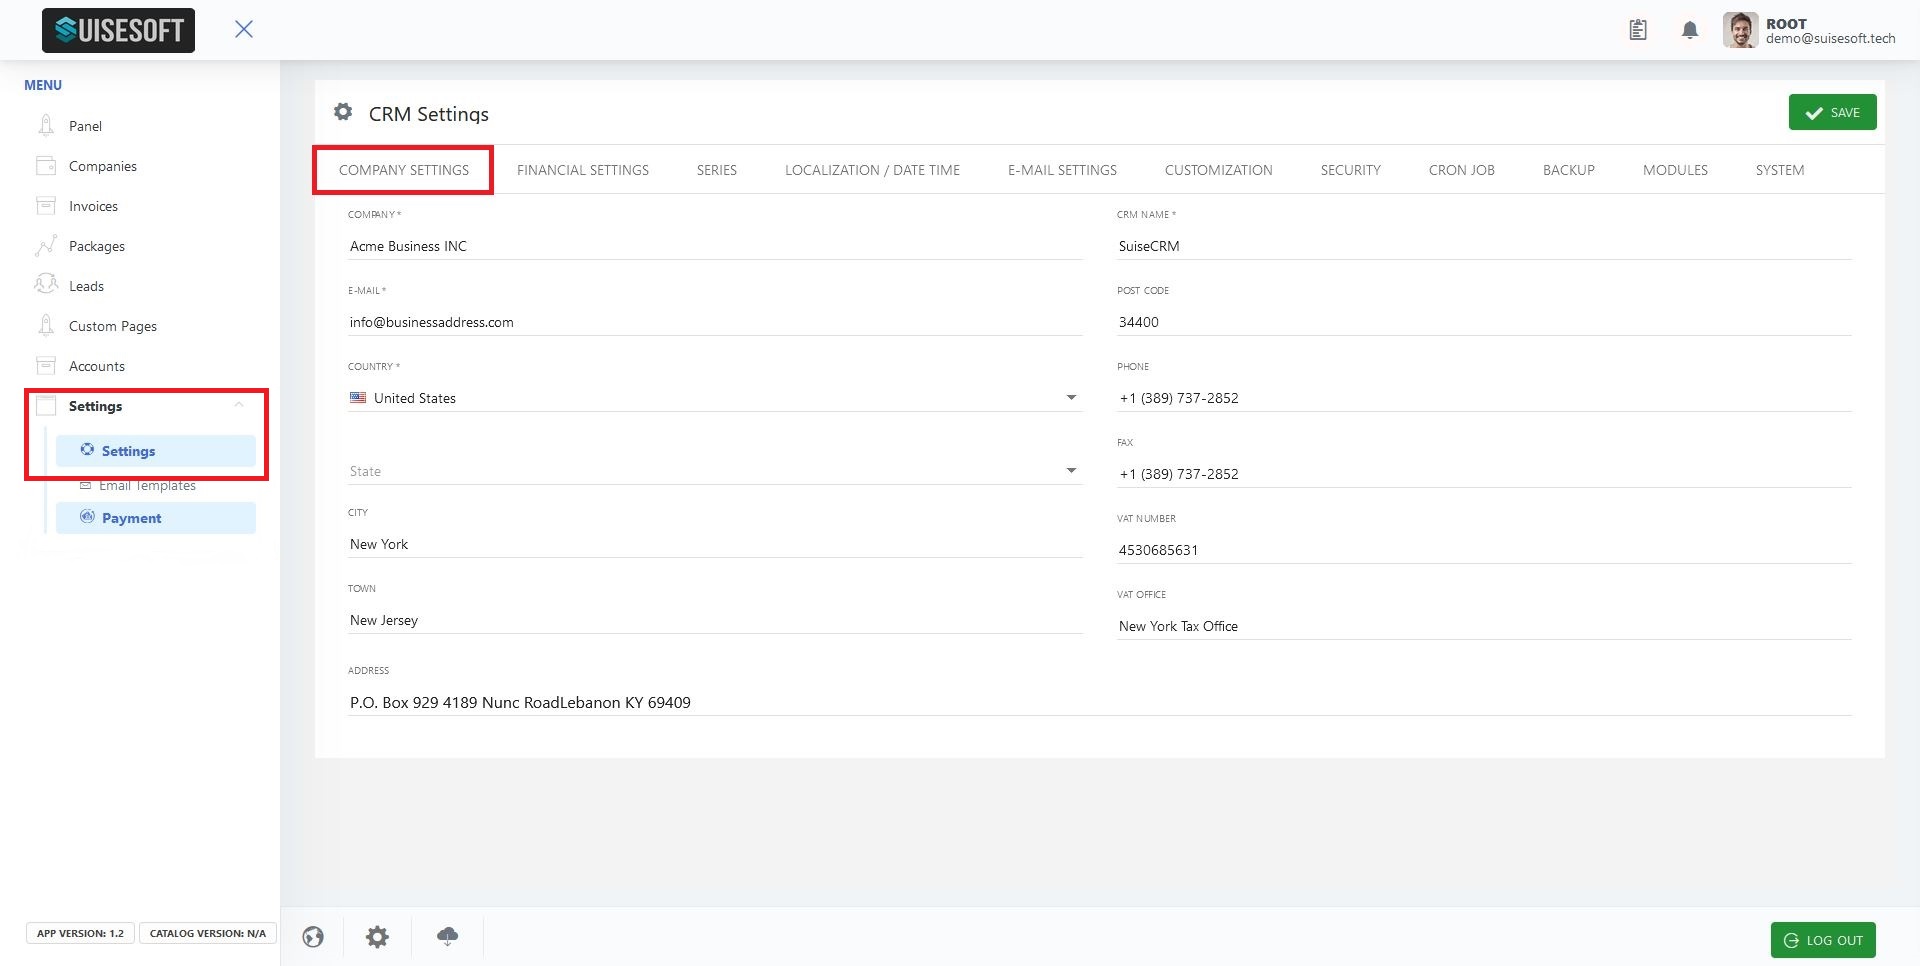
- Company Name: This is the company name that will be displayed on all the documents created.
- CRM Name: This will be the name displayed on the top left corner of the app and also on the login page.
- Tax Number: This is the company tax number.
2. Enter your Business details as shown in the Company Settings tab.
3. Save your changes by clicking on the "SAVE" icon.

10.2.1.2How to manage Financial Settings?
1. Financial Settings can be found under the settings page as shown below
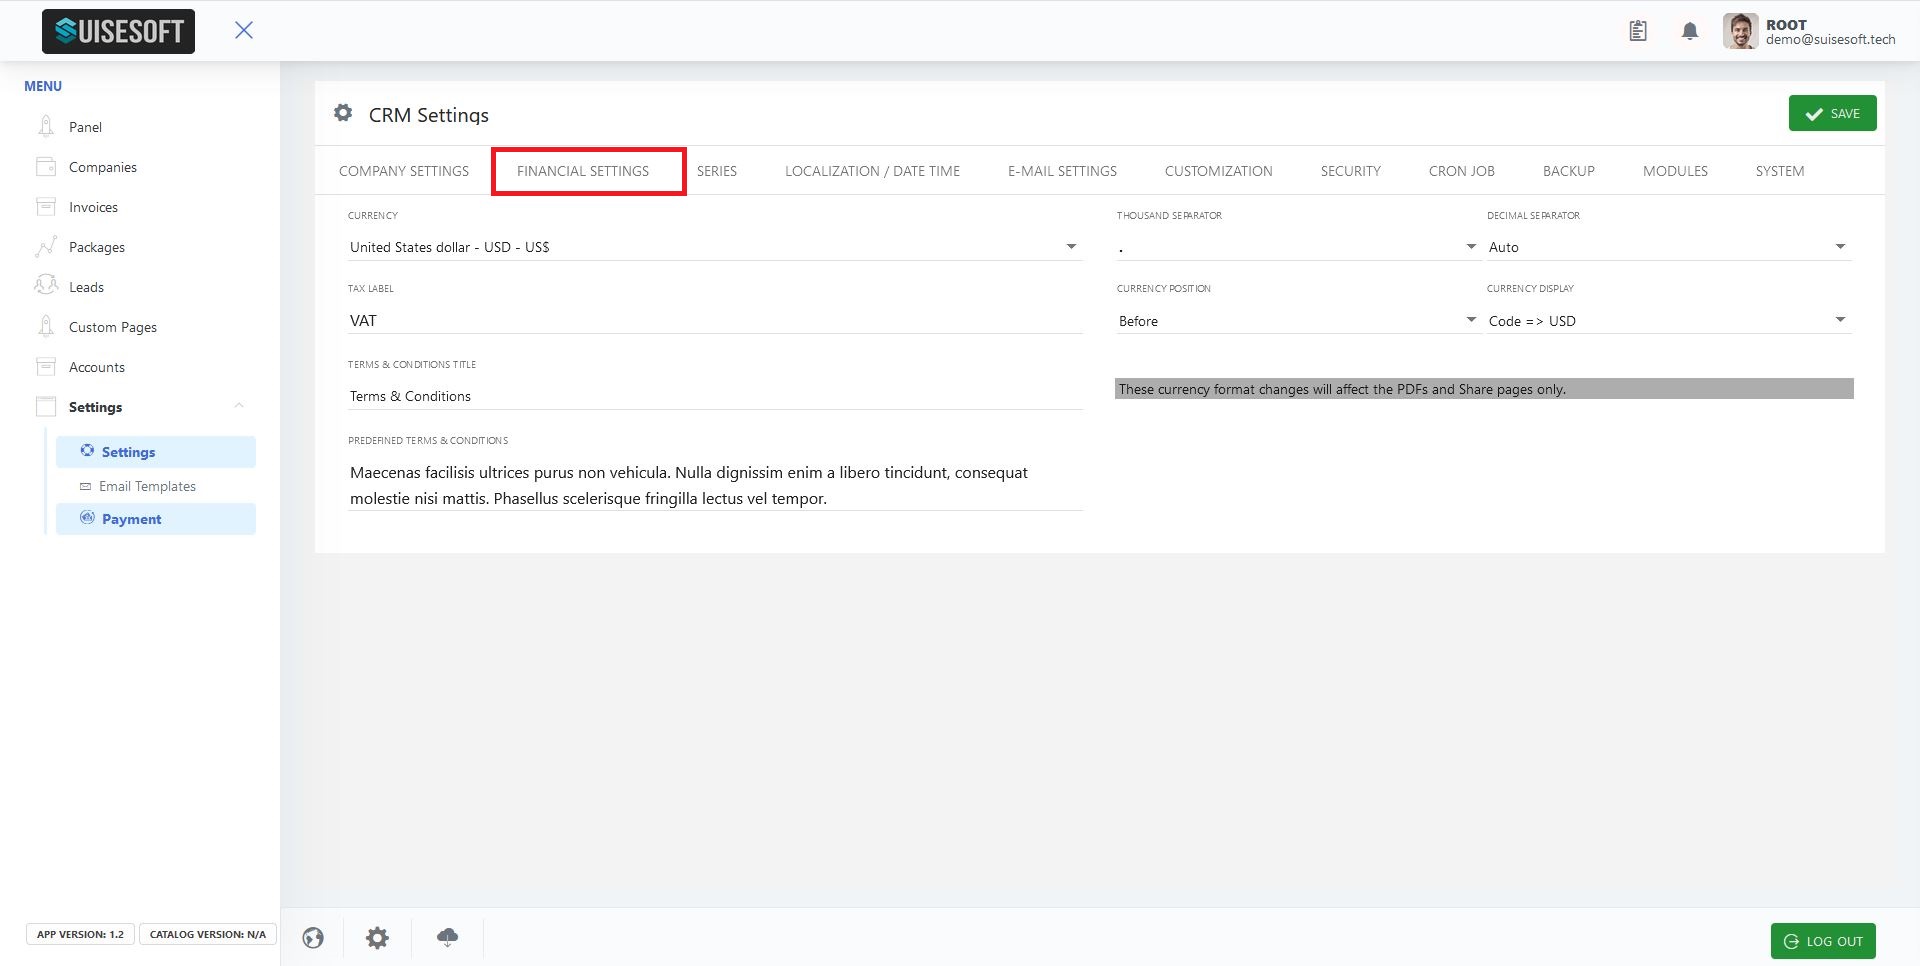
- Currency: This is the preferred currency. This will be used throughout the app.
- Terms & Conditions Title: The title you want to give to the terms and conditions section.
- Terms & Conditions: The terms and conditions to be displayed on all the documents created.
2. On the right, you can see the currency display options for PDF and Share pages.
- Thousand Separator: It gives the user the option to choose the thousand separator. The separator can be a ‘comma’, ‘decimal’, ‘none’ or ‘space’.
- Decimal Separator: It gives the user the option to choose the decimal separator. The separator can be a ‘comma’, ‘decimal’ or ‘auto’.
- Currency Position: It gives the user the option to choose the currency position. The options are ‘before’, ‘after’ and ‘auto’.
- Currency Display: It gives the user the option to choose the currency display. You can choose to display the currency symbol or the currency code.
3. Click on the "SAVE" icon to save any changes.

10.2.1.3How to manage Document Series?
1. The Document Series tab can be found under the settings page as shown.
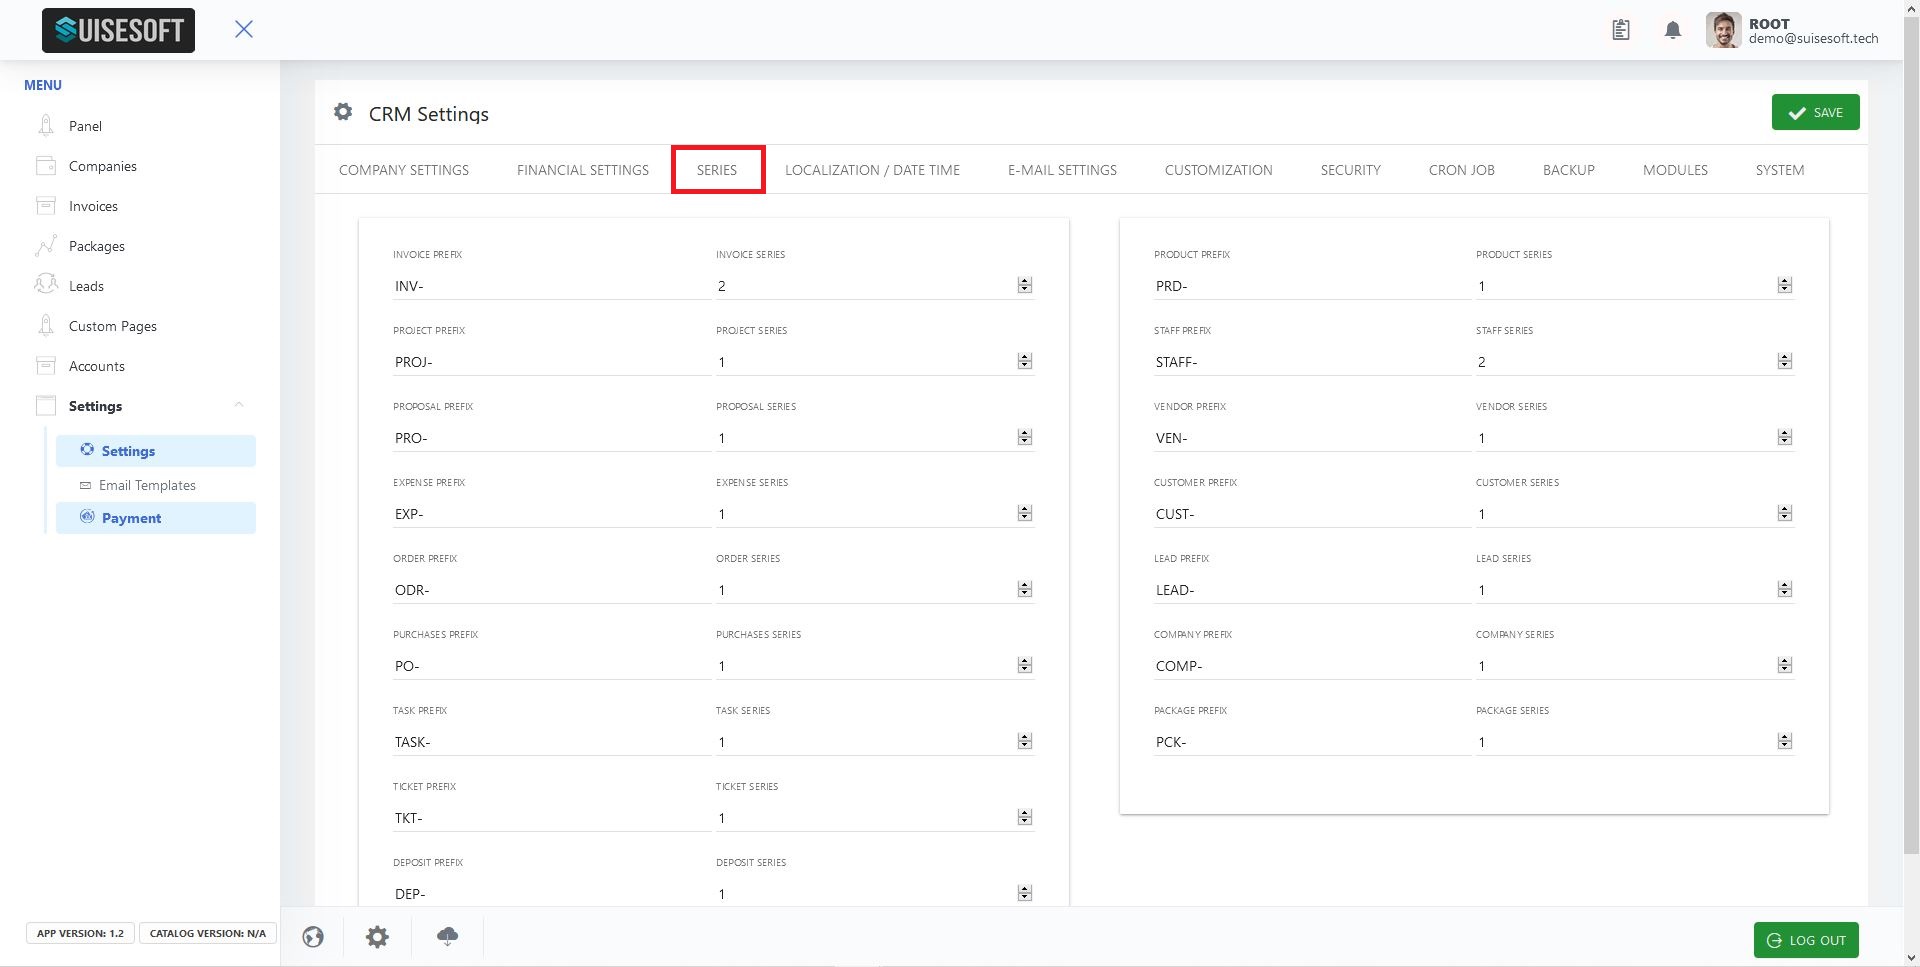
- Prefix: These are the document prefixes. Ex: INV-
- Document Number: A code assigned to a document. This is a combination of the Prefix and Series. Ex: INV-4
- Series: Document series. When these are left blank, the document number assigned will depend on the database id number. When a number is assigned to the series here, the next document created will be assigned that series and the series will be auto-incremented.
2. Click on the "SAVE" icon to save any changes.
10.2.1.4How to manage localization and time?
1. The Localization & Time Settings can be found here on the Settings page.
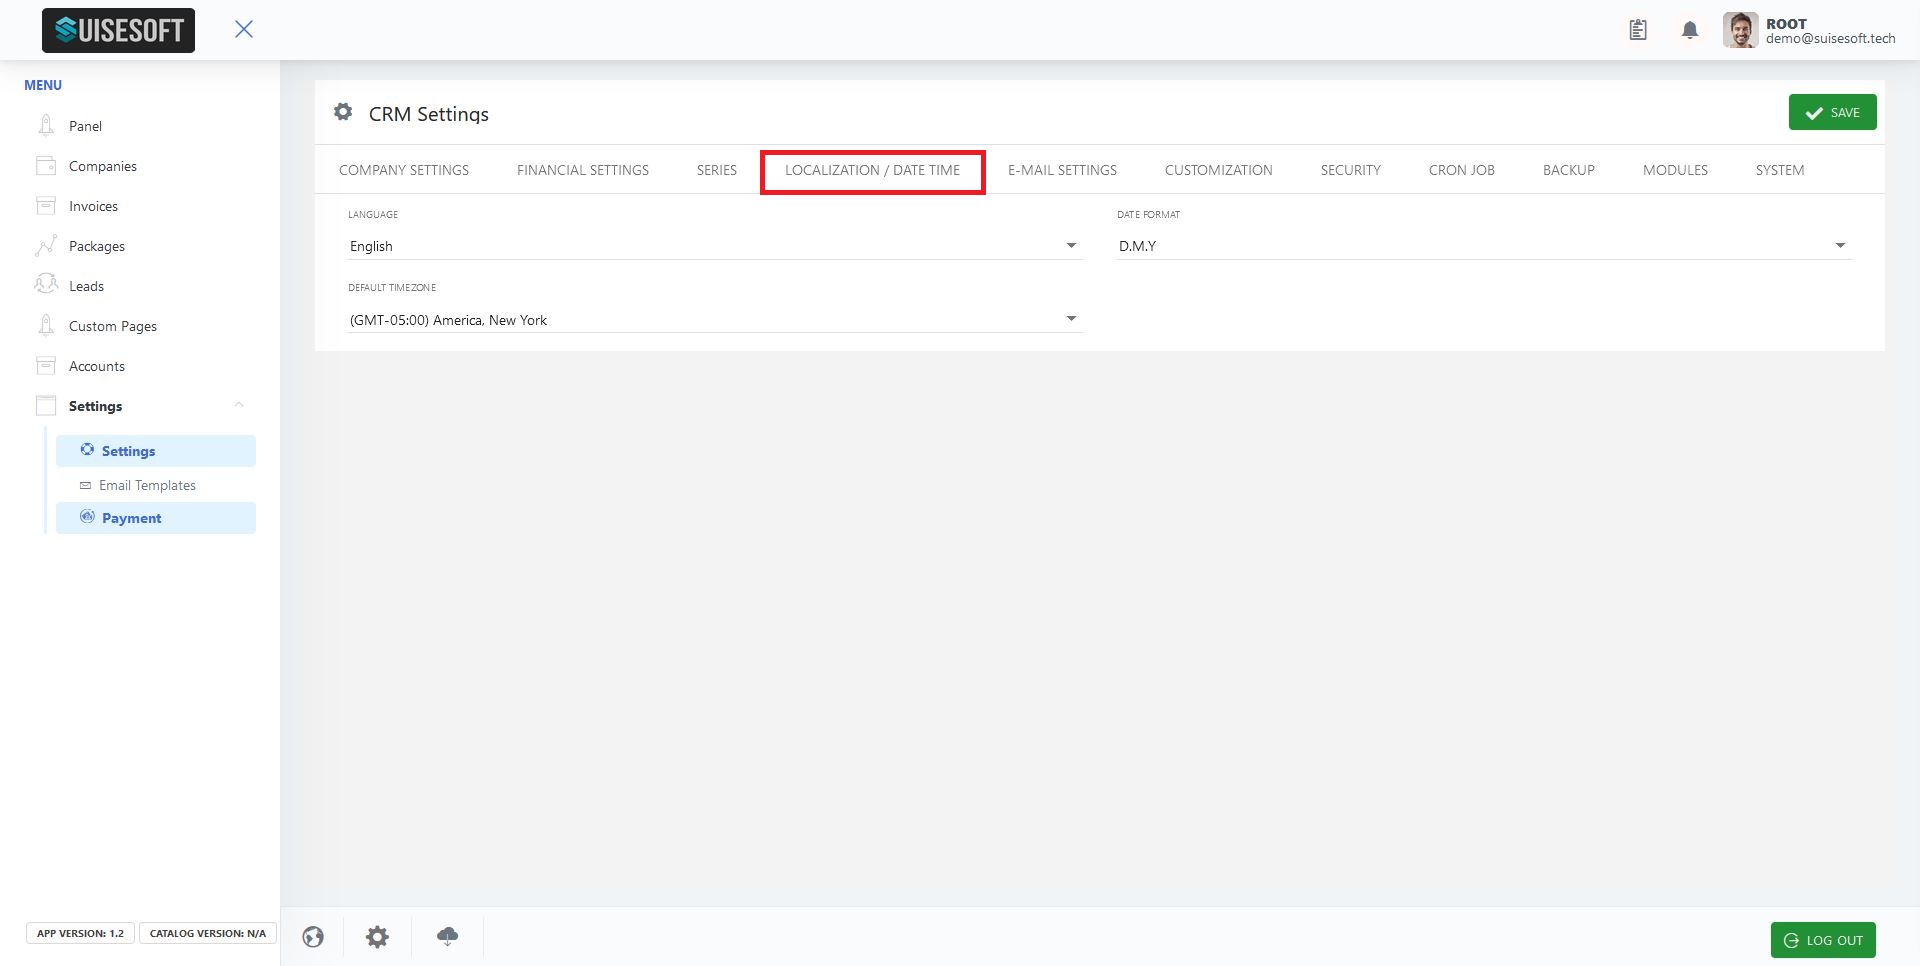
- Language: This is the default language of the CRM.
- Default Timezone: The default timezone set for the installation. All the time displayed will be based on this option.
- Date Format: The date format to be used throughout the app.
2. Click on the "SAVE" icon to save any changes.

10.2.1.5How to manage Email Settings?
1. Email Settings tab can be found here on the Settings page.
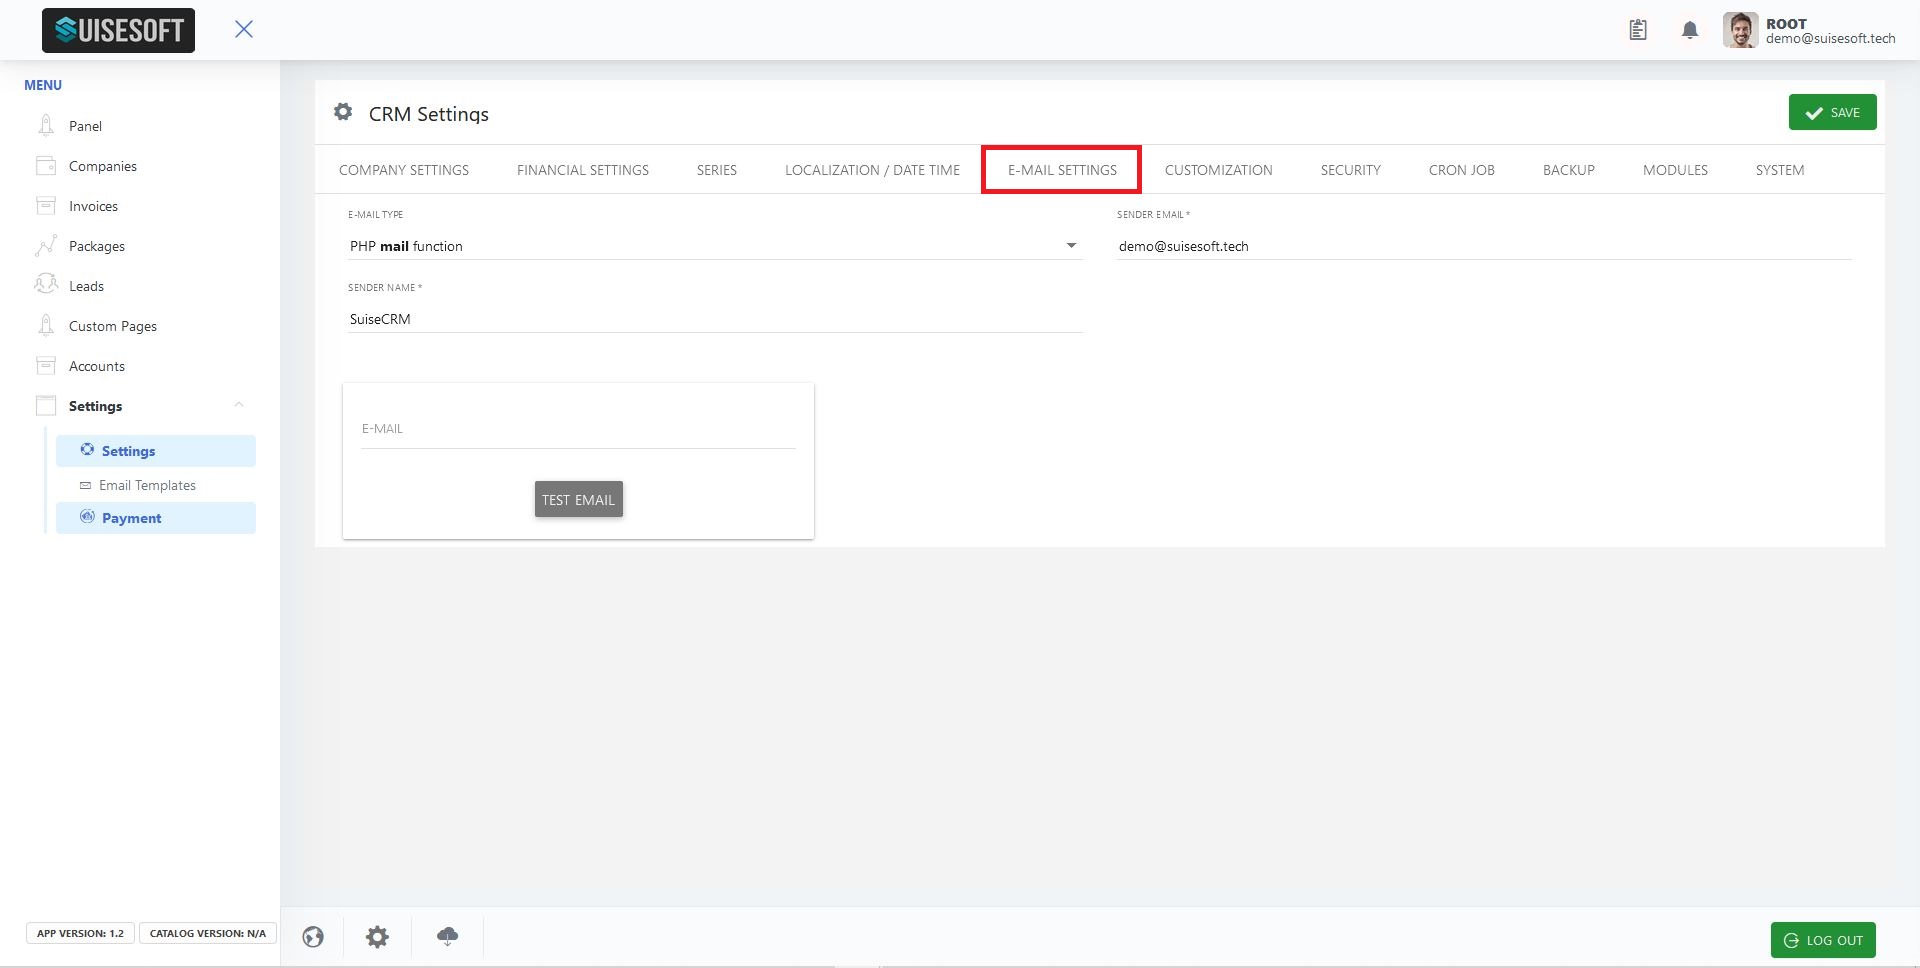
- Email Encryption: The encryption standard to be used to send emails.
- Email Type: The function to be used to send emails. The options are SMPT and PHP mail().
- SMTP Host: Your SMTP email server address.
- SMTP Username: The sender's name to be used in the emails.
- SMTP Email: The sender email to be used.
- Password: Password to the SMTP Host.
2. To test your email settings, enter a test email address and click on Test Email. If the enter settings are correct, a test email will be sent
3. Click on the "SAVE" icon to save any changes.

10.2.1.6How to customize Logo, Title, etc?
1. Customization Tab can be found under the settings page as shown.
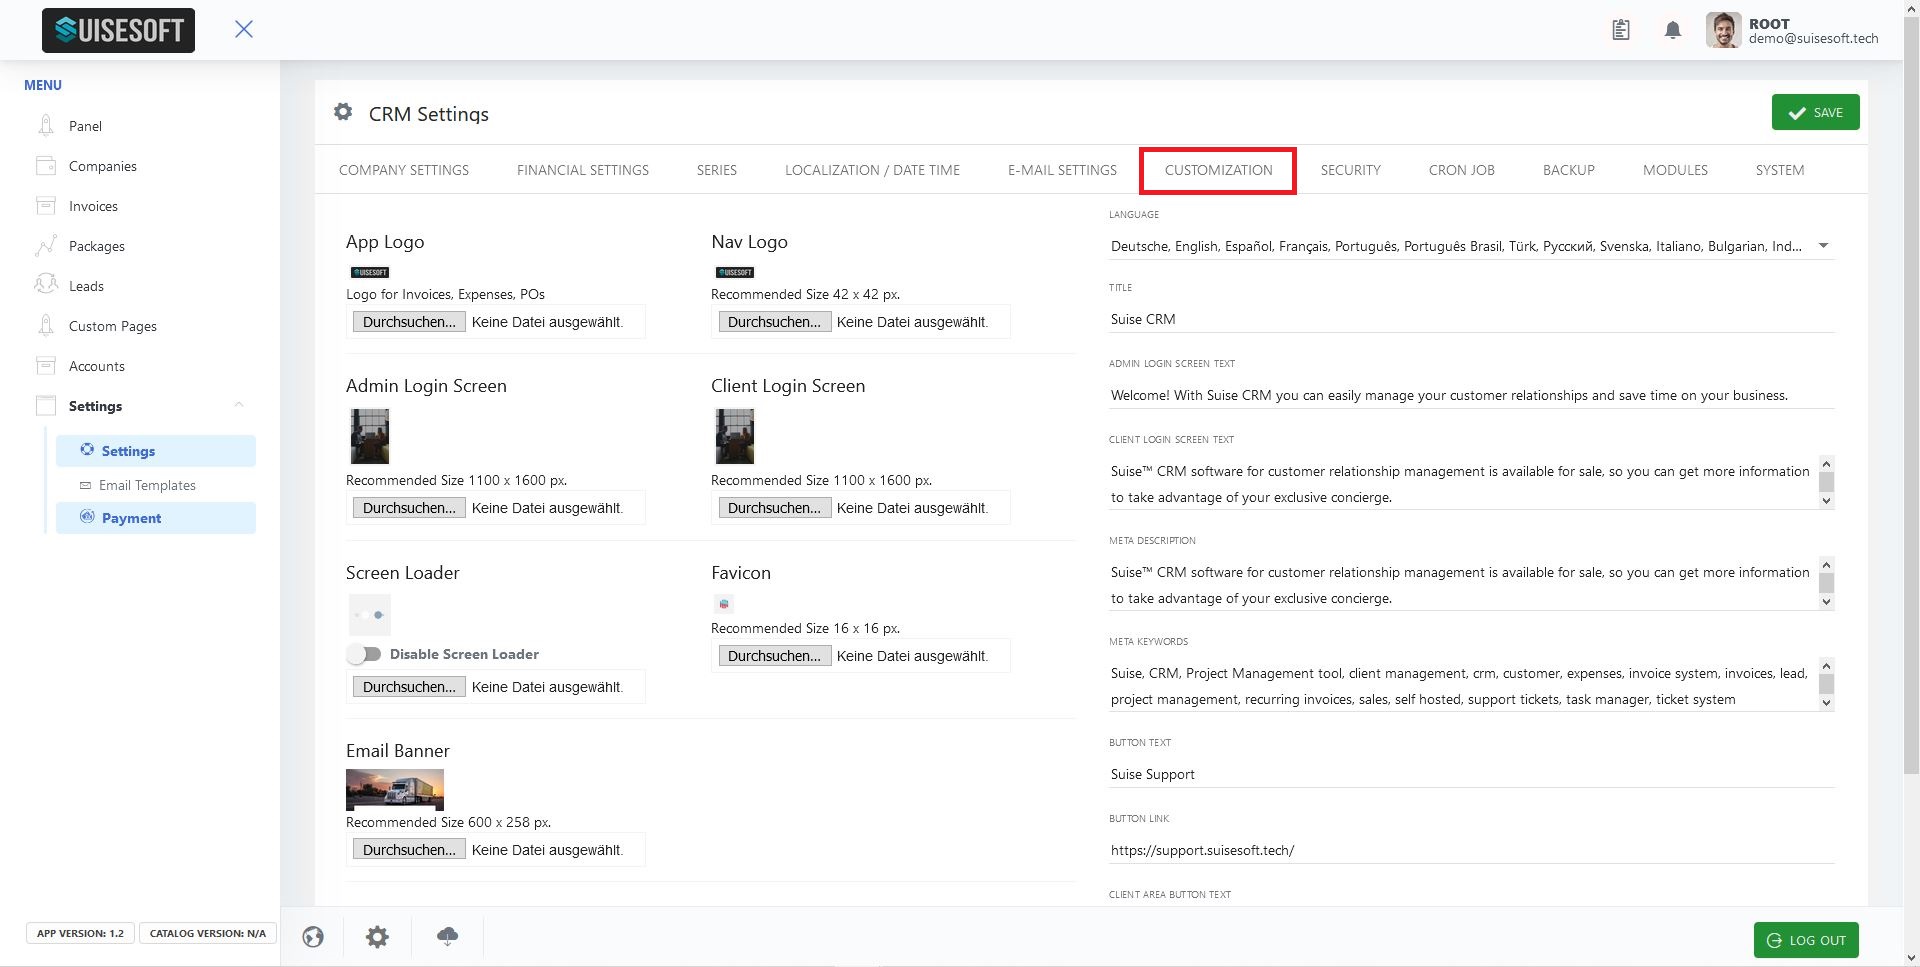
- App Logo: Logo to be displayed on the documents.
- Nav Logo: Logo to be displayed on the top left corner of the screen.
- Admin Login Screen: Image to be displayed on the admin login screen.
- Client Login Screen: Image to be displayed on the client login screen.
- Screen Loader: The screen loader to be displayed.
- Disable Screen Loader: By activating this toggle, the screen loader can be disabled.
- Favicon: The favicon to be displayed in the browser tab.
- Email Banner: The Email Banner to be displayed on all emails from the CRM.
- Title: Text to be displayed on the login page.
- Admin Login Screen Text: Text displayed on top of the admin login image.
- Client Login Screen Text: Text displayed on top of the client login image.
- Meta Description: Text to be displayed by the search engines.
- Meta Keywords: Keywords to help with Search engine optimization.
- Button Text: Text on button displayed on the client login page.
- Button Link: Link for the button.
- Client Area Button: The text to be displayed on the client area button.
- Support Button on Client: Enable or disable the support button.
- Client Area Button: Enable or disable the client area button.
2. Click on the "SAVE" icon to save any changes.

10.2.1.7How to manage Security options?
1. The security settings can be found in the settings page as follows.

2. You can enable/disable Two-Factor-Authentication using "Google Authenticator".
3. Options like "file formats", "allowed IP-Addresses" and "notifications" can be edited, enabled/disabled as you wish.
4. Click on the "SAVE" icon to save any changes.
10.2.1.8How to manage Cron Job?
1. The Cron Job tab can be found in the settings page as follows.
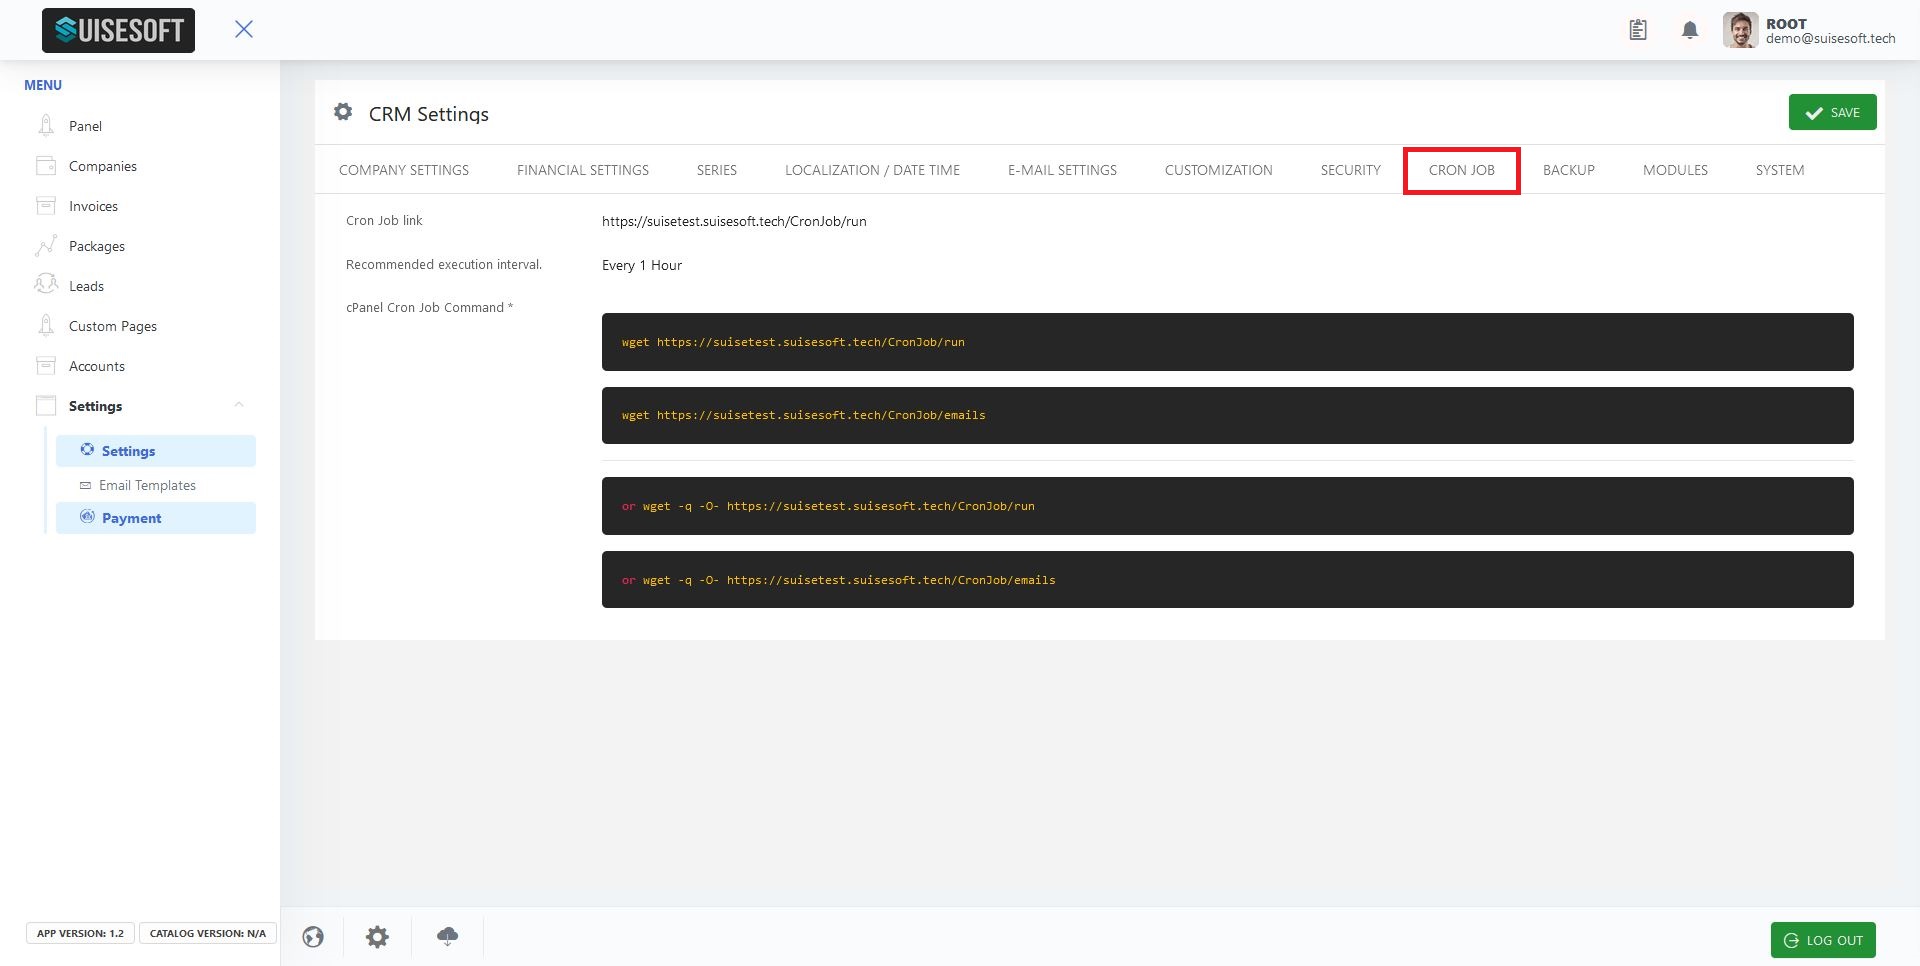
2. The Run Cron Job calculates if the recurring period has elapsed after the creation of the document, if it has elapsed, then it creates a new document and adds it to the email queue.
3. The Email Cron Job goes through the email queue and sends all the unsent emails.
4. Click on the "SAVE" icon to save any changes.
10.2.1.9How to backup/restore your data?
1. The Backup/Restore tab can be found in the settings page as follows.
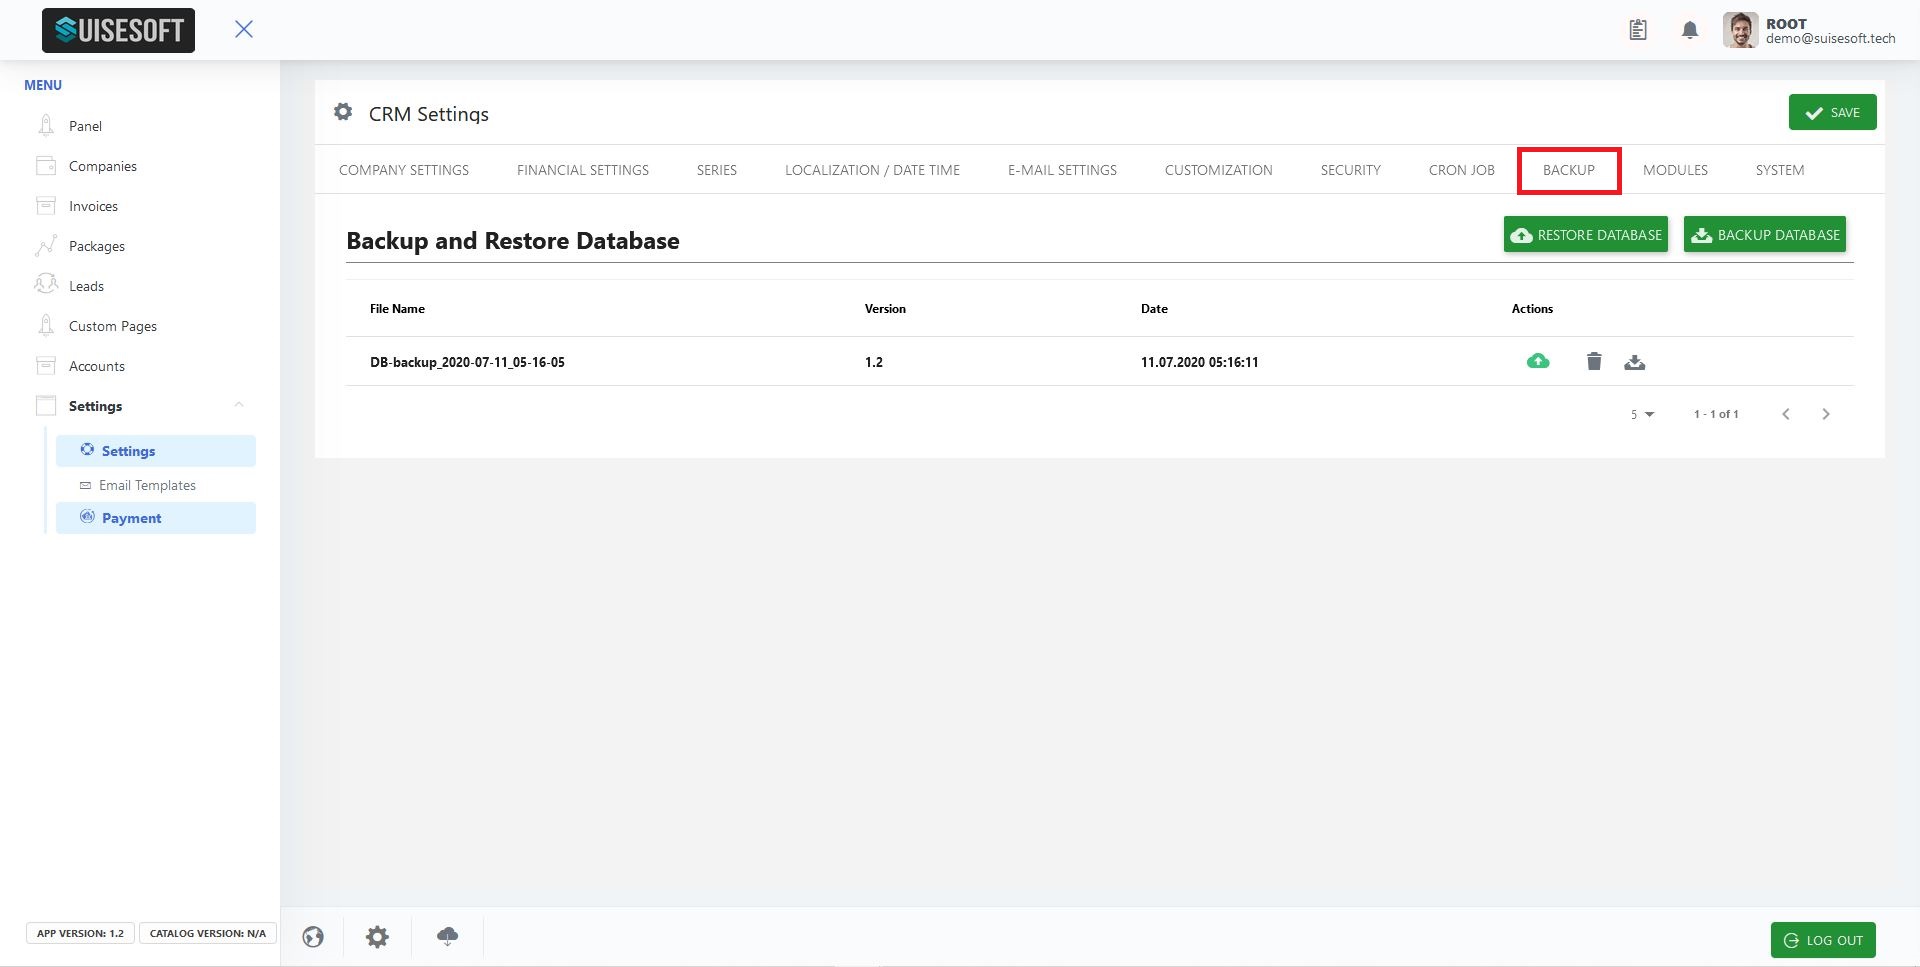
2. We recommend strongly to backup your data regularly! In case of any loss of data, you can restore a backup file too.
3. All the existing backups are listed here.
4. To create a new backup, click on the Backup Database button.
5. Click on the "Download backup"(1) icon to download the backup file in the form of .zip file.
6. Click on the "Delete Database"(2) icon to delete the backup.
7. Click on the "Upload Database"(3) icon to upload and restore that particular database.
8. Click on the "Restore Database" button to upload an already downloaded .zip file
9. Please be mindful while using the backup/restore function!
10. Click on the "SAVE" icon to save any changes.
10.2.1.10How to manage custom modules?
1. The Modules tab can be found in the settings page as follows.
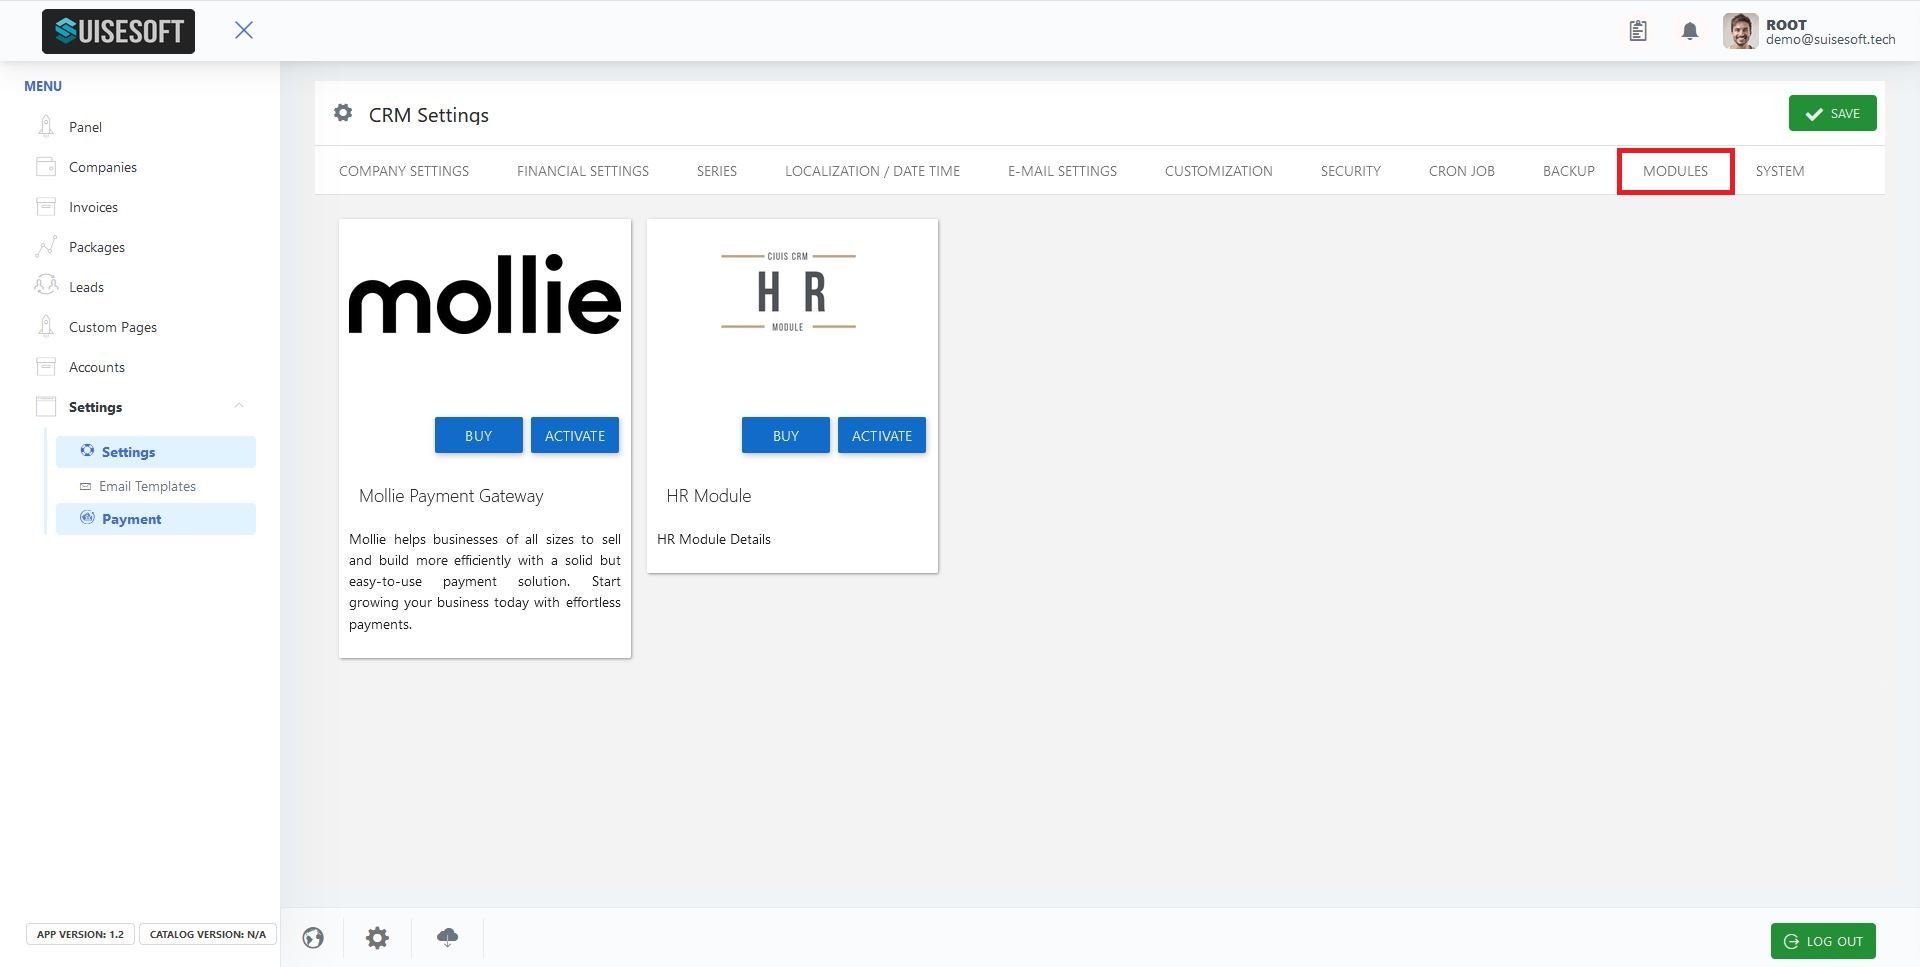
2. You can buy/activate/deactivate custom modules to expand the functionality of your SUISESOFT CRM software.
3. Click on the "SAVE" icon to save any changes.
10.2.1.11How to manage your system settings by console?
1. The System Settings tab can be found in the settings page as follows.
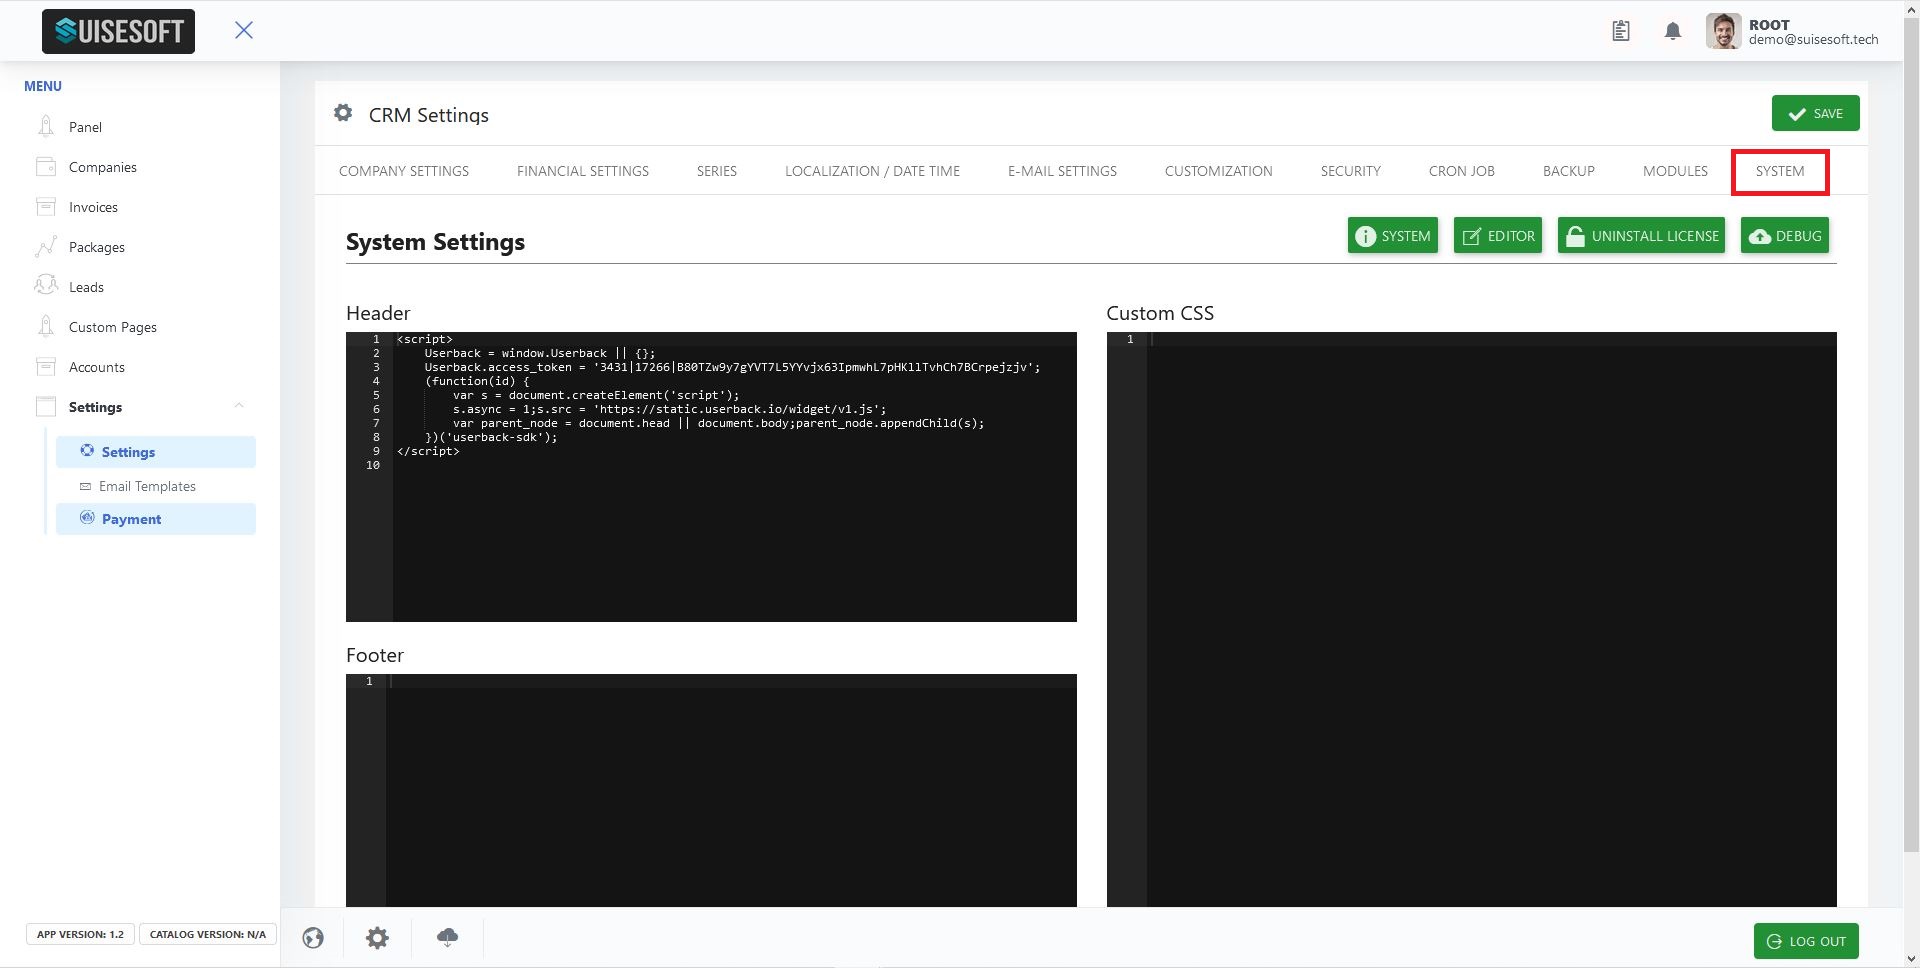
2. We recommend this feature only for advanced users!
3. You can implement custom css-codes for extra functionality.
4. Click on the "SAVE" icon to save any changes.
10.2.2 Language Editor
10.2.2.1 How to use Language editor?
The Editor function can be used to make changes to the language files or the pdf files.
- To access the Editor, navigate to the "Systems Settings" Tab in the Settings page.

- Click on the Editor Button. You will be redirected to the Editor page.
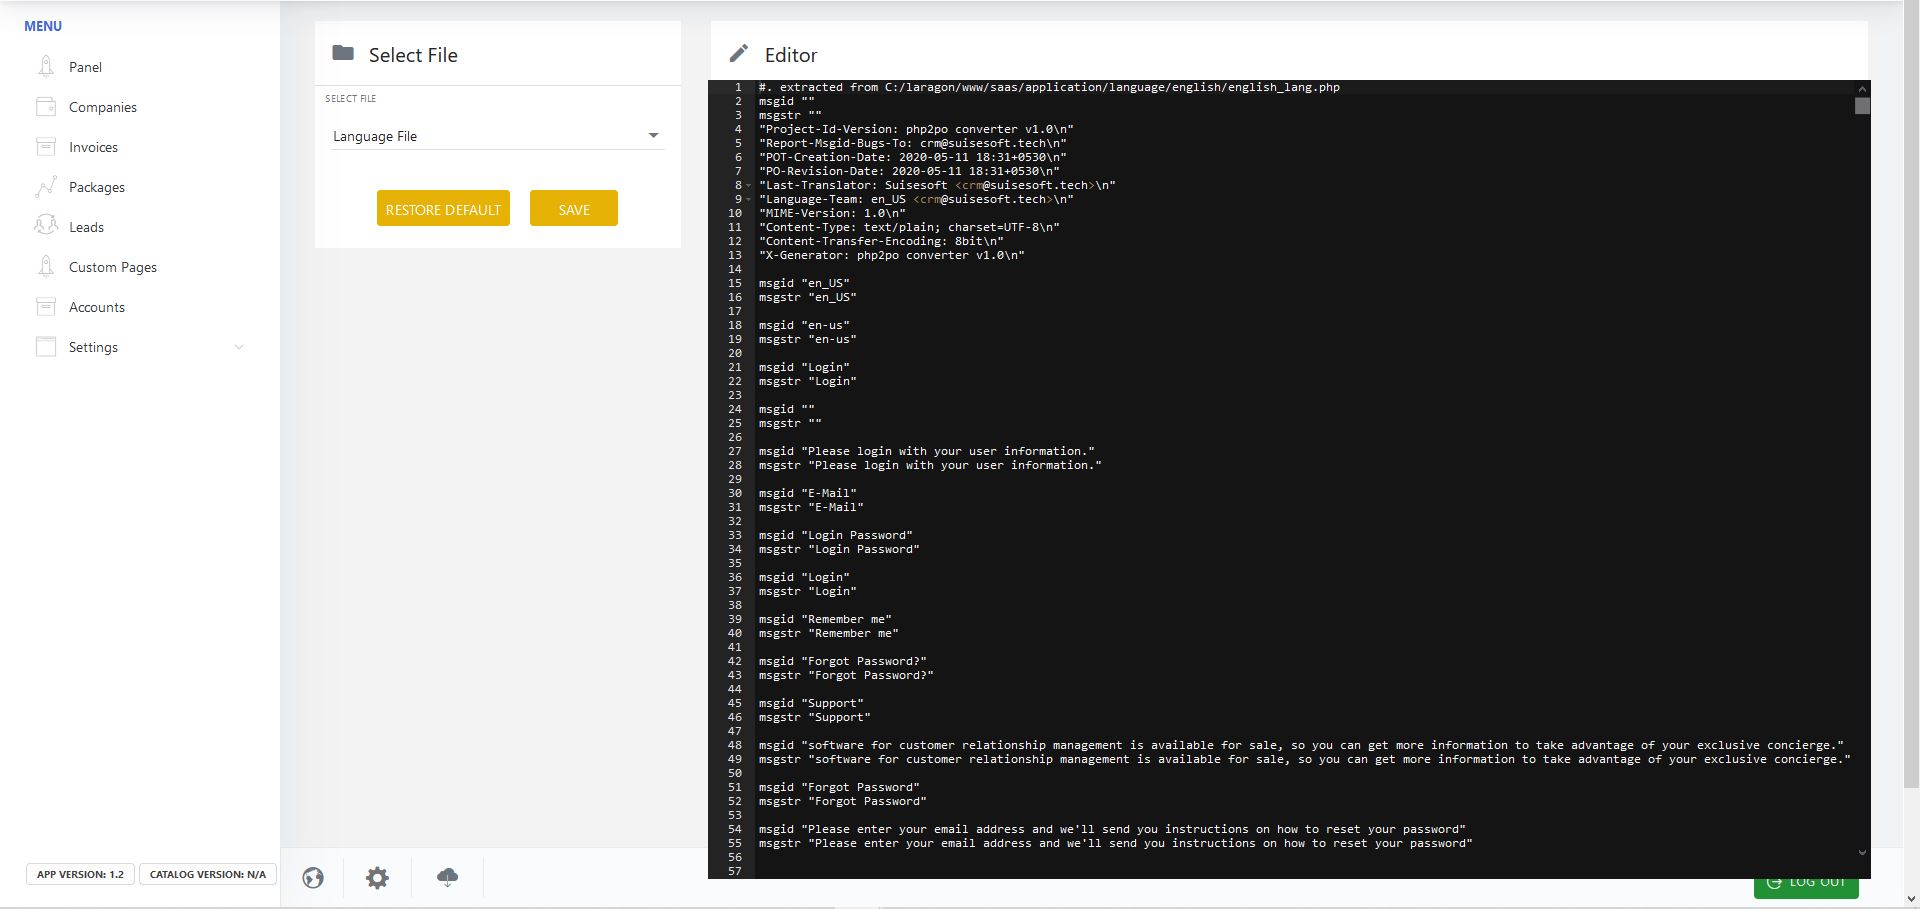
- The default file loaded will be the language file you are currently using. Use the Select File section to navigate to the other files.
- Make the necessary changes and click on the "Save" button.
NOTE: Make changes to this file at your own risk! Any Syntax error in the language file can crash the app!
10.2.3 Payment Settings
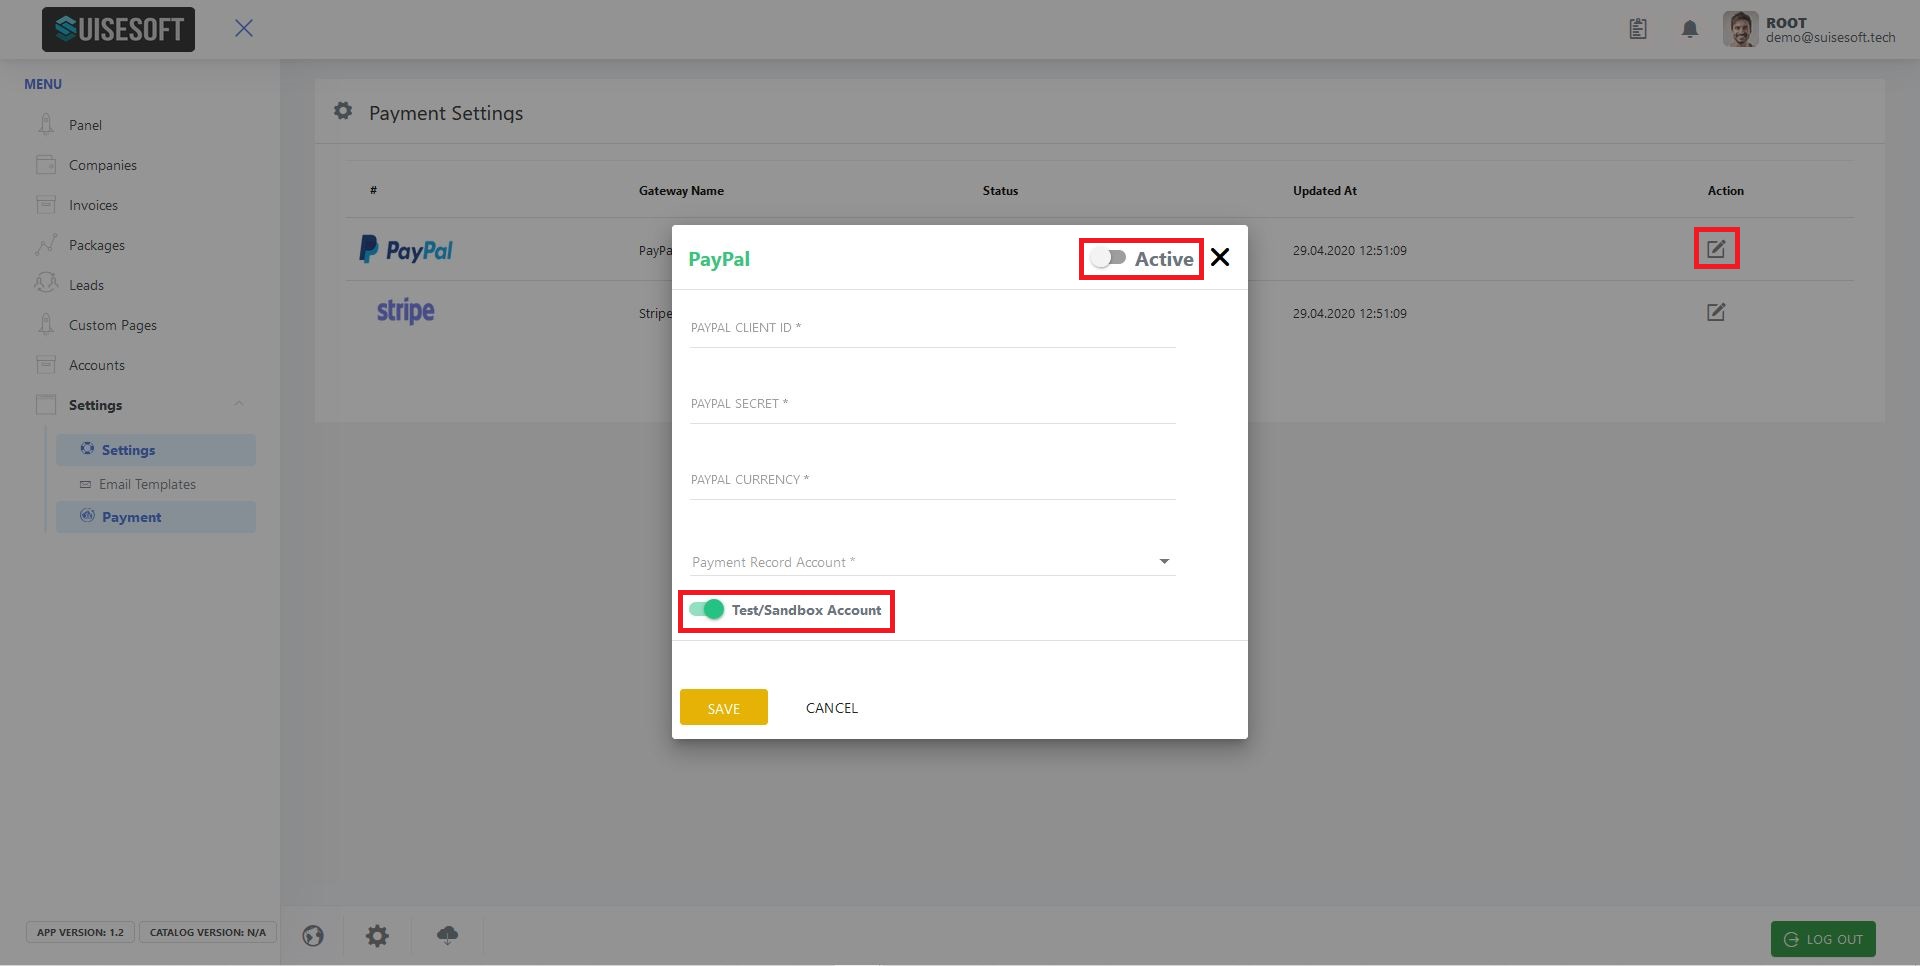
10.2.3.1 How to manage Payments Settings?
1. The "Payments" tab can be found as shown.
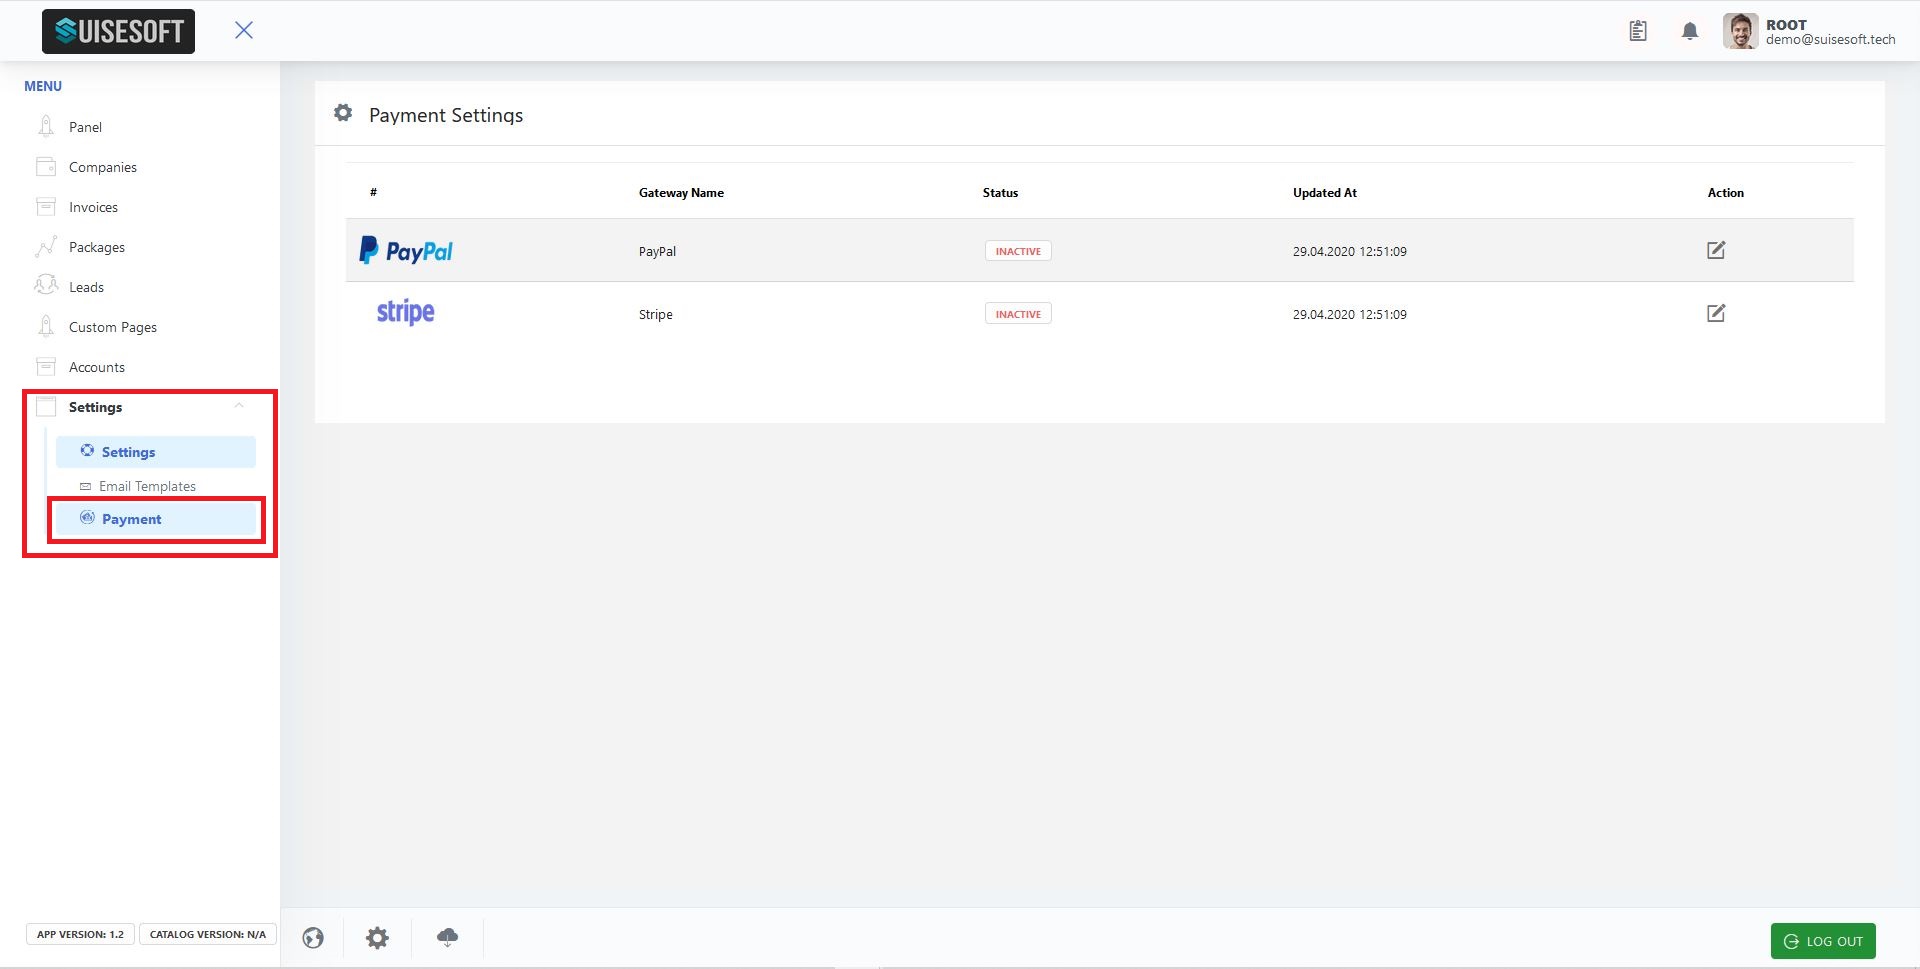
2. All the available payment options are listed here.
3. Click on the "Action" icon of your desired payment option.
10.2.4 Cash Account
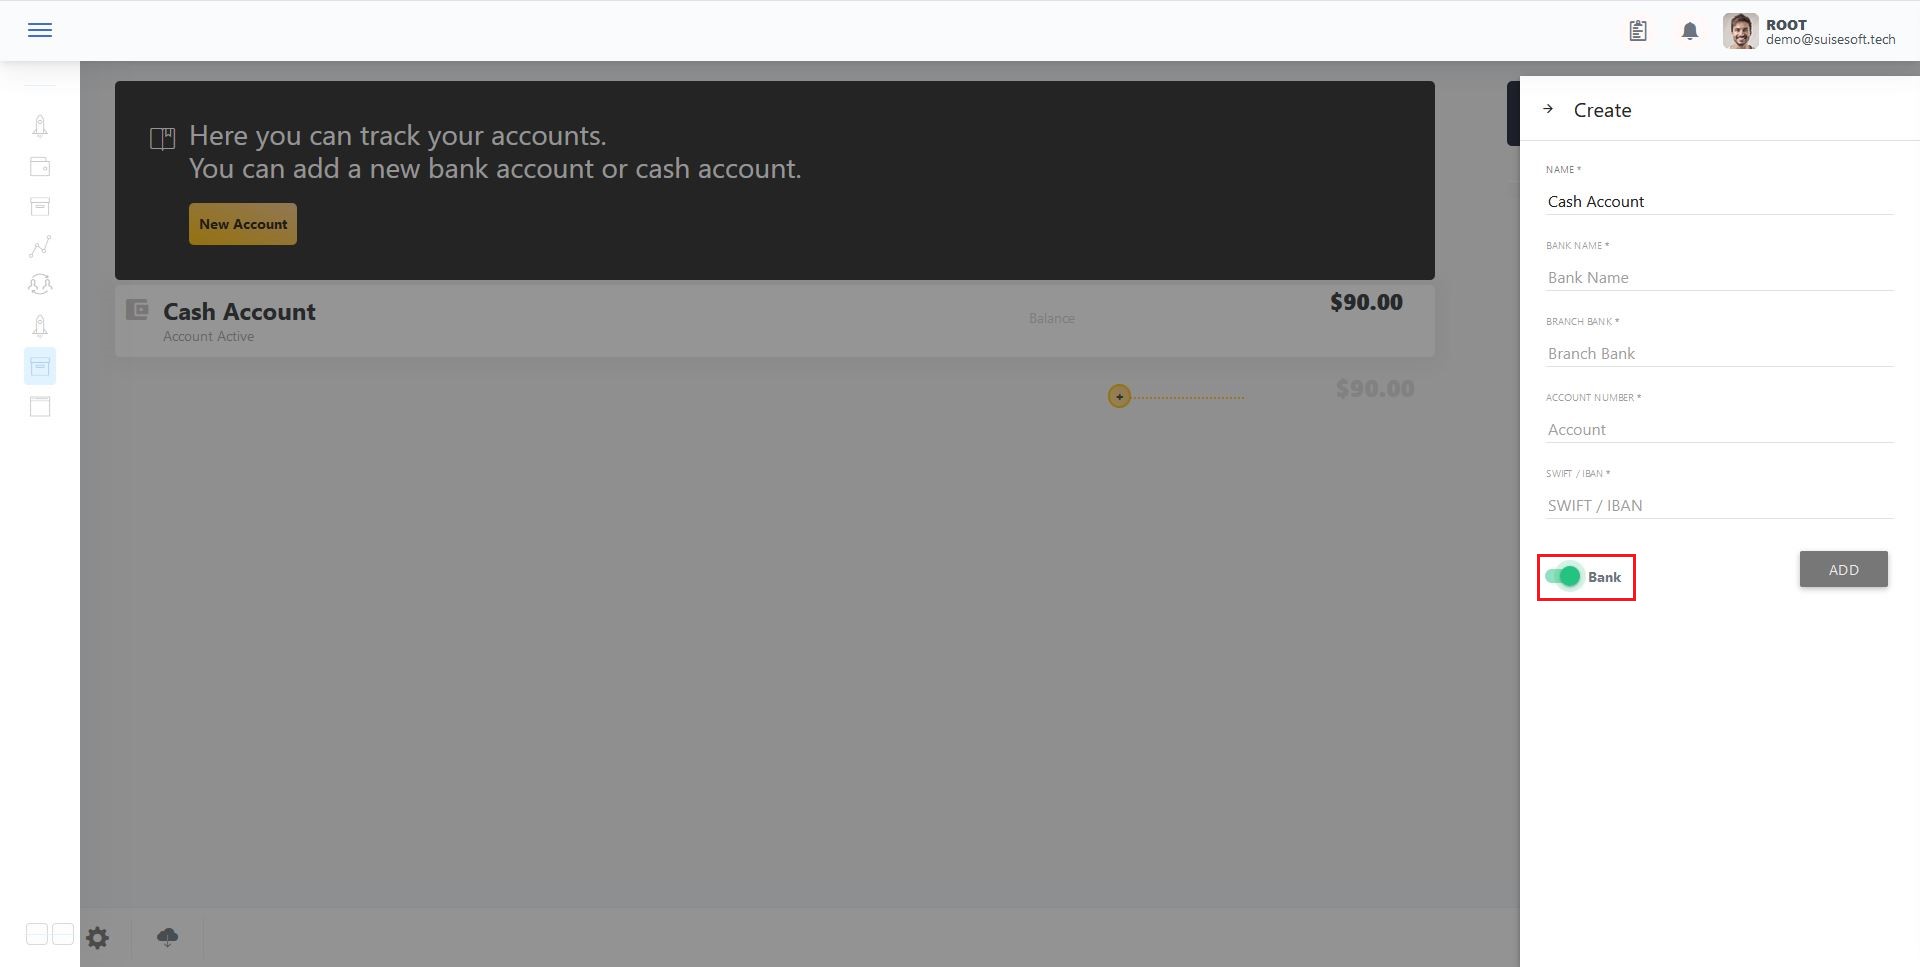
10.2.4.1 How to manage your Cash Account?
1. The "Cash Accounts" tab can be found as shown.
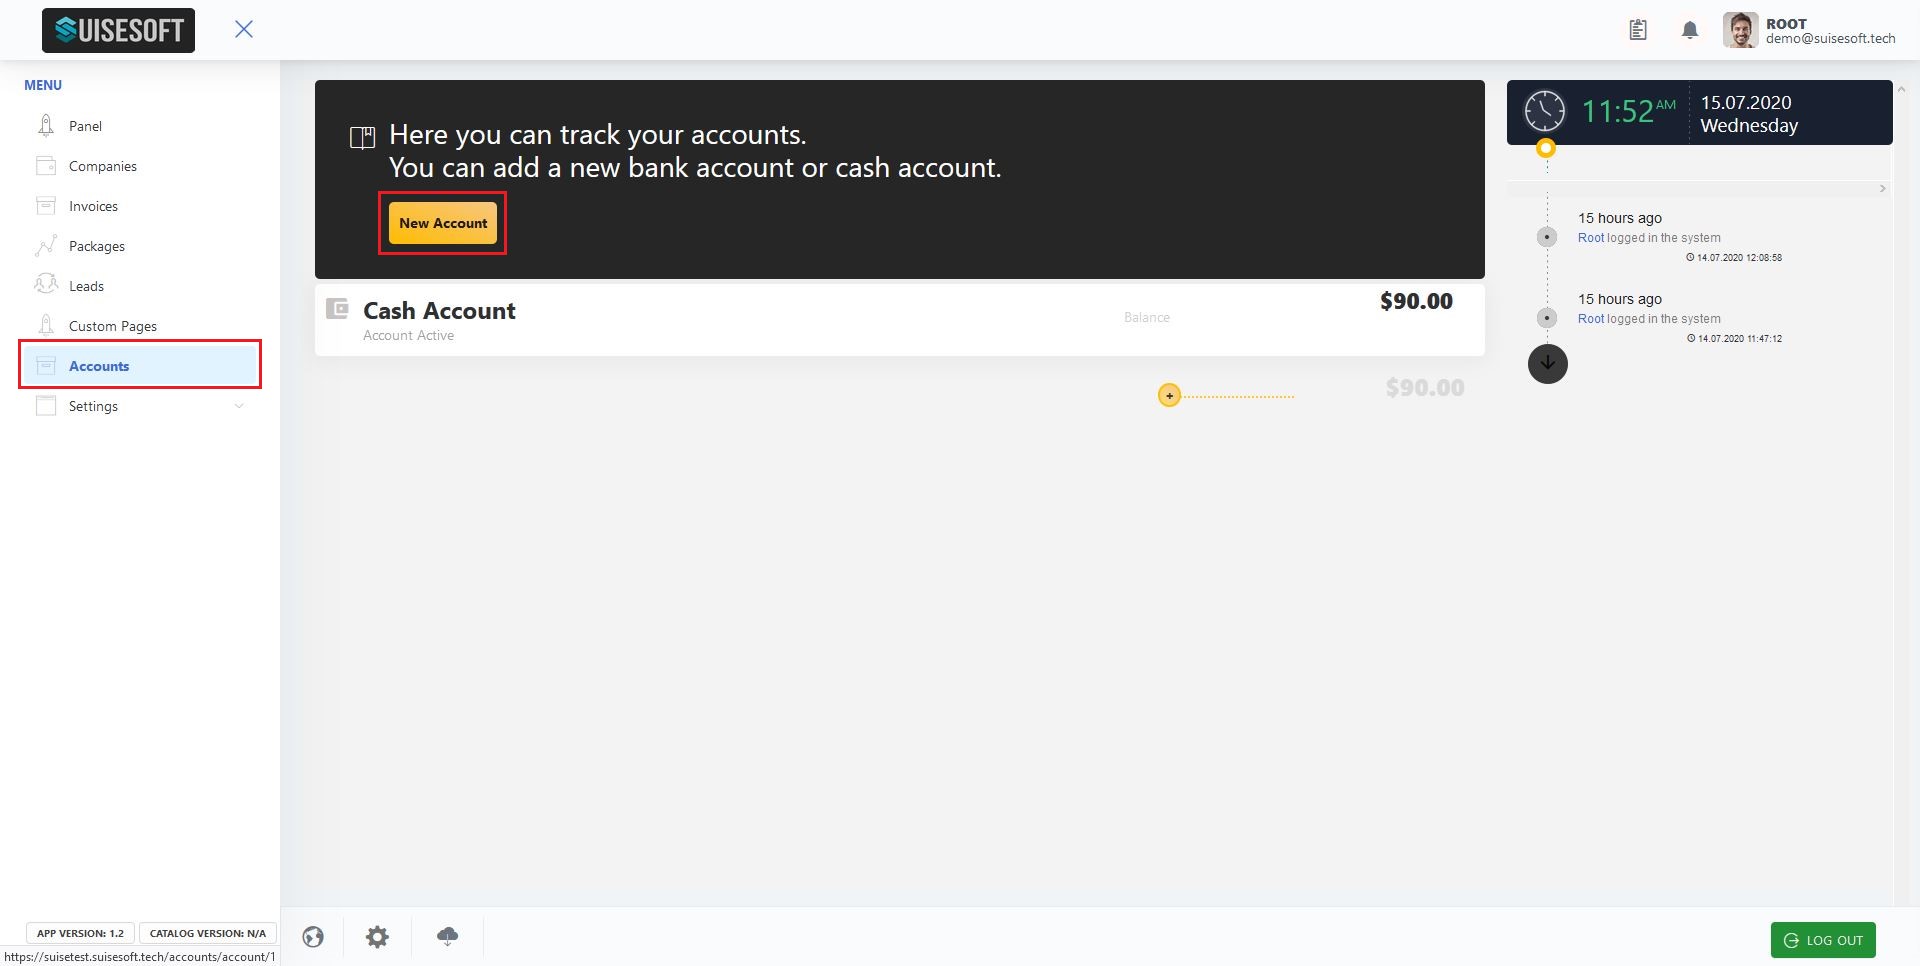
2. To add a new accout, click on "New Account". You can choose to add a general account or a bank account (asking for specific details).
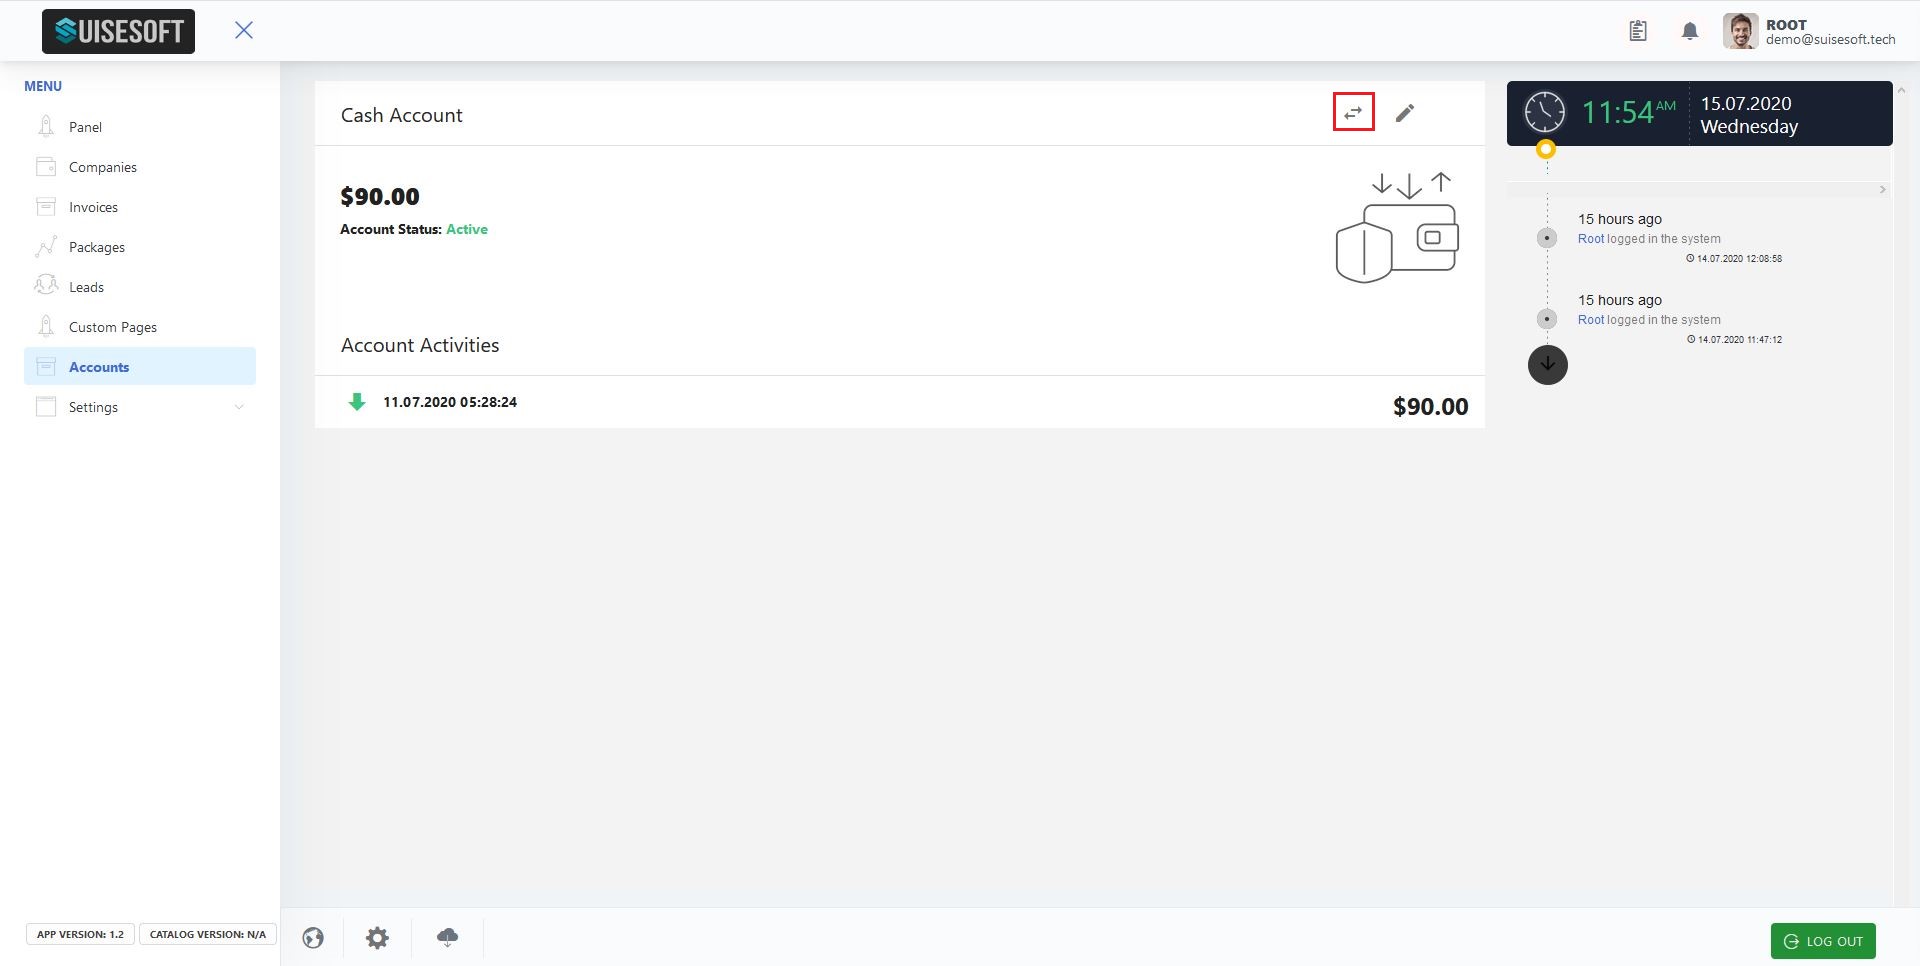
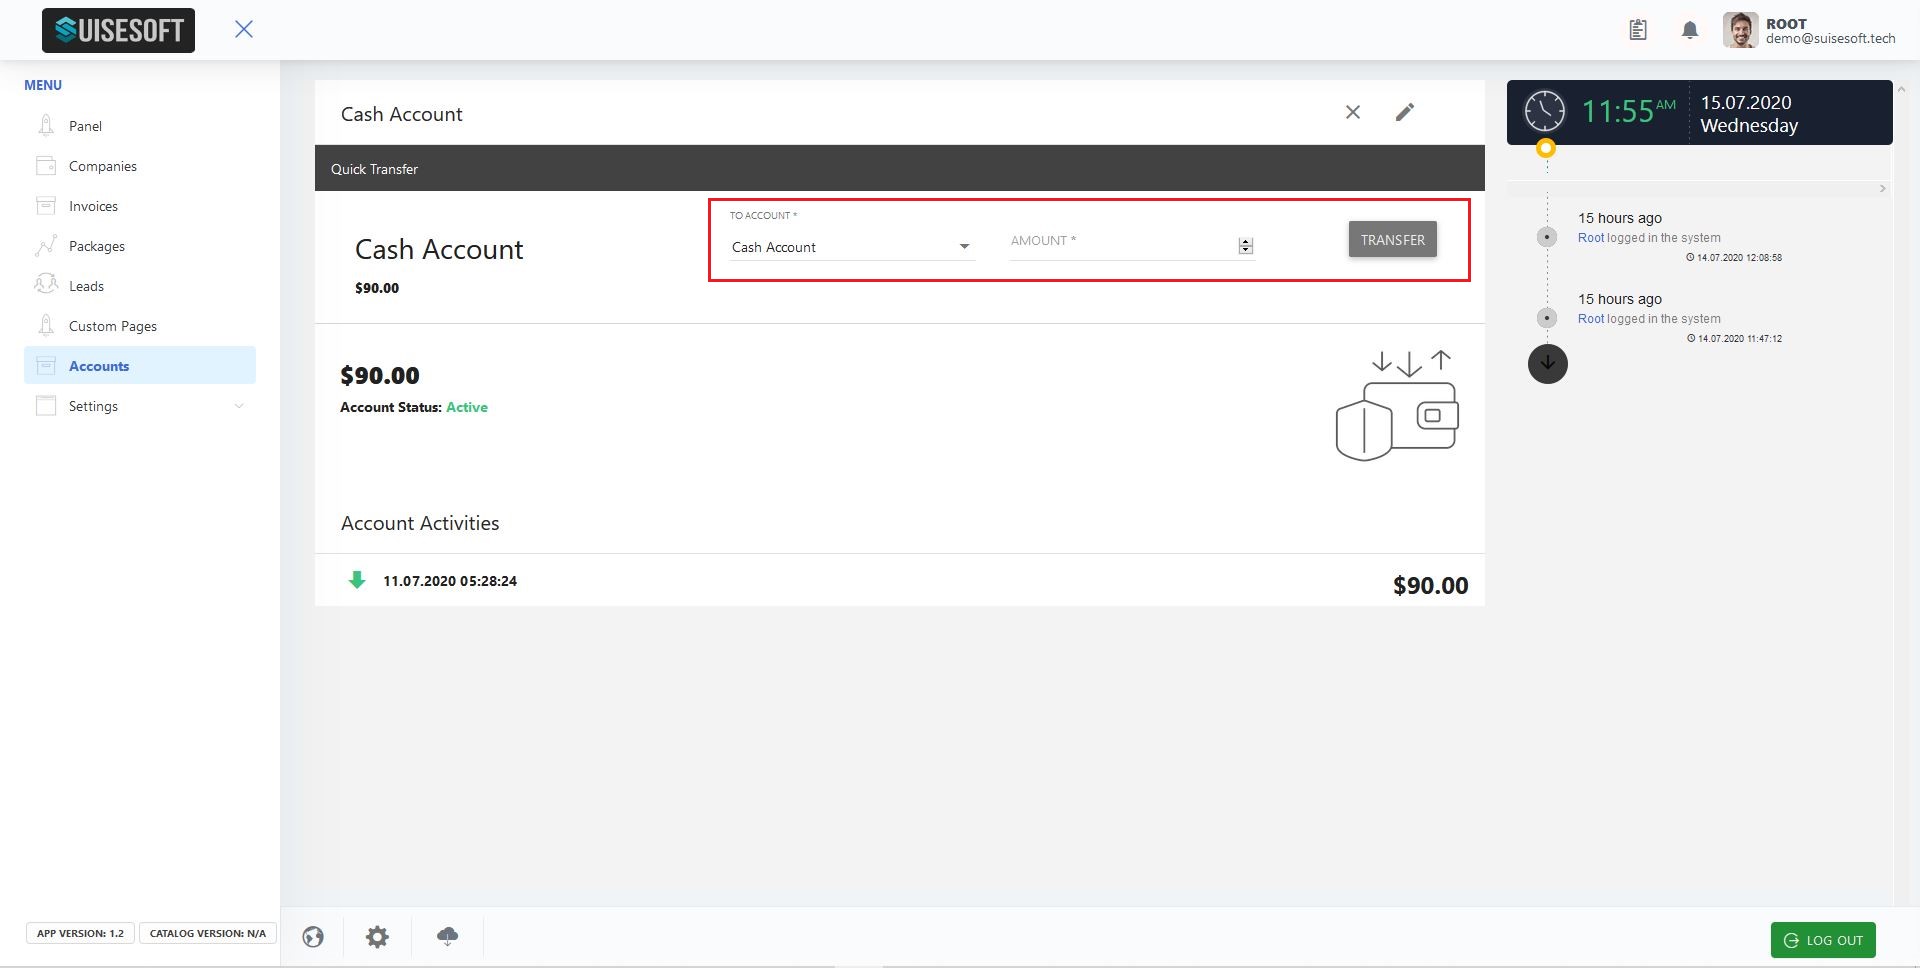
3. For further details of your cash account, click on the accounts tap on you main screen. It will open a new window showing further details. If you have set up multiple accounts, you can choose to transfer any amount of cash beween them by clicking the "arrows" icon.
10.2.5 System Debugging
10.2.5.1 How to debug?
1. The debugging tab can be found in the settings page as follows.
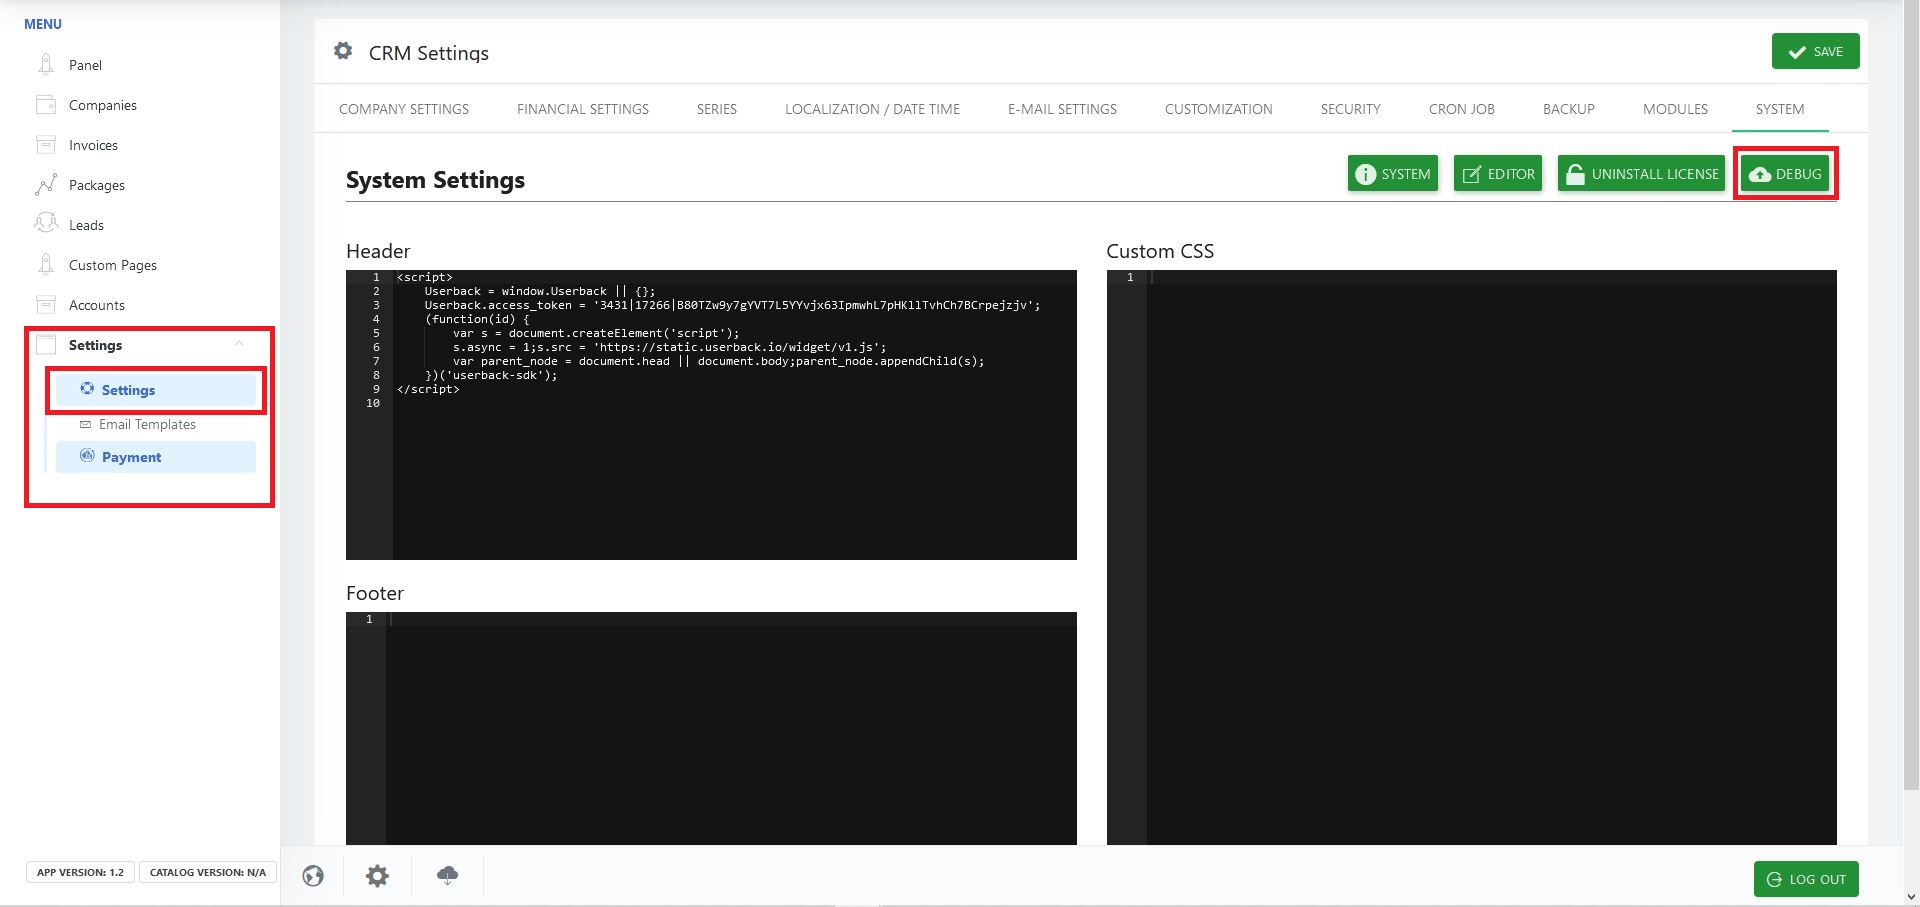
2. Click on the "DEBUG" icon to open the corresponding menu.
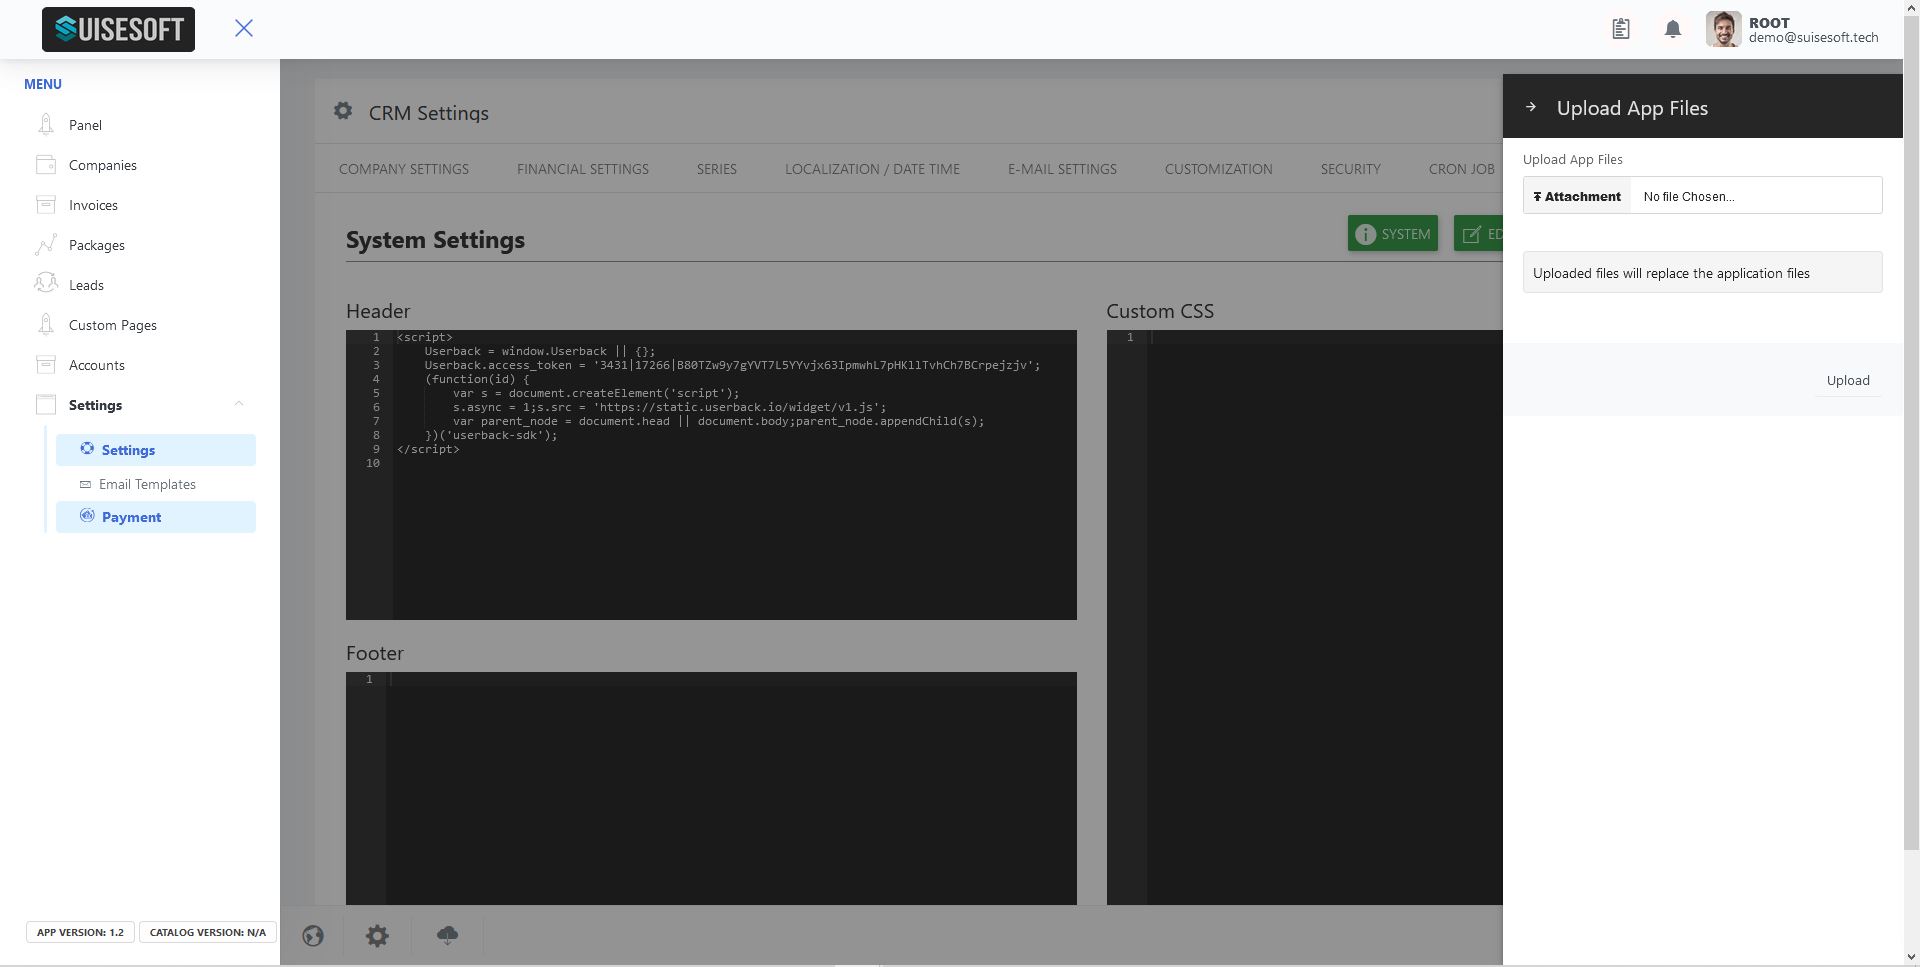
3. Choose the appropriate file and click the "Upload" icon.
4. Please be mindful when using this function. We recommend this only for advanced users!
10.2.6 SuiseCRM Updates
10.2.6.1 How to update Suise CRM
1. You can find the update option in the bottom left corner by click in on the "cloud" icon.
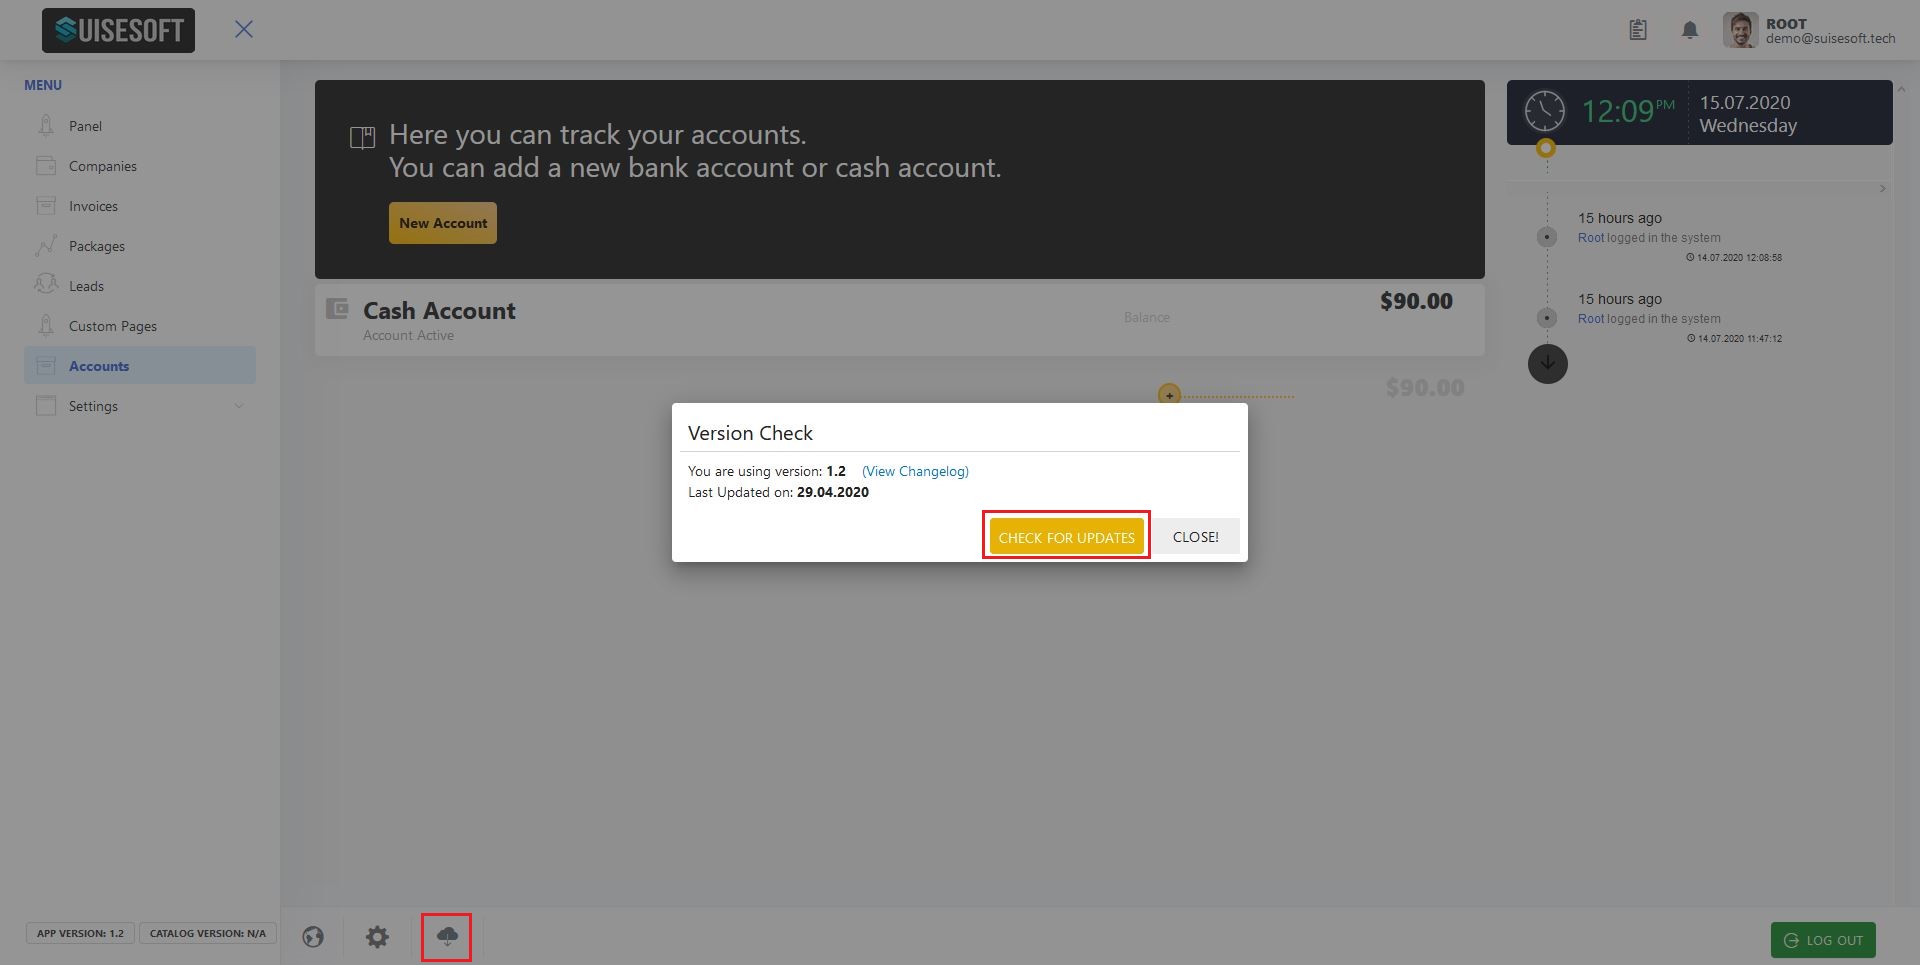
2. You can check for new updates by clicking "CHECK FOR UPDATES".
3. Usually, you get notified by SuiseCRM automatically when a new update is availabe by offering you a one click update option.
10.2.7 Super Admin Profile (details, picture, password)
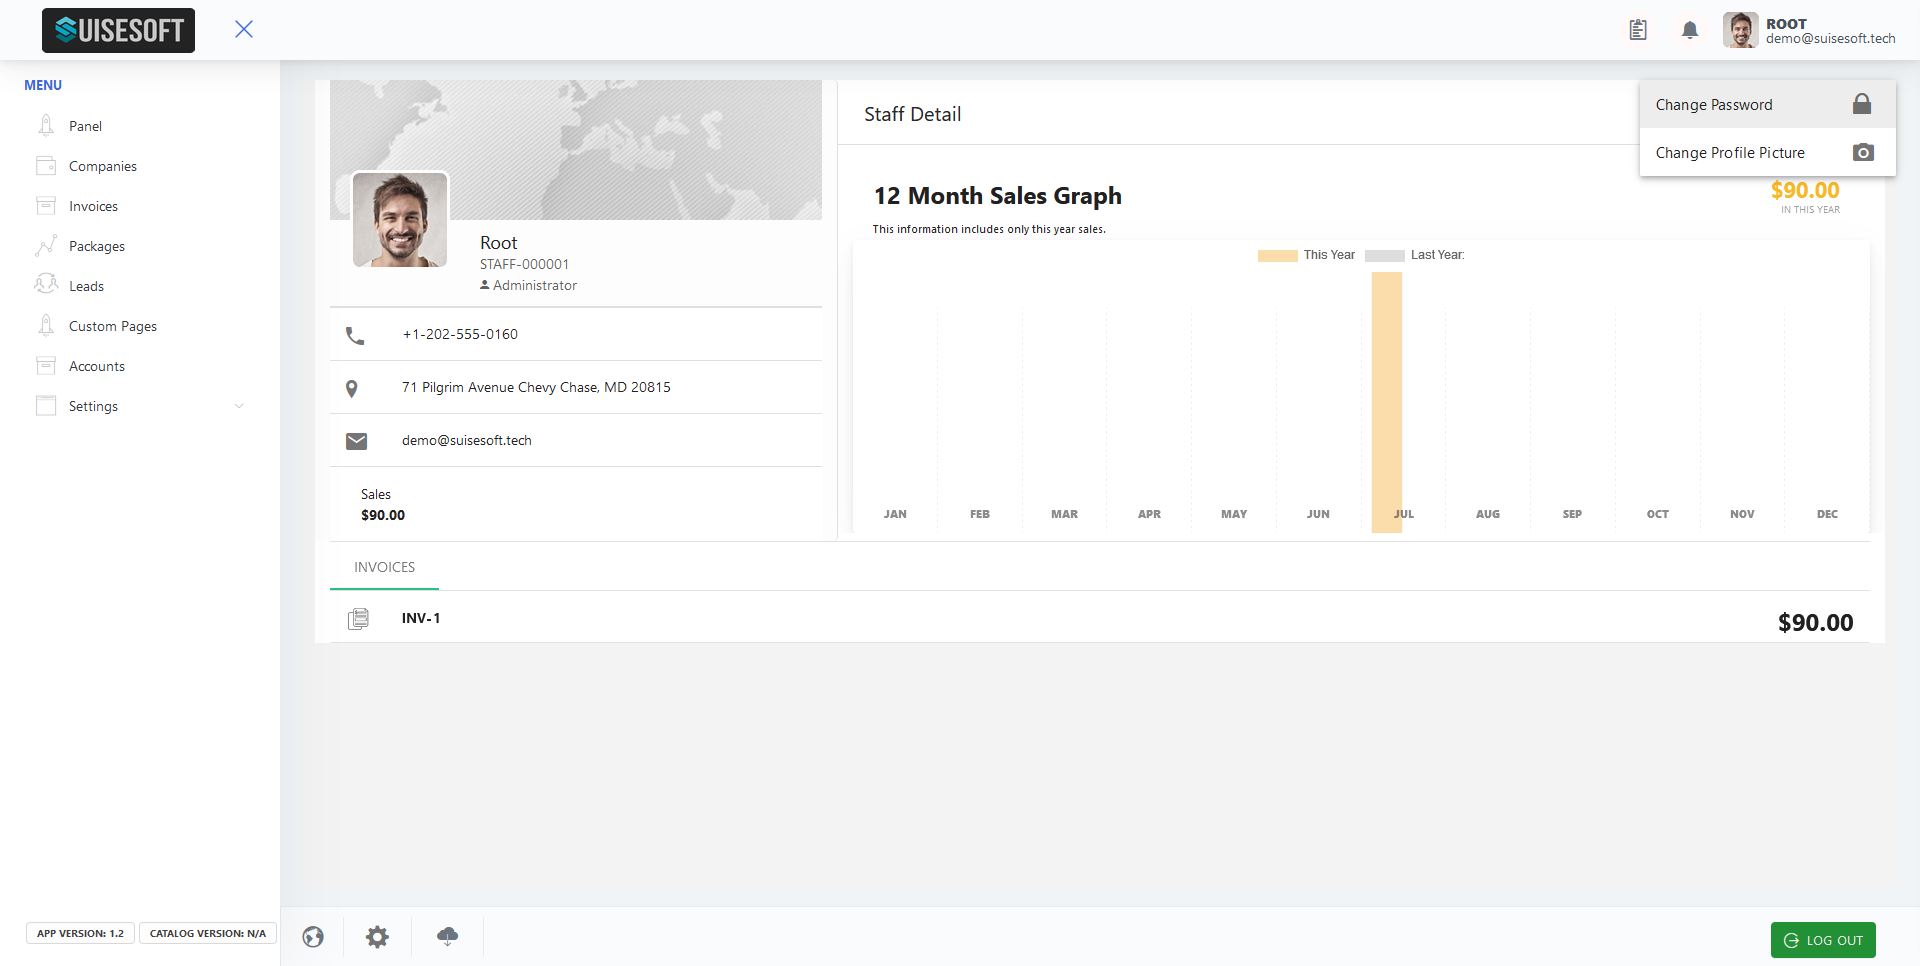
10.2.7.1 Managing your details, picture and password
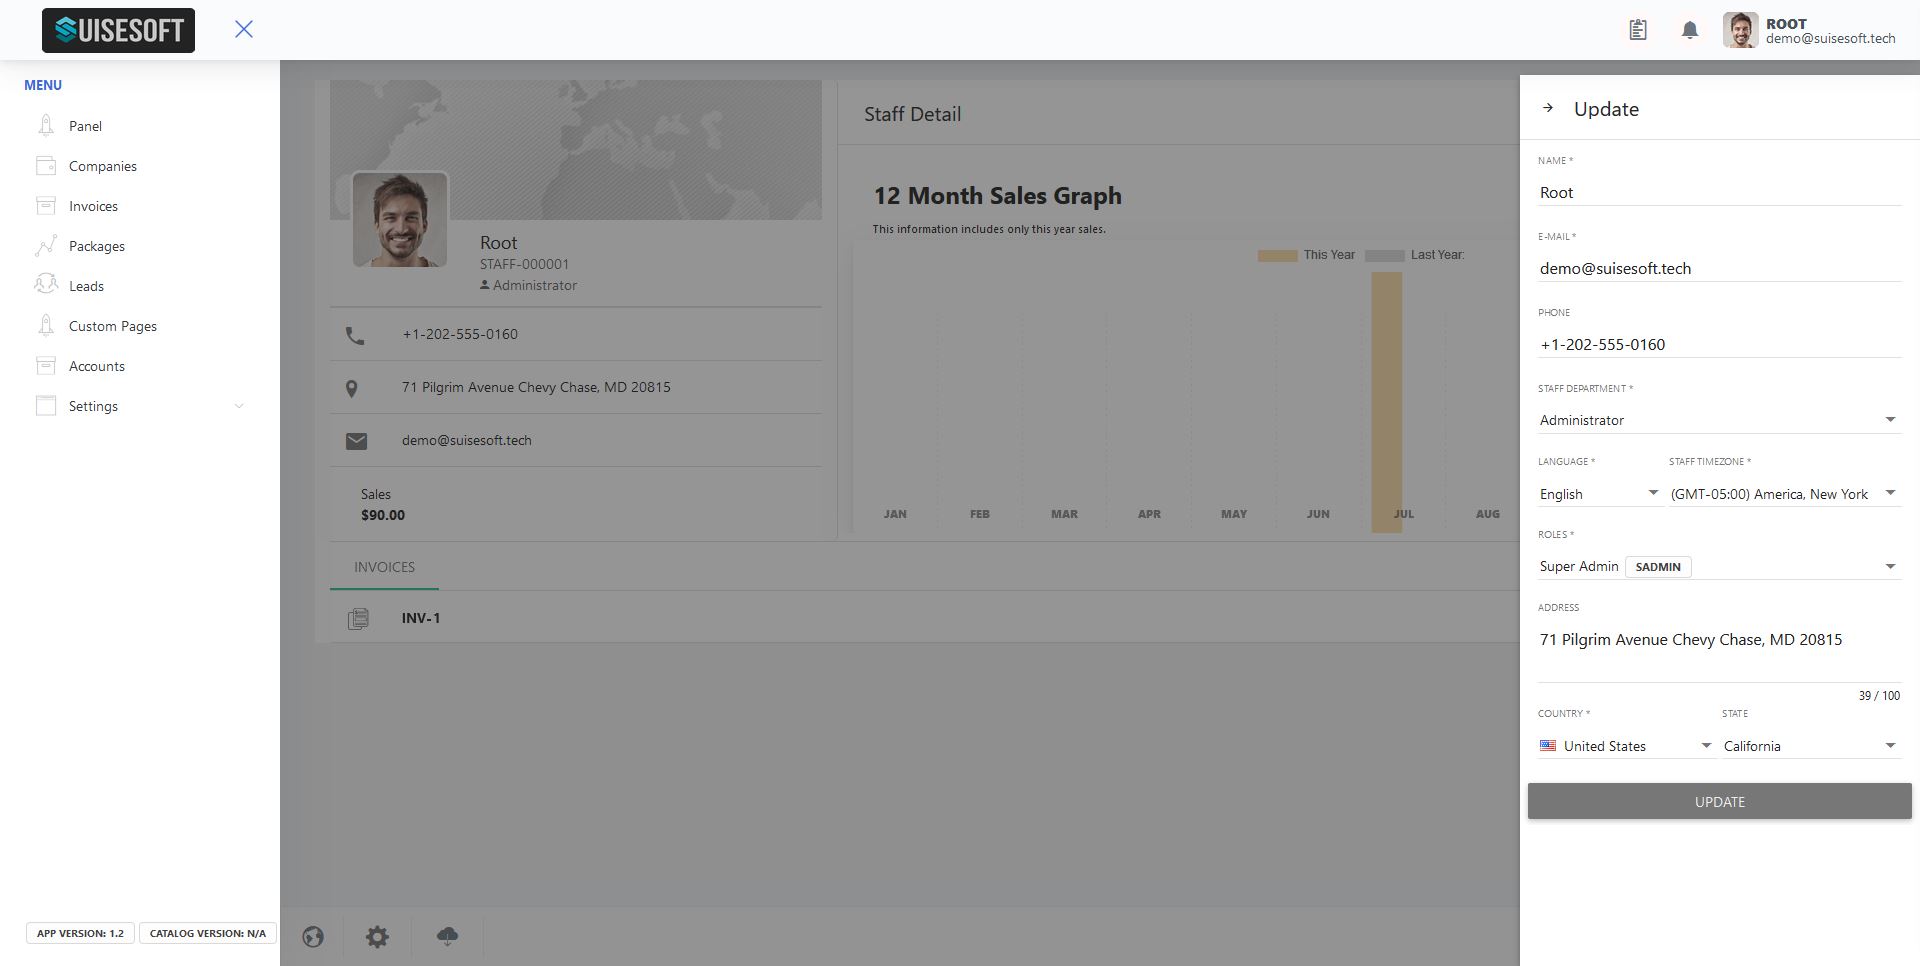
1. Your Super Admin Profile can be managed as follows:
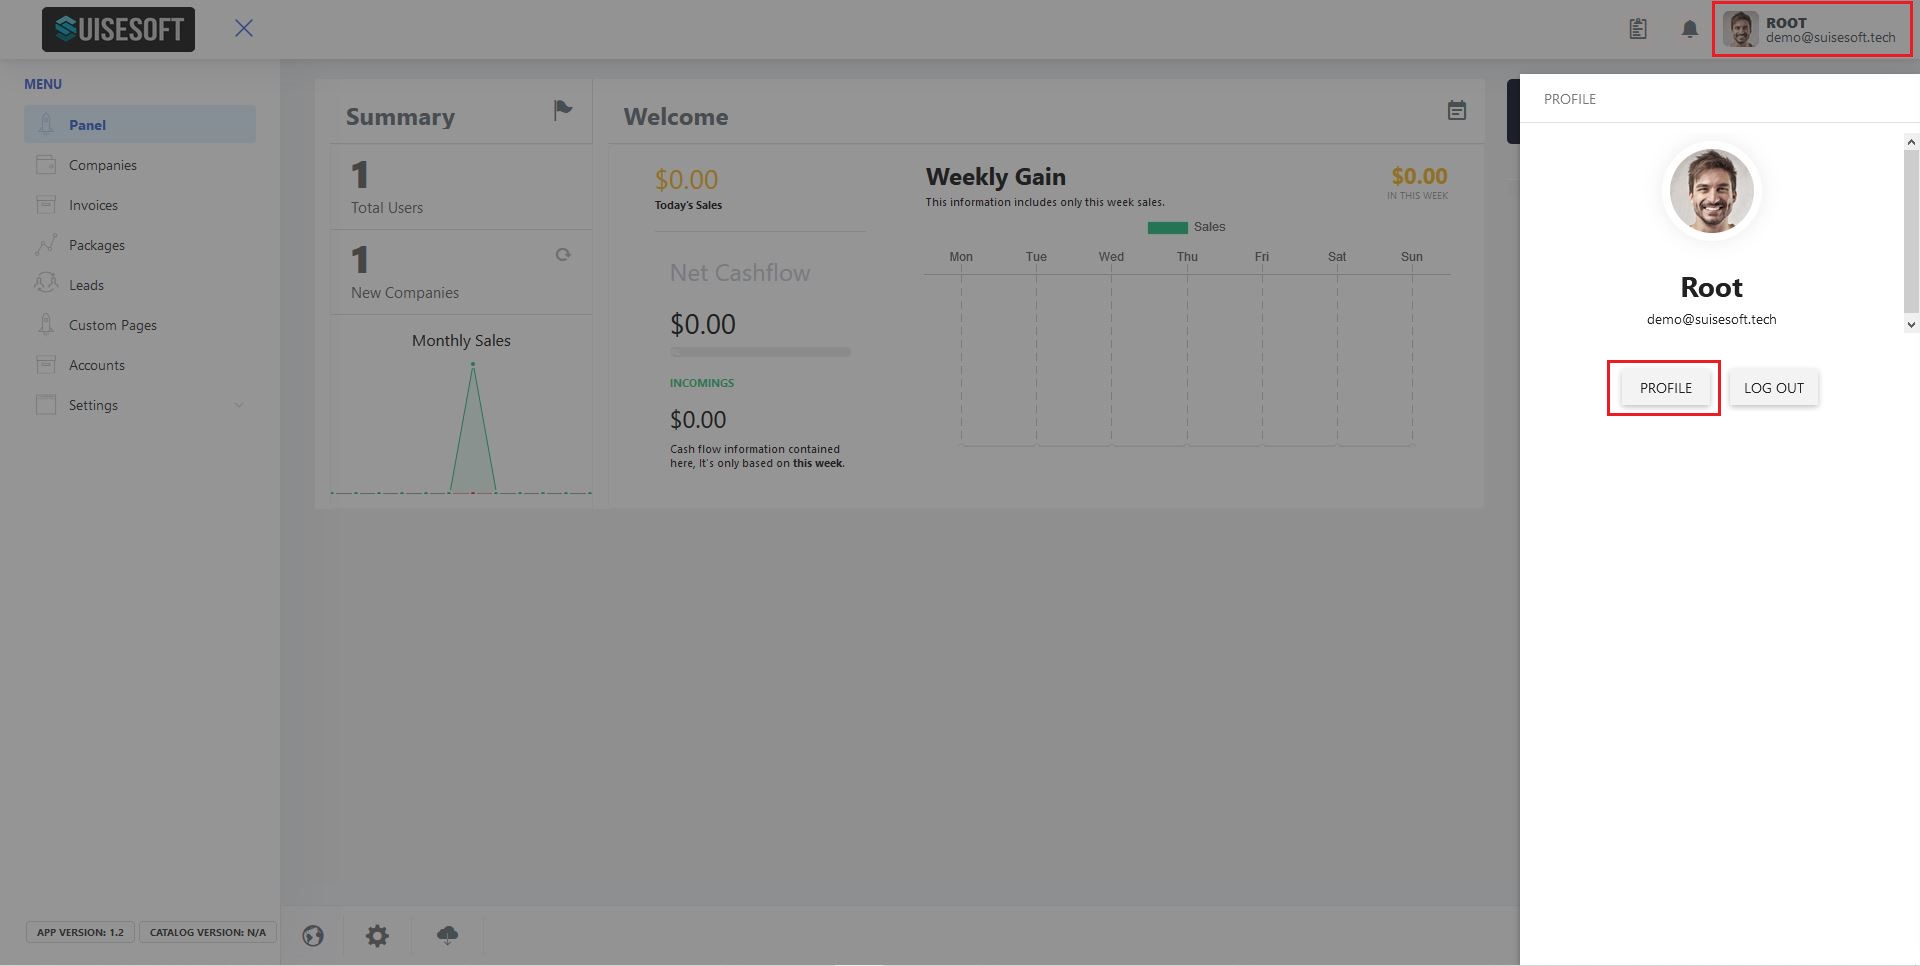
2. Click onto your profile display on the top right hand corner, so the profile overview tab is opening itself on the right hand side.
3. Click on "PROFILE" to open the overview screen of your own profile
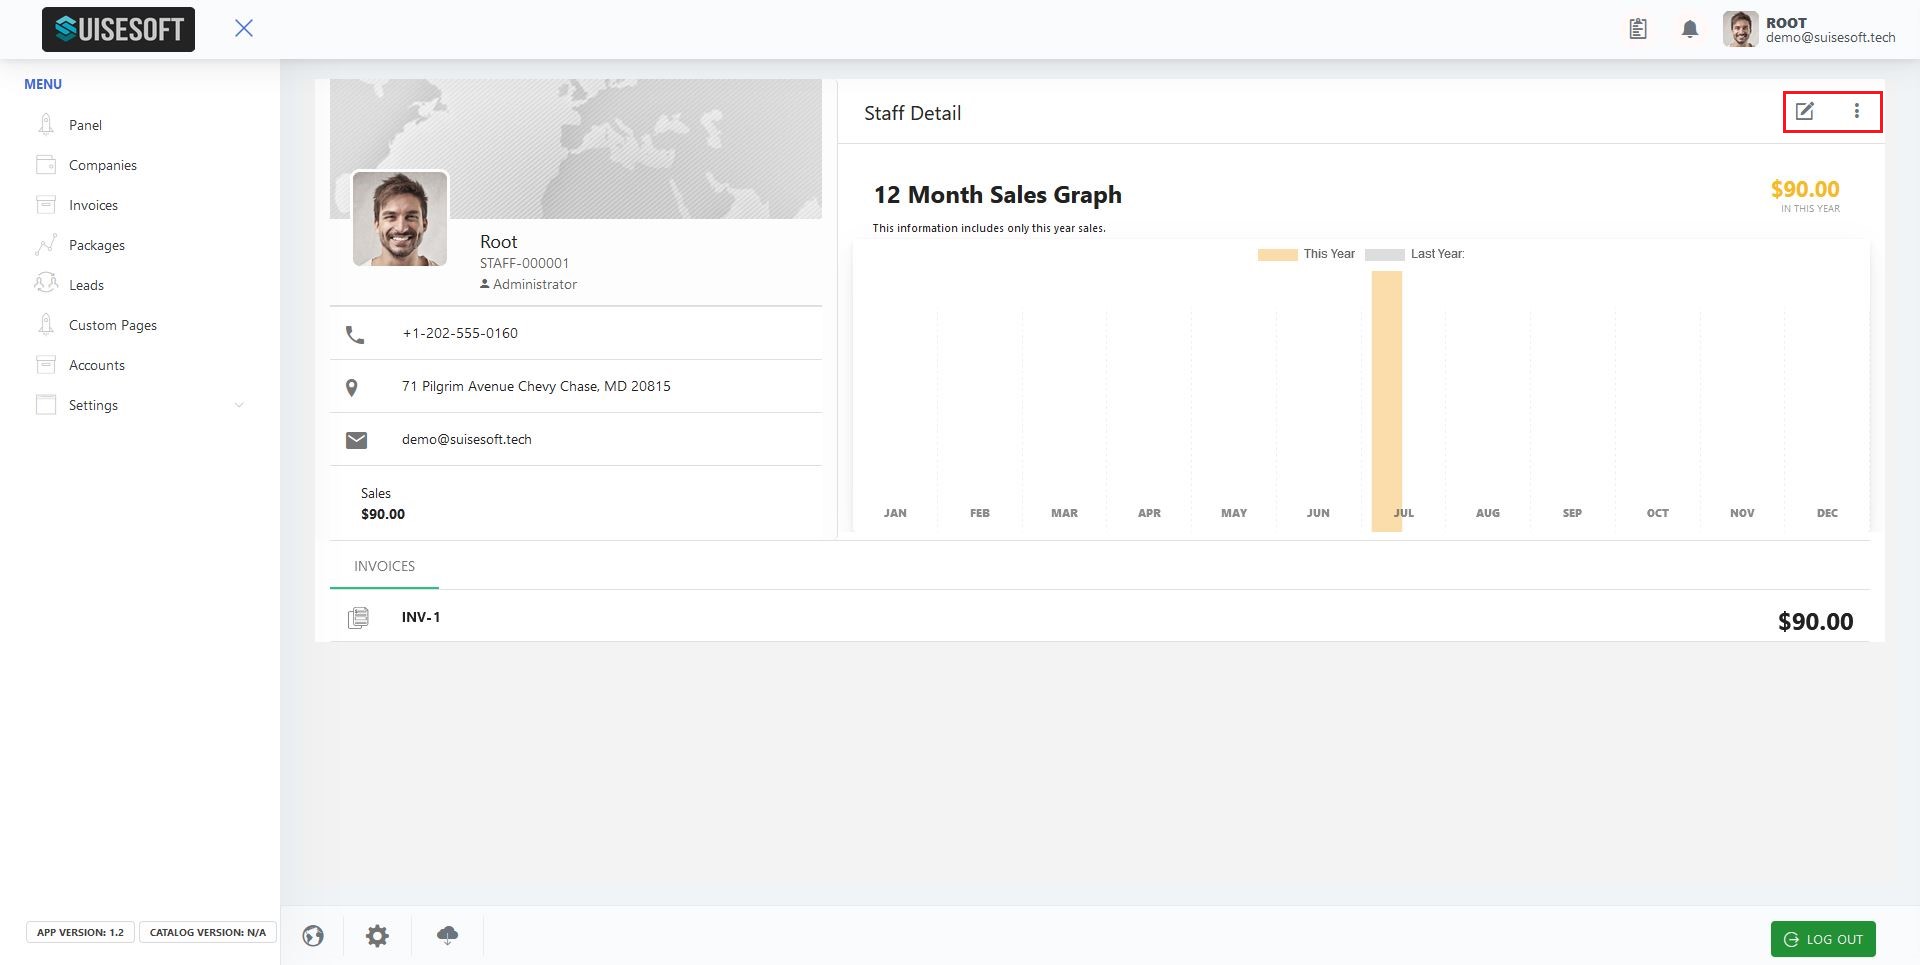
4. By clicking the "note pad" icon, you can change all details of your profile
5. By clicking on the "burger menu" on your profile overview screen, you can change the picture and change your password