

8.2.1How to manage Purchases?
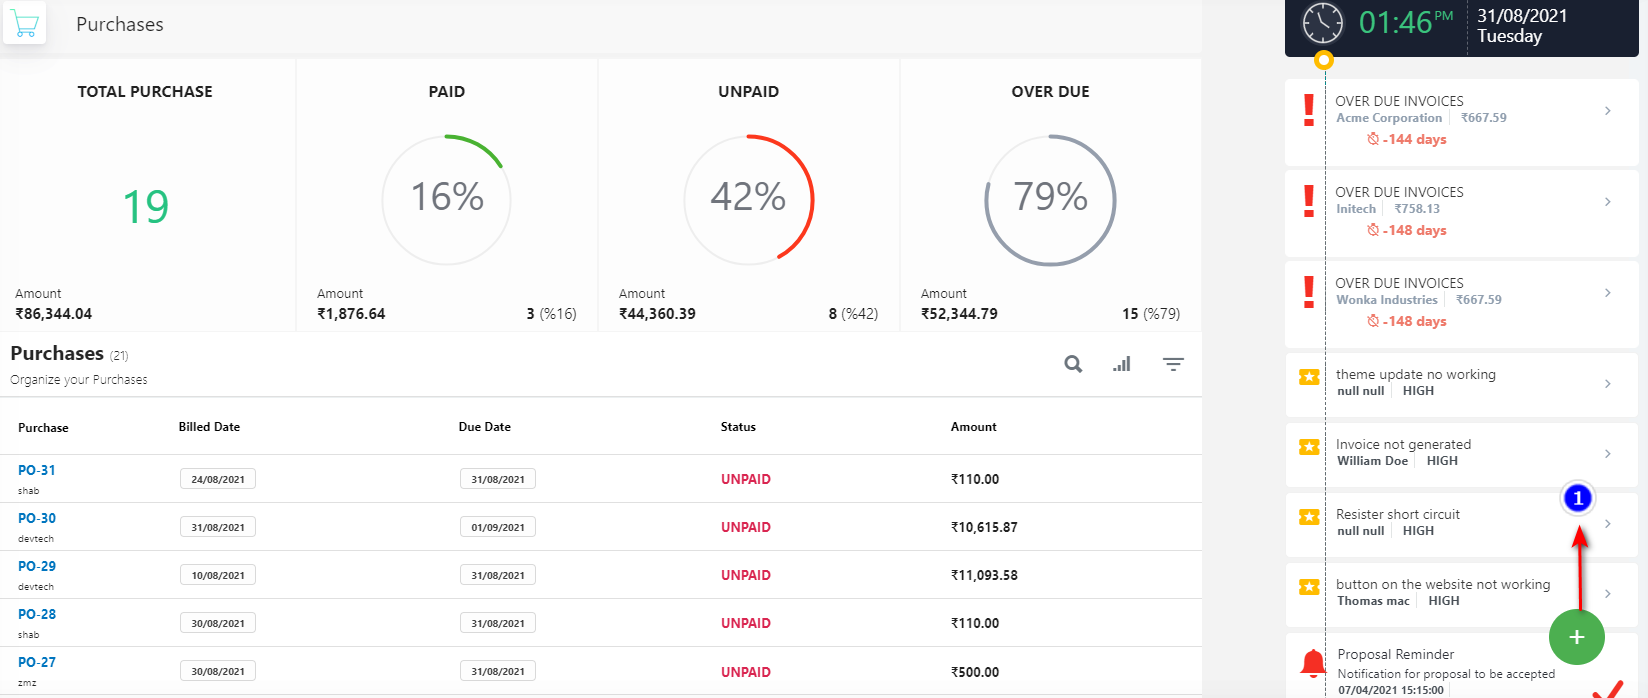
1. Purchase Orders can be found under "Purchases" in the main menu.
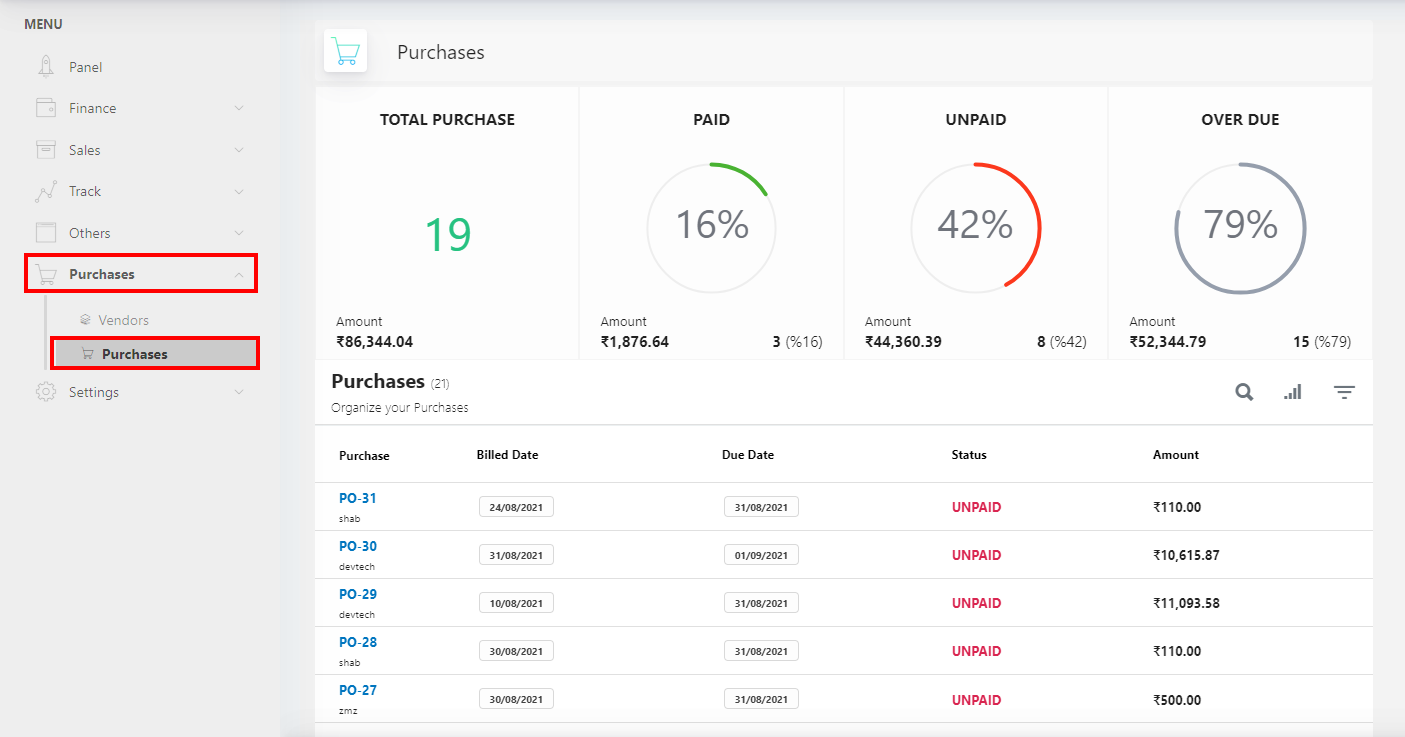
2. Search(1): Here all the purchases created are listed. To search for purchase, click on the "Search" icon.
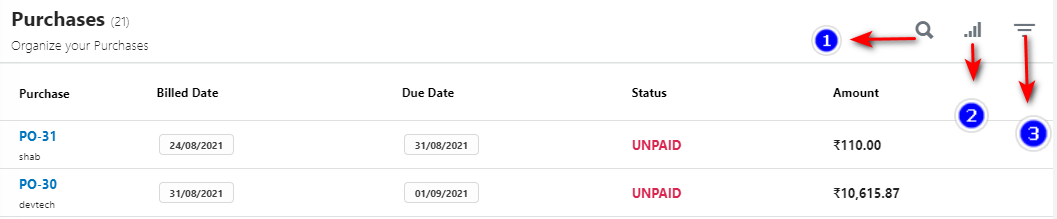
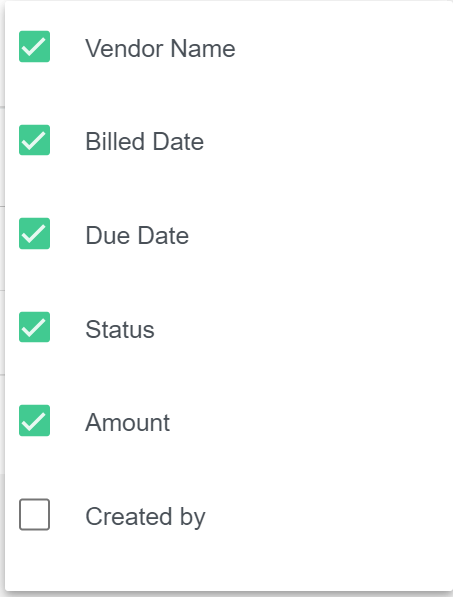
3.Filter Column(2): By default, all the columns for the customer table are displayed. To manage what column needs to be displayed, click on the "Filter Column" icon, after you click on the icon a box will appear as shown in the below image, you can "Check" or "Uncheck" the fields you want to display on your customer page.
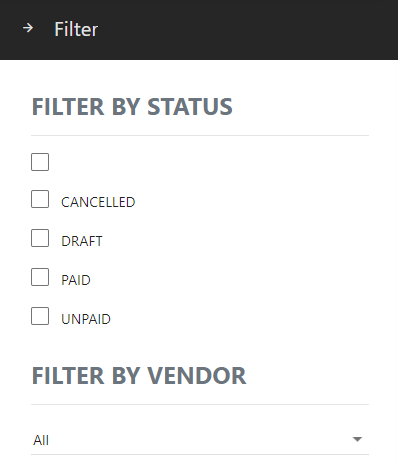
4. Filter(3): Filter the purchases by "Status" or by "Vendor" click on the "Filter" icon.
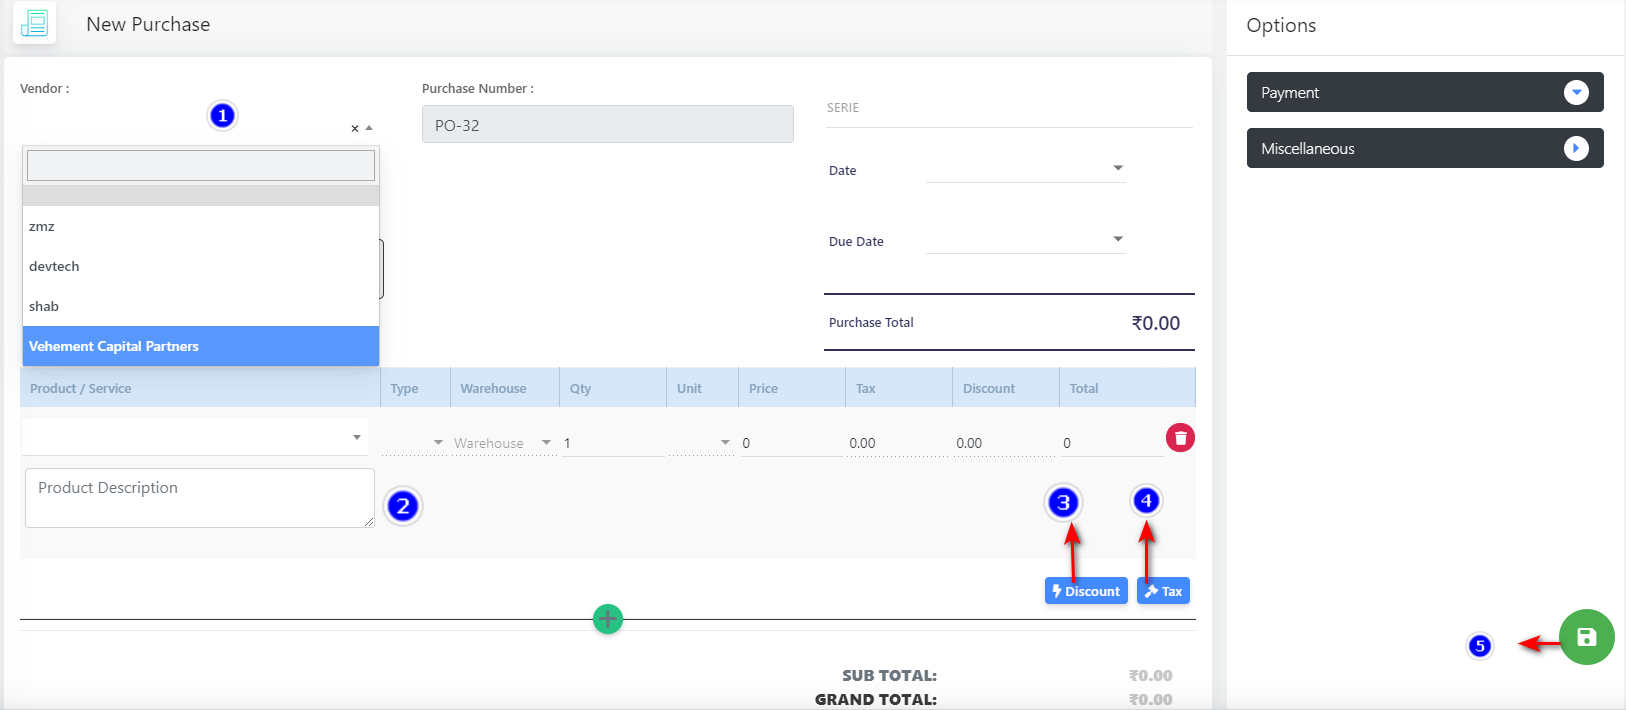
1. Create Purchase (1): To create a new purchase click on the "Create Purchase(+) icon on the right-bottom corner.
2. While Creating Purchase :
- Select the vendors from the vendor drop-down,
- Select the products from the list.
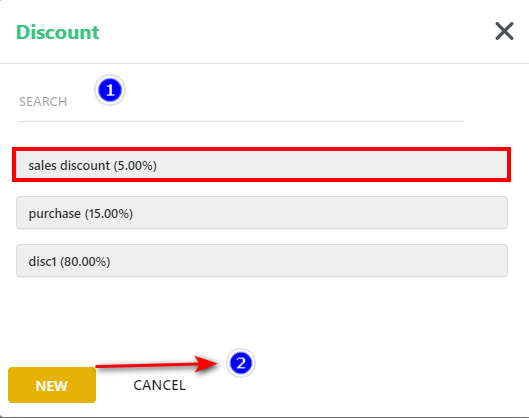
1. Search for the discount if, already been created.
2. Click on the "New" button to create a new discount rate.
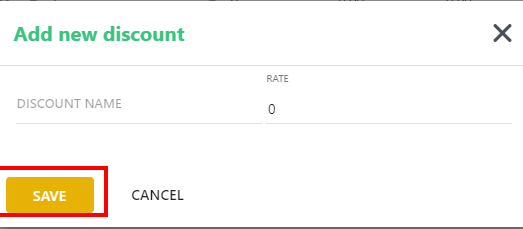
1. Once you click on the "New" button enter the Name for the discount and enter the rate then click on the "Save" button.
1. Search for the Tax if, already been created.
2. Click on the "New" button to create a new Tax rate.

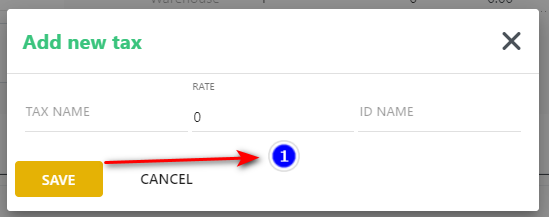
1. Once you click on the "New" button enter the Name for the Tax and enter the rate then click on the "Save" button.
NOTE: While Creating a Purchase, you can make it Recurring and also change the status to Paid using the toggle bar from this right panel as shown:
The recurring purchase feature allows the user to create repeated purchases after every recurring period. Every time the CronJob is run, it checks if the recurring period has elapsed, if it has, then a new purchase is created and added to the email queue.
1. click on the " Miscellaneous".
2. Select the "Recurring" toggle.
3. Enter the recurring details.
Set the required recurring period. A purchase will be created when you click on the “Save” icon. Every time you run the CronJob, it will check if the recurring period has elapsed after the issue date, if it has elapsed, then another purchase is created and added to the email list.
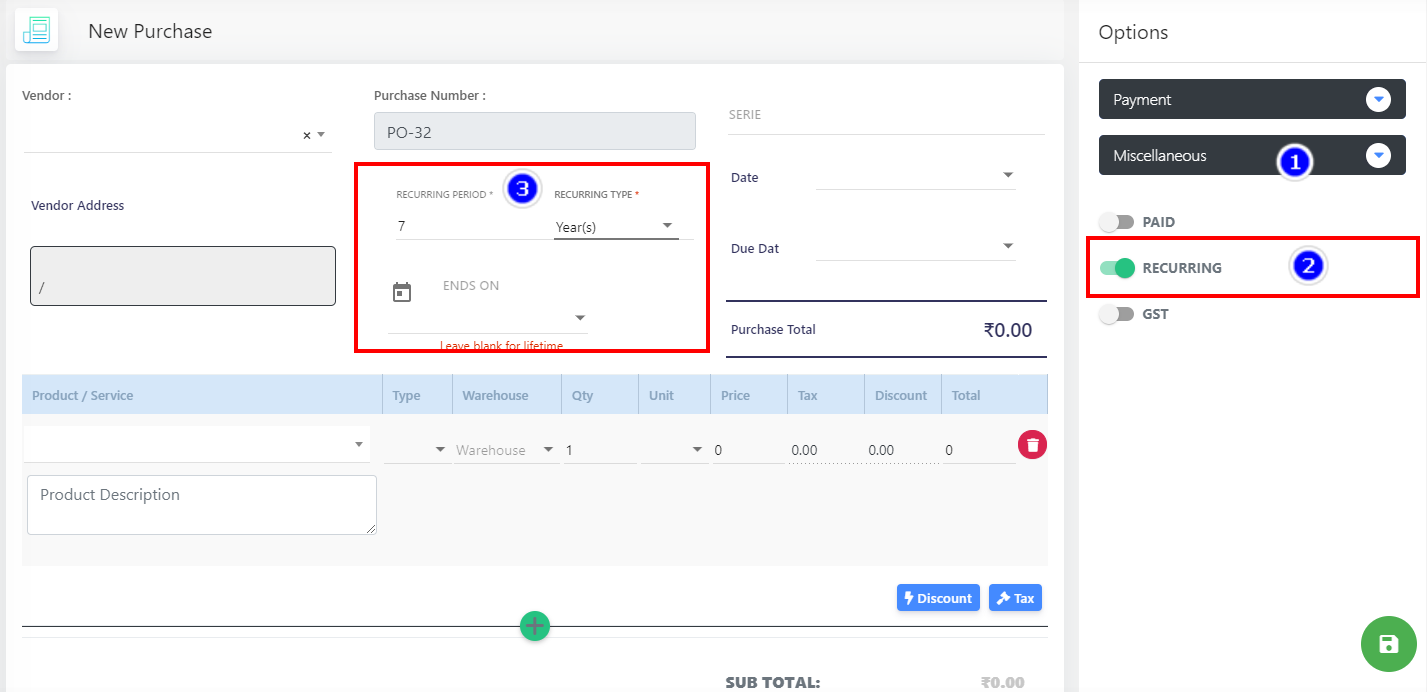
Note: In order to make Purchase Recurring for Lifetime, Leave "Ends On" Field Blank.
8.2.3 View Purchase:
1. Mail icon (1): click on the mail icon to send the purchase as mail.
2. Pdf icon(2): click the PDF icon to generate a PDF of the purchase.
3. Print icon (3): Click on the Print icon to print the created purchase.
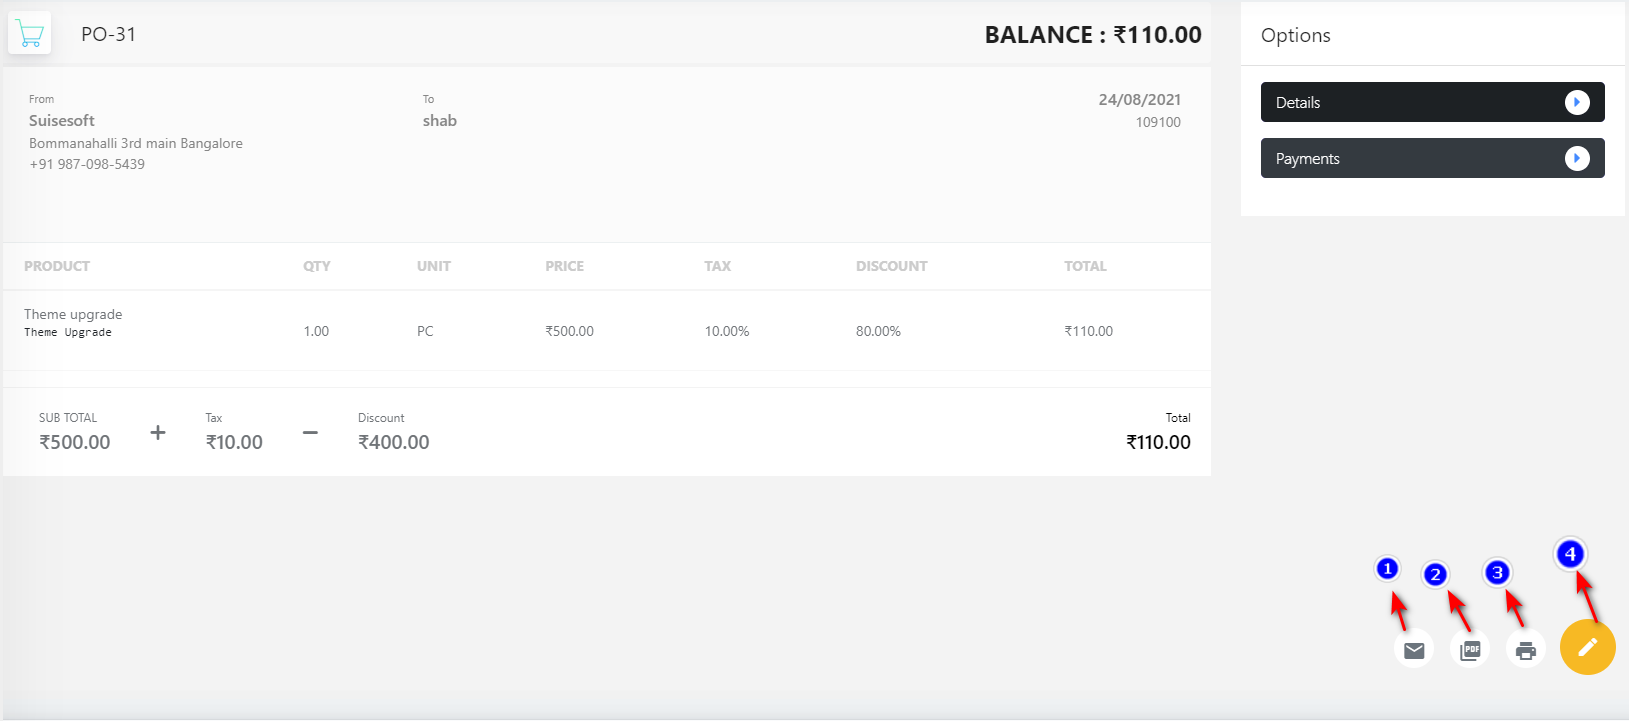
4. Edit icon(4): Click on the "Pencil" icon to edit/update the Create purchase or any particular purchase.
Once you click on the Pencil icon you can edit the purchase.
1. On the right panel click on "Miscellaneous" Toggle the "Paid" option if payment of purchase is done, Select the Payment method option from by Clicking on the Payment accordance. and choose the payment method from the drop-down.
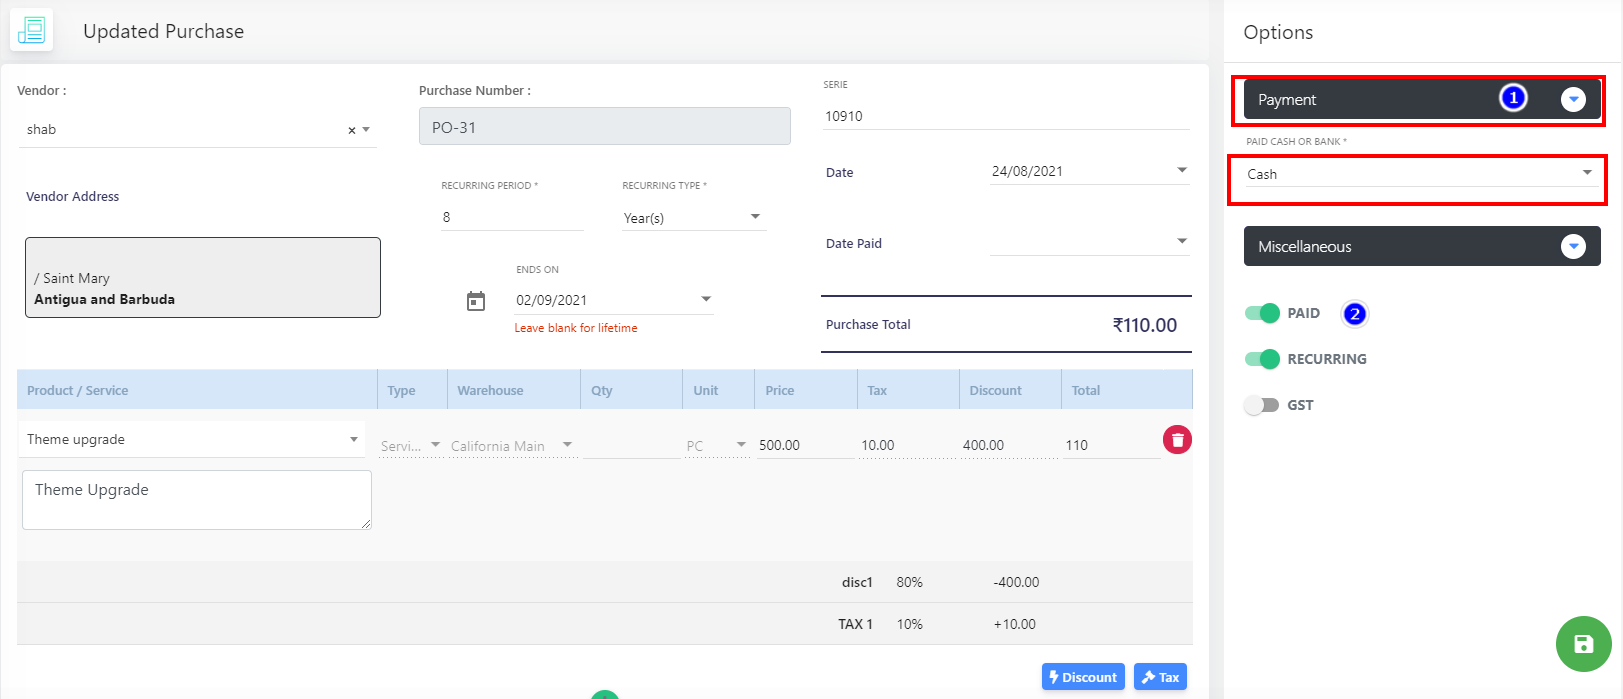
Click on the "Save" icon to save the updates made.
5. You can mark the purchase as Draft or as Cancelled after the purchase has been PAID.
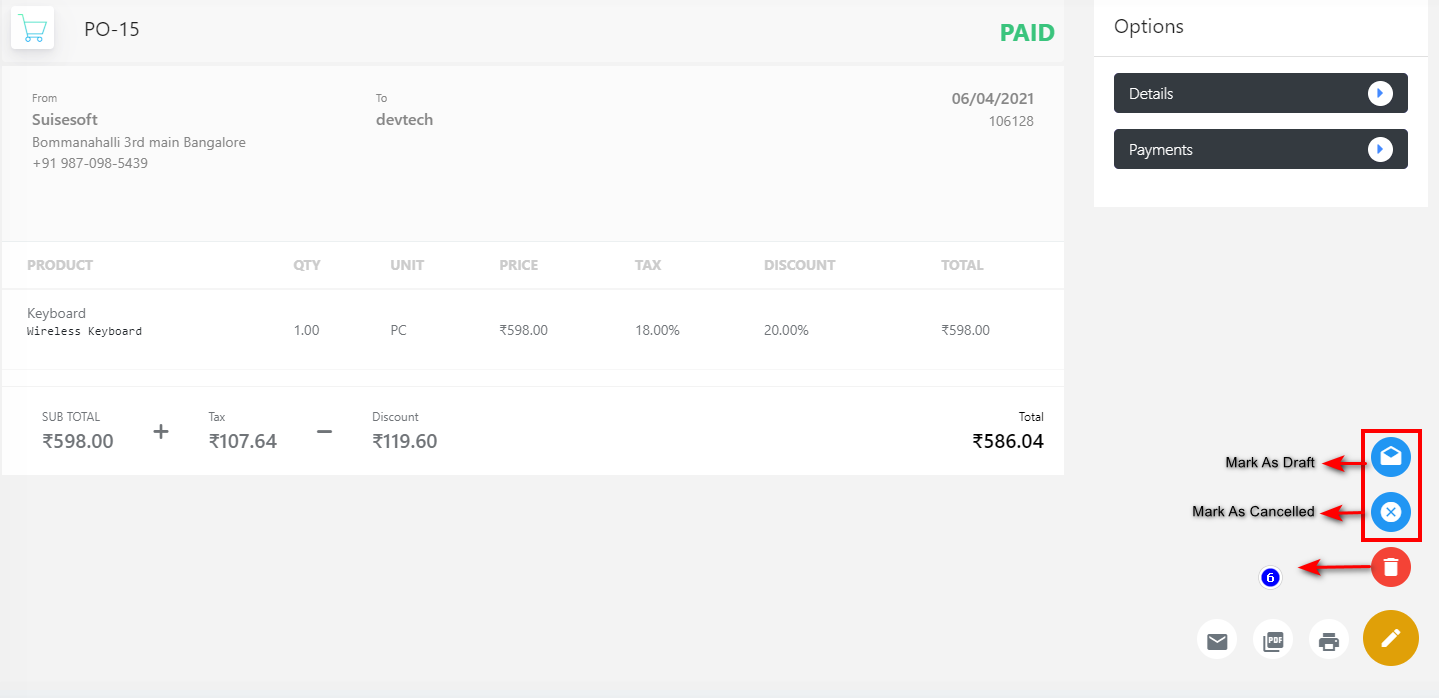
6. click on the "Delete" icon to delete the purchase.